
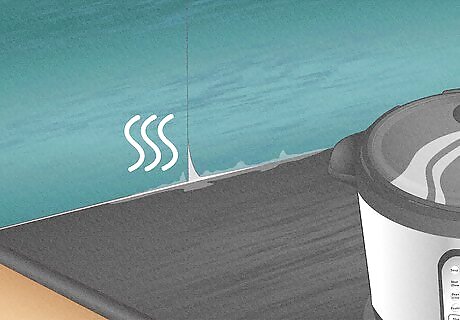
Preparing Your Kitchen Counter
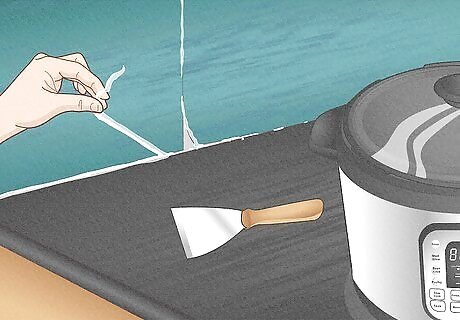
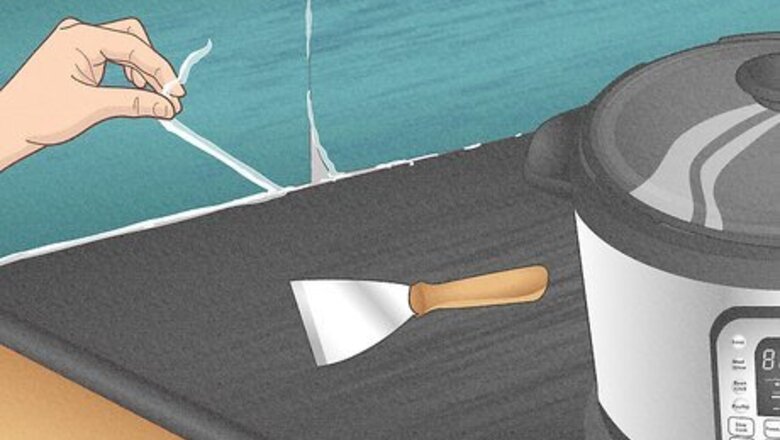
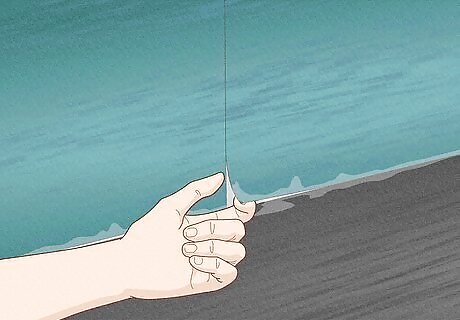
Remove existing caulk. Remove as much as possible by pulling loose ends by hand. Remove remaining caulk with a narrow blade putty knife/scraper. A plastic putty knife/scraper will minimize scratching of finished surfaces. Only apply as much pressure as needed to remove the caulk without damaging the surface.
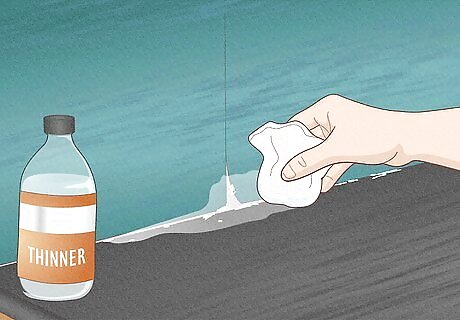
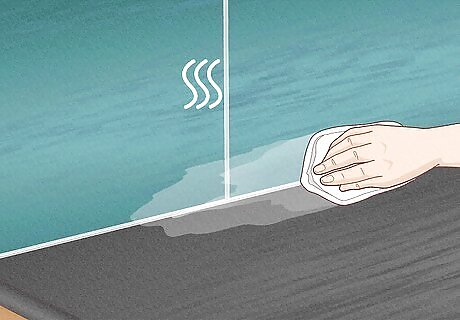
Clean the surface(s). Use a cleaning agent that can cut through soap, yet not damage the surface finish. Try using a small amount of thinner or other cleaners that dry with little or no residue in an inconspicuous place to test for possible damage to the finish. If no damage results use only as much as needed to remove dirt, etc.
Inspect for de-lamination. Laminates are sheets of material that are bonded to a base - in the case of countertops and backsplashes this is wood or some type of particle or fiberboard. If water has been allowed to seep under the laminate for longer than a brief time, there is a good chance that the laminate is no longer bonded to the wood base underneath. Look for up or down-turned edges and feel for bubbles or air pockets under the laminate. Slightly lift the laminate away from the wood beneath. Do not pry. Lift it only far enough to allow circulation of air. Do not extend the de-lamination by lifting too high as this can risk breaking any existing bond and even the laminate itself. Vacuum as best you can to remove any debris caught between the laminate and the wood.
Allow the area(s) to completely dry. This is a very important step, and the more time allowed to dry, the better the repair will be. If this area is near a sink, it would be best to not use the sink if possible. Shutting off the water can help prevent accidental usage in extreme cases.
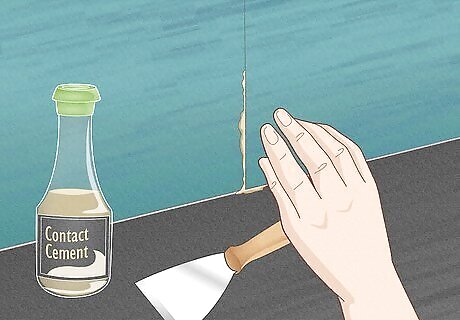
Repair de-laminated areas. After being allowed to completely dry (overnight is minimum, but 24 - 48 hours is better), check for signs of dampness. A paper towel pressed into the areas and inspected after being removed should prove if water had been kept away during the drying time. If still damp, allow additional drying time or add a fan to speed drying; otherwise apply contact cement as per instructions on the container. It will be impossible to get the contact cement all the way to the point where a factory bond exists. For this reason, apply the cement as far as practical and add extra at the furthest point you can reach. When ready to join, start from the edges and work to the center so that the extra cement will be forced further still to the factory bonded point. Work back towards the edges. Inspect for bubbles or air pockets under the laminate. When satisfied, apply even pressure to the laminate against the wood backing with weights, wedges, etc. overnight.
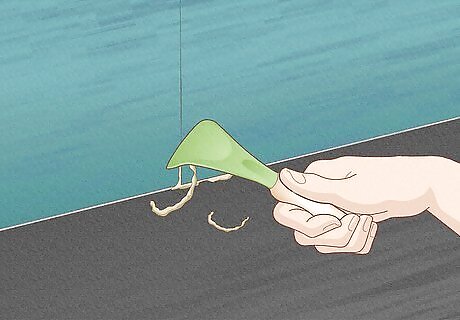
Remove weights, wedges, etc., and clean any contact cement that may have leeched out from between the laminate and backing by hand or with the plastic putty knife/scraper.
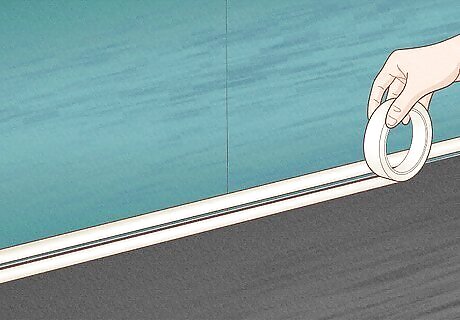
Mask off the area to keep caulk over the seam. When two surfaces join at an angle such as a backsplash and counter, allow for about ⁄4 inch (0.6 cm) or less width of the caulking area on either side of the seam, how much is a personal preference. Painters' tape, masking tape, or any tape that doesn't leave residue will work fine. Apply the tape evenly so that the desired amount of exposure of both horizontal and vertical surfaces from the seam is visible.
Applying Caulk
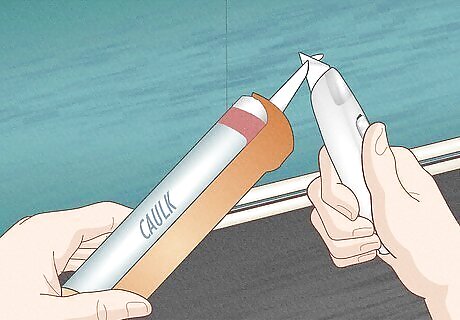
Ready the caulk. Cut the tip of the caulking tube (at any angle that works best for you as determined by your "practice runs") to make an opening about equal to the mask width. Pierce the seal of the tube by inserting a nail or other thin object into the tip until the seal is punctured. While relieving the "catch" mechanism (locking a tab around the rod at the handle end of the caulking gun or providing a 1/4 turn of the rod or whichever way your gun operates) pull the rod as far out of the gun as it will travel. Load the caulk tube into the caulking gun by inserting the bottom end into the handle end of the gun. Press the nozzle end into the other end of the gun. Squeeze the trigger repeatedly until pressure is felt at the trigger. Slowly squeeze the trigger while watching for the caulk to become visible at the end of the nozzle. Stop squeezing as soon as it appears. Have a paper towel or rag ready for any excess caulk that will continue to slowly ooze out. Instantly stopping this slow oozing can be accomplished by relieving the pressure on the rod by the gun - releasing the "catch" of the rod as described above.
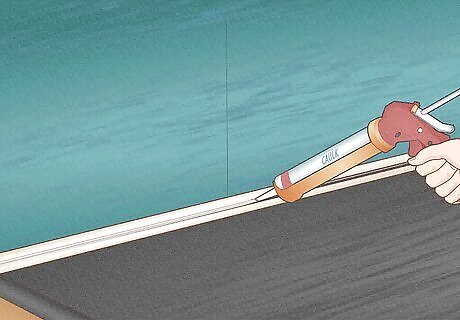
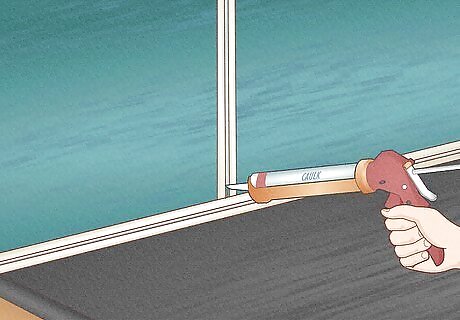
Apply caulk. Run a bead of caulk directly over the seam. By providing steady pressure to the caulk gun trigger and moving along the seam at a steady speed at the same time, acceptable results should be obtained. Work on areas no greater than 3 to 4 feet (0.9 to 1.2 m) at a time. "Tool" The bead with the wedge tool included with some brands of caulk, a popsicle stick, or vinyl gloved finger will also work. A bare finger, however, wet with saliva seems to work best and is the way it is done most often in the field. Tooling is done for two reasons: it forces the bead into the seam void and it provides a smooth bead surface that makes cleaning easier. Starting at one end, press the tool or finger into the bead and wipe evenly towards the opposite end. Wipe built-up excess caulk from your finger or tool as needed with paper towels or rags, and re-wet your finger before repeating. When "tooling" the caulk, work the edge of the caulk near the tape edges nearest to the seam to be as thin as possible, leaving the bulk of the caulk directly over the seam. Tool the caulk until satisfied with its appearance. Repeat for each additional 3–4 foot (0.9–1.2 m) lengths until complete. Do not work too large an area or waste too much time as after the caulk begins to "skin over" tooling will be difficult and result in wrinkling the surface.
Fill seams between laminate sections, such as where the countertop or backsplash required more than one piece of laminate. Apply a thin bead directly over the seams and press firmly in as you wipe into the seam with a wet finger. Do this several times to ensure caulk has permeated the space between sections to prevent water from entering. Wipe away any excess caulk on the surface of the laminate with a damp paper towel or rag.
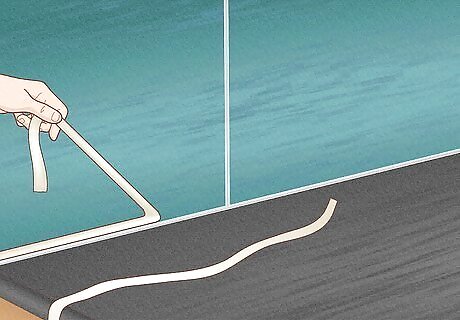
Remove tape. Check the caulk on the surface of the tape to ensure it is no longer wet. Caulk on the surface of the tape should be of minimal thickness - practically transparent at the edge tape's edge. Carefully and slowly lift the tape from the laminate. It should come up in one piece and there should be no wet caulk bridging the gap between the tape and the laminate as it is lifted away. If there is, allow more drying time before reattempting. The thinner the caulk is at the tape's edge, the better the results will be.
Allow the caulk to fully cure as per the manufacturer's directions before cleaning, etc.


Comments
0 comment