views
- Before deleting your account, let your family and friends know of your plans and be sure to give them other ways to contact you.
- If you want to keep using Facebook Messenger to stay in touch with people outside of the Facebook app, you can simply deactivate your Facebook account without affecting Messenger.
- Deactivating your account is a less-permanent option which removes your profile from Facebook until you decide to sign back in.
- Deleting your account is permanent, so make sure to download all of your photos and other data first.
Tying up Loose Ends
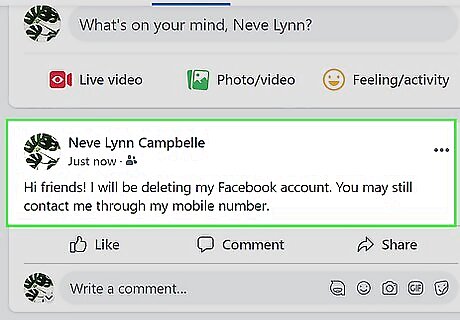
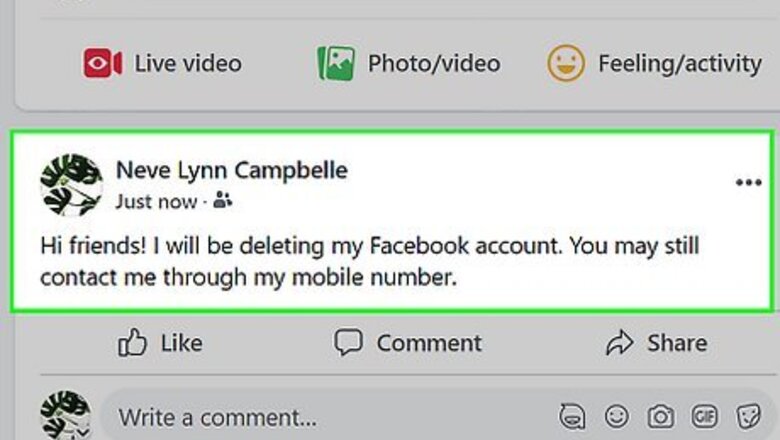
Let your friends know that you're leaving. Post a status telling your friends that you'll be deleting your Facebook account. This will give them ample time to swap contact information with you if they feel the need to do so. This is a good place to leave your contact details if you want people to be able to contact you outside of Facebook. If you would prefer to leave Facebook without a fuss, skip this step.
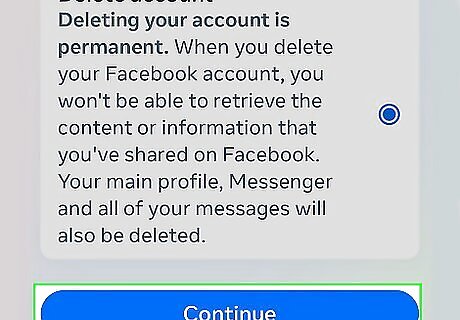
Decide whether or not to keep Messenger. Facebook Messenger is a separate mobile app that you can continue to use even while your Facebook account is gone. If you decide that you want to delete your Messenger account as well, do the following after deleting your Facebook account: Open Facebook Messenger. Tap the profile icon in the top-left corner of the screen. Scroll down and tap Privacy & Terms Tap Deactivate Messenger Enter your password, then tap Continue Tap Deactivate when prompted. Delete the Messenger app from your iPhone or Android.
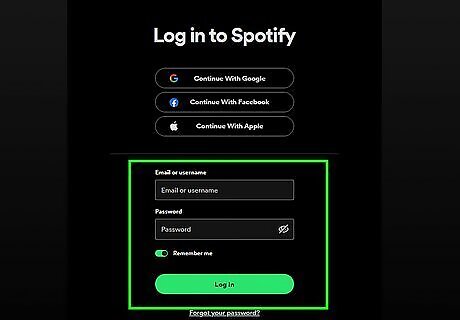
Change your login information for any services that use your Facebook account. Apps like Spotify and Uber give you the option of signing in with your Facebook account rather than with an email address. If you selected this option when signing up for a service, make sure you change the preferred login to an email address or a phone number. Most of these services will also allow you to log in with a phone number, so if you have one on record, you should be fine.
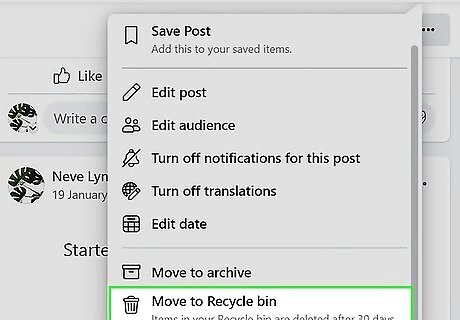
Delete posts that you don't want online. While deleting your Facebook account in and of itself will eventually remove all of your information from online, take care to delete any sensitive or personal posts that you don't want Google (or other search engines) to archive. Archived posts are searchable after you deactivate your account, and can take several weeks to disappear from search engines.
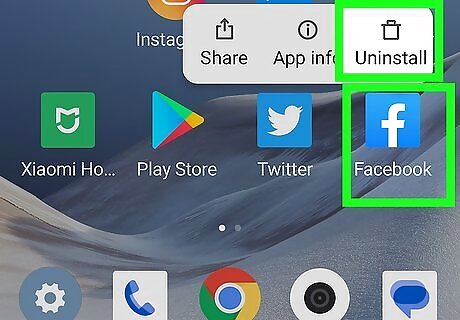
Delete the Facebook app from your phone or tablet. Since you can't perform any of the next two parts' steps from within the Facebook mobile app, remove it from your phone or tablet. You can delete apps on iPhone and on Android.
Saving Your Facebook Data
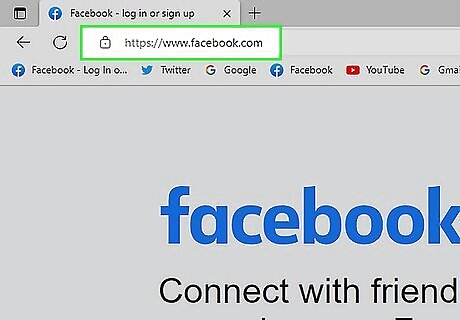
Open the Facebook website. Go to https://www.facebook.com/. This will open the News Feed page if you're logged in. If you aren't logged in, enter your email address (or phone number) and password, then click Log In.
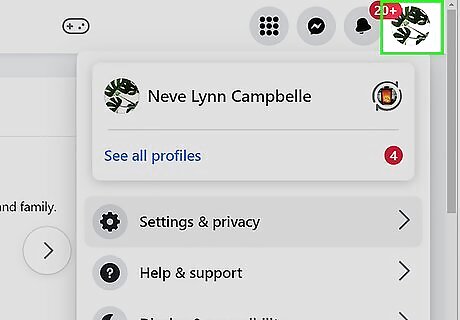
Click Android 7 Dropdown. It's in the far-right side of the blue bar that's at the top of the Facebook window.
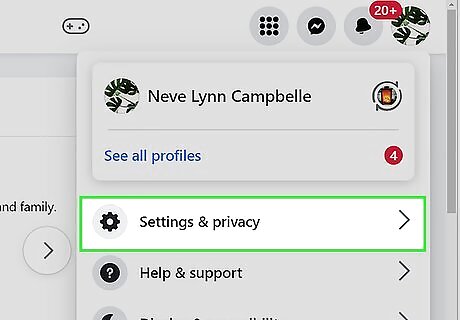
Click Settings. This option is near the bottom of the drop-down menu.
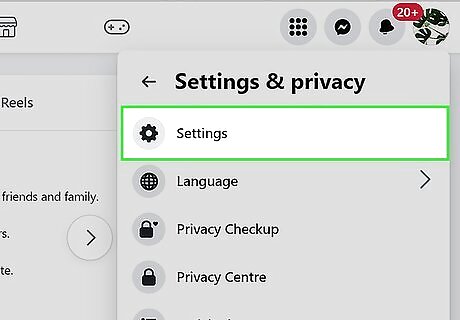
Click General. It's a tab in the top-left corner of the page.
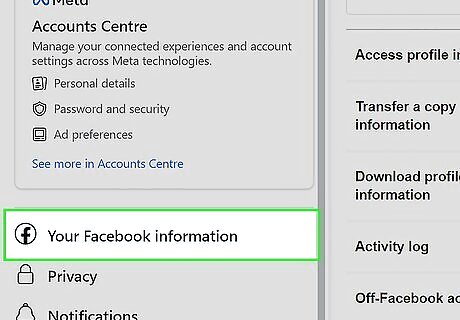
Click the Download a copy link. This blue text is at the bottom of the General page.
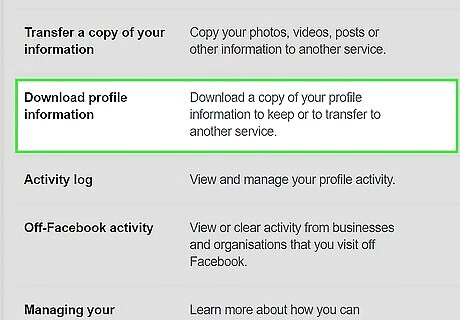
Click Start my Archive. It's a green button in the middle of the page.
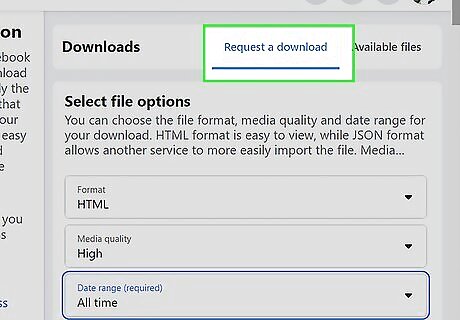
Enter your password when prompted. This is the password that you use to log into Facebook.
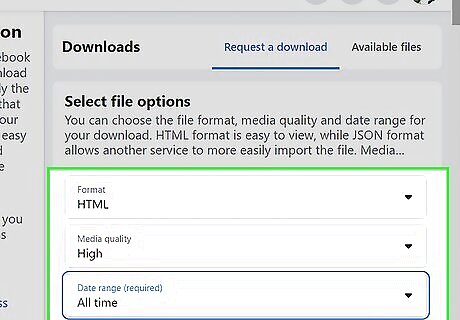
Click Submit. It's a blue button at the bottom of the password window.
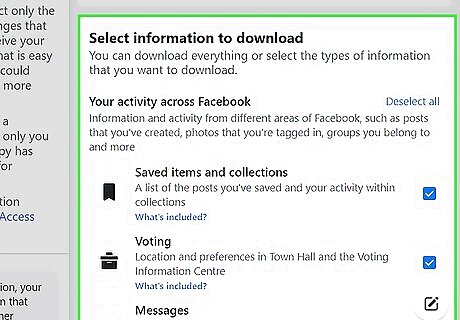
Click Start my Archive. This blue button is in a pop-up window. Doing so will prompt Facebook to begin gathering your information.
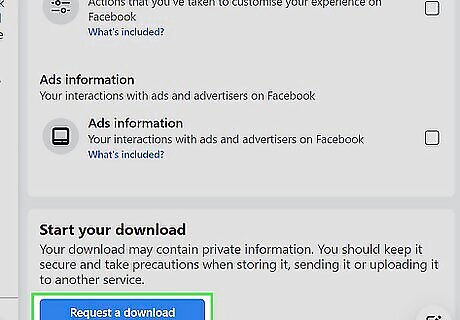
Click OK when prompted.
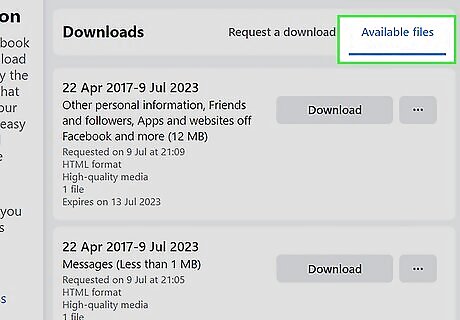
Go to your Facebook email account. Open the inbox for the email address that you use to log into Facebook. If you aren't already logged into your email account, enter your email address and password before continuing.
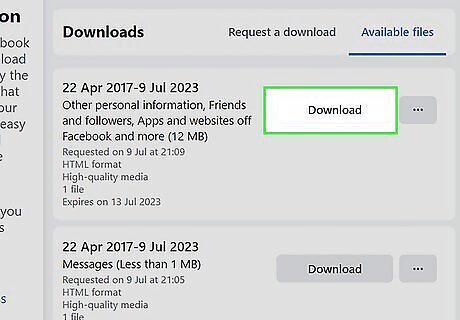
Open the "Your Facebook download is ready" email. It's from the "Facebook" sender. This email may take several minutes to arrive, so be patient if you don't see it at first. You may have to open a specific tab in your email inbox (for example, Gmail users will need to click on the Social tab).
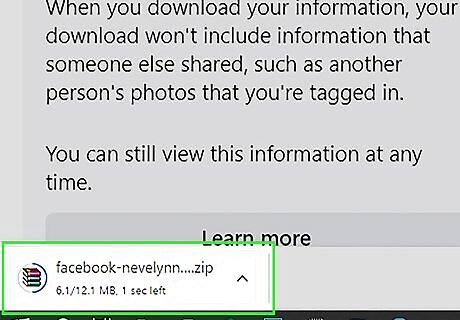
Click the download link. Click the link near the bottom of the email that's just above the "This message was sent to [email address]" text.
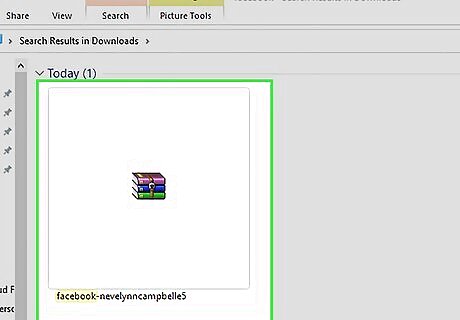
Click Download Archive. This green button is at the top of the page.
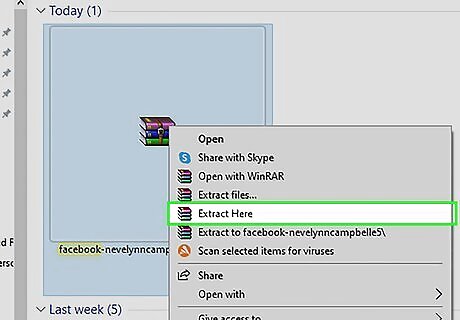
Enter your password when prompted, then click Submit. Doing so will prompt your Facebook data to begin downloading onto your computer. This data includes things like contact information and your photos.
Deleting Your Facebook Account
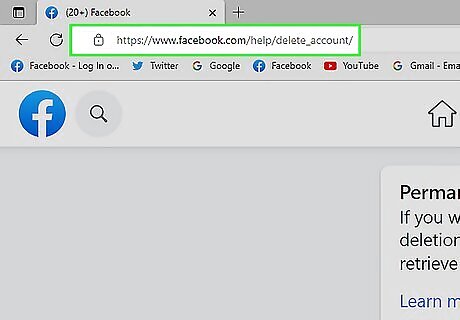
Go to Facebook's deletion page. Go to https://www.facebook.com/help/delete_account/. Keep in mind that you cannot do this in the Facebook mobile app. If prompted, type your email address into the "Email" text field, type your Facebook password into the "Password" text field, and click Log In.
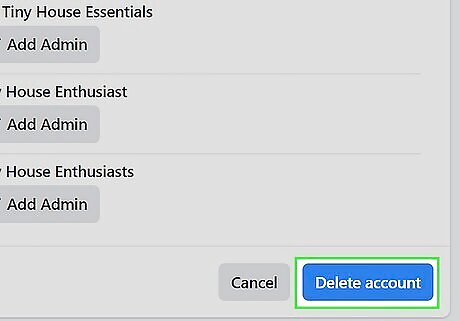
Click Delete My Account. This option is below the warning message in the middle of the page. Clicking it brings up a pop-up window.
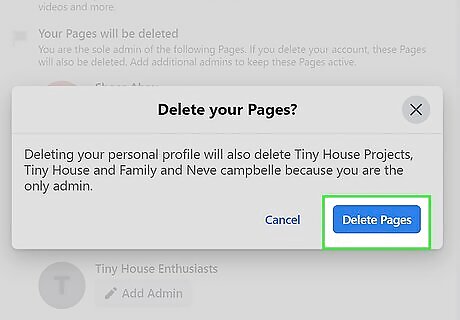
Enter your password. Type your password into the "Password" field at the top of the window.
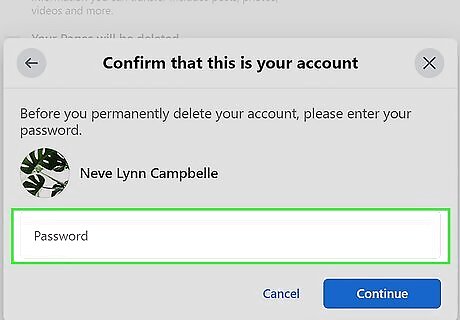
Type in the captcha code. This code is the jumble of letters and numbers in the middle of the window; you'll type your answer into the field below the code. If you can't read the code, you can click either the Try another text or the an audio captcha link below the code to generate a new one.
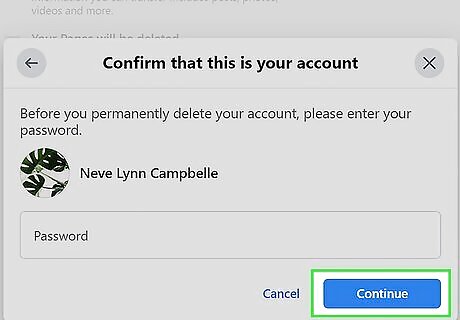
Click OK. This will submit your code. If it's correct, another pop-up window will appear. If you incorrectly entered your password or captcha code, you'll be asked to try again.
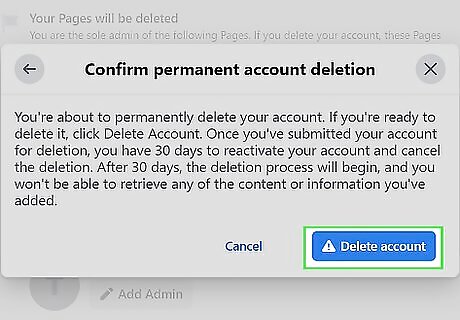
Click OK to delete your account. It's at the bottom of the pop-up window. This will deactivate your account for 14 days, after which point the account will be deleted.


Comments
0 comment