

- Choose an accessible date. Aim for a weekend, but avoid holidays. Then, hire referees and ask local businesses to sponsor the event.
- Find a venue that can accommodate the size, schedule, and location of your tournament. Talk with the owner to make sure it's available.
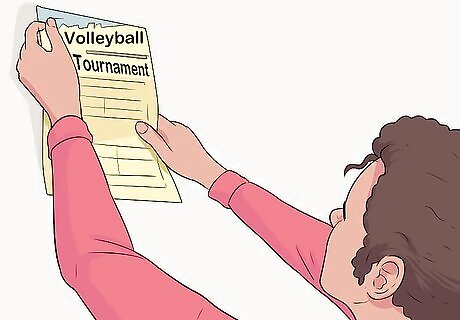
- Advertise the tournament on social media, or hand out flyers at volleyball practices or gyms to find teams to participate.
Making Arrangements

Choose a date for the tournament by process of elimination. Tournaments are generally planned around weekends, so look at the yearly calendar and pick several weekends that could work. As you call venues and equipment rental companies, use the process of elimination to decide which option will be the most convenient and have the most availability. Avoid planning a tournament on holidays, 3-day weekends, and times when bad weather could be a problem.

Find sponsors for the event. Approach some local businesses and the town Visitor’s Board and ask them if they’re interested in donating money or prizes for the winning teams in return for advertising. Oftentimes, Visitor’s Boards will donate at least $1,000 for larger tournaments that will draw in people from out of town.

Hire referees to officiate the games. You’ll need 2 qualified referees to officiate each game. To make this process easier, you can delegate this job and hire a head official to gather and coordinate a team of referees. If the tournament is an informal event with a lower budget, you can also ask each team to provide their own referees.

Ask for volunteers to help with scorekeeping. You’ll need to teach the volunteers how to keep score prior to the tournament, so you may want to meet up with them ahead of time. They’ll need to learn how to keep track of points, sub players in and out, and track libero players. You should also show them how to use the scorekeeping device they’ll be using, whether a flipboard or an electronic system.

Decide whether or not you want to charge an entrance fee. If you need help covering the cost of the venue and equipment, you may need to charge a fee to break even. You could also make the tournament based around a charity and donate the collected fees to a specific cause. You could charge the teams for entrance, or the spectators a small admission fee, or both.
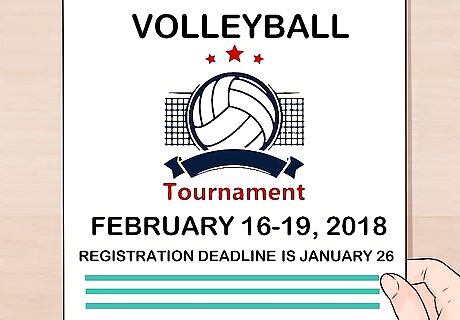
Set the registration deadline 1-2 weeks before the event. This way, you’ll have all the information you’ll need to create divisions. Make sure that the coaches and teams know about the deadline. If they’ve expressed interest but haven’t signed up yet, send regular reminders up until the cut-off date.
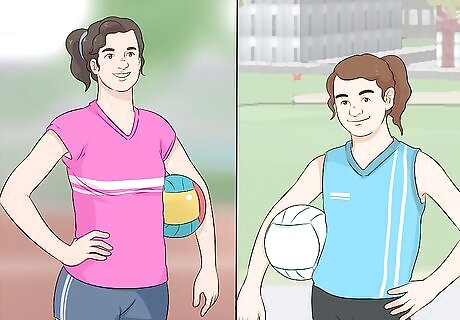
Add divisions if you’ll be hosting a wide variety of teams. To keep the competition fair and fun, it’s important to put similar teams together. If your tournament is open to the community, you’ll probably need to create some divisions based on the teams who will be participating. Look at the age, gender, and experience of all of the teams to decide how you’ll group them. For example, it wouldn’t be fair to put a middle school team against a team in their 30s. If there’s a wide age range among the teams, you may want to create age divisions such as middle school, high school, and adult teams. If there are co-ed and single-sex teams, you may want to create divisions for those teams as well. If you’re hosting a specific tournament, such as a high school girls’ team event, then you likely won’t need divisions.

Create brackets for the tournament to follow. Choose between single or double elimination and use a bracket template or generator to easily create the order of the games. Single elimination means that if a team loses 1 game, they’re out of the tournament. Double elimination is a tournament style that lets teams lose 2 games before they’re eliminated, giving them more playing time. For several bracket options, enter the number of teams playing on https://www.printyourbrackets.com/volleyballbrackets.html. For informal, day-long tournaments, you could just use a round-robin format. Round-robin play lets all of the teams play each other, as opposed to an elimination-style tournament.

Make a schedule based on the brackets. Note the location and time of each game, as well as who will be playing in each game. This information is crucial for teams and spectators to refer to during the tournament, so make it easily accessible. Print extra copies to post and have available during the tournament.
Setting up the Tournament Locations

Find a venue that will suit the tournament’s size needs. You’ll need at least 1 full-sized volleyball court, though 2 or more may be preferable depending on the size of the tournament. Check local school, church, and community center gyms for availability, then reserve the venue for the weekend you’ve settled on. You’ll also want to make sure the venue has access to enough bathrooms and drinking water for your anticipated attendance numbers.
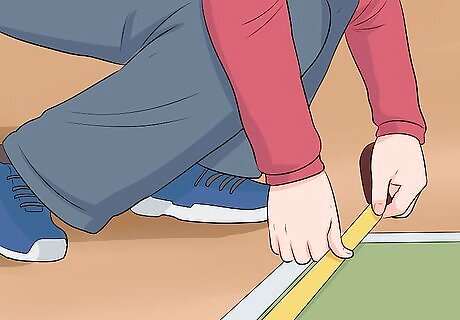
Set up all of the courts with lines and seating. Before the tournament starts, you’ll need to tape off the courts if the lines aren’t clear or present. You’ll also need to set up seating for spectators and teams along the sides of the courts, whether folding chairs or bleachers. If the venue doesn’t have bleachers, you can rent or borrow them from a local school or an event seating rental company.
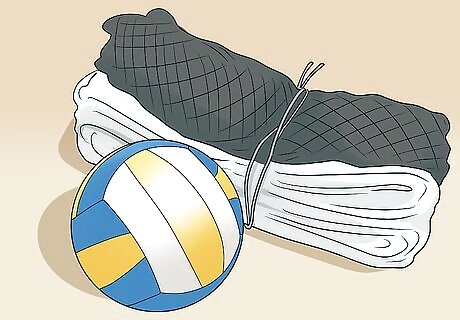
Supply nets and volleyballs if they aren't provided. You can rent court equipment or ask to borrow it from local schools. Make sure the nets are set up and the volleyballs are properly inflated before the games start.

Check the net heights to make sure they follow code. Arrive to the tournament location 60-90 minutes early and do 1 last check. Use a measuring tape to confirm the net heights are set according to the age and gender of the teams. Have someone help you adjust any nets that aren’t set at their required height. Men’s nets need to be 2.43 metres (8.0 ft), while women’s nets should be set at 2.24 metres (7.3 ft). For youth divisions, the net should be 6.5 feet (2.0 m).

Station a first aid kit and someone certified in first aid at each location. In case any of the players gets hurt, you’ll need to have someone who can take control of the situation. Having a medical professional stationed at each location would be even better, but anyone certified in first aid will do.

Make sure each scorekeeping table is equipped with forms and supplies. Print out copies of score sheets, libero tracking sheets, team rosters, and lineup sheets for every scorekeeping table. Stock each table with several pens, pencils, file folders for organizing, paper clips, extra rule books, scissors, and scotch tape. Make sure to have some extra supplies on hand for restocking the tables during the tournament.
Post the tournament schedule and the result grids around the venue. Print out extra copies and tape them up in main areas of the venue. Fill in the result grids as the tournament progresses so spectators and teams can easily check the wins and losses.
Coordinating with Players and Coaches

Advertise the tournament to interested teams. You could offer slots to recreational teams, school teams, or church-based teams. Post on social media and put up flyers around town to attract local teams. Reach out to coaches of teams located further away by calling and emailing them with some basic information.

Maintain communication with the coaches. During the time leading up to the tournament, check in with the coaches regularly. Provide them with the information they’ll need to pass on to their teams, such as the dates, location, schedules, registration, payment, key contacts, forms and releases, and insurance requirements. To make this information easily accessible, you may want to set up a website with all of the details and links related to the tournament.

Gather all of the paperwork and forms for the teams to sign. The last thing you want is someone getting hurt and finding yourself in a legal mess! Print out enough insurance waivers and medical release forms for all of the team members to sign before they play. Additionally, you should print out incident report forms to keep with the first aid kits in case someone does get hurt. You can find templates for these forms online.
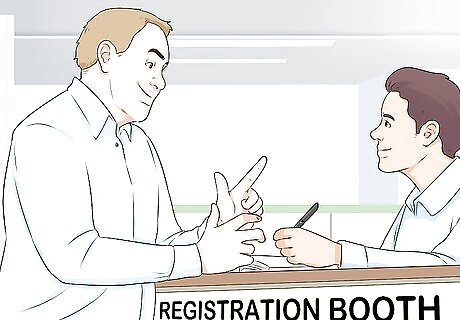
Set up a check-in station on the day of the tournament. Assign a volunteer to coordinate a registration check-in area for teams arriving at the tournament. Make sure the insurance waivers and medical release forms are available at the station for the players to fill out on arrival. Also, have all of the coaches check in and verify their team roster. For smaller tournaments, this station can also act as a liaison area for any spectators or players who have questions. Larger tournaments may need a separate station for taking questions and concerns.


Comments
0 comment