
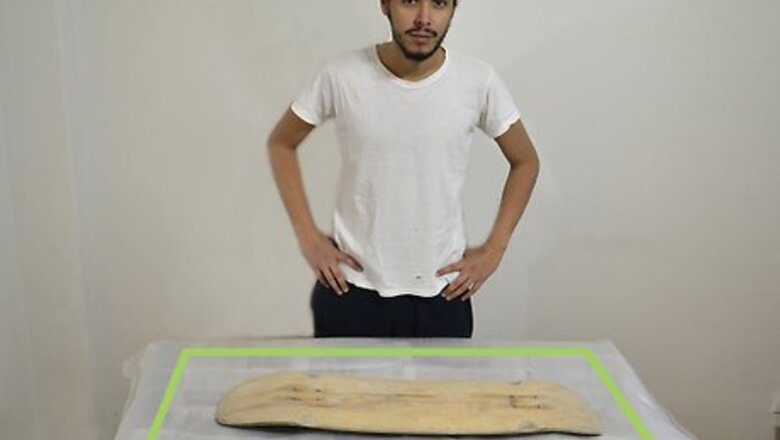
Readying Your Skateboard for Painting
Set up your work area and dress appropriately. This process can create a large amount of sawdust, and spray paint can easily spatter to the surrounding area or your clothes. Make sure you are wearing clothes that you don't mind ruining, and lay a tarp or drop cloth on any surfaces you want to protect. Be sure the area you are working is well ventilated. In an enclosed area, the fumes from spray paint can build up and become toxic.
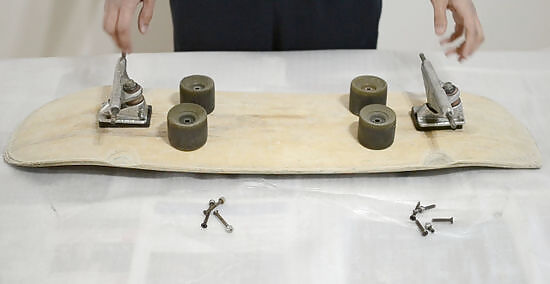
Remove the truck assembly from the deck. The truck and its associated parts connect the wheels of your board to the deck. You'll need to loosen and remove the four truck bolts on both trucks. Use a wrench to loosen and remove the nuts on those bolts by turning the nuts in a counterclockwise direction. Then, pull the bolts free and place the two trucks of your board in safe place. Older boards might have bolt nuts that are difficult to remove. If the nuts on your truck bolts are resisting your attempts at removal, spray an appropriate anti-oxidizing agent, like WD-40 or Diet Coke.
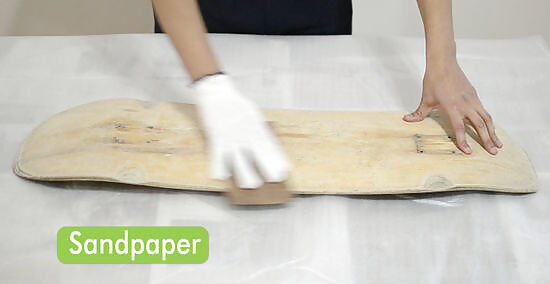
Sand away the original design. Place your truck-less board on your work surface and turn it so the top of the deck is facing down. The current design on the bottom of your board should now be facing up. Use your electric sander with 40-grit sandpaper and use steady, firm pressure to completely remove the original design from your board. Then, use 150-grit sandpaper to give the surface of your board an even smoother finish. Smoothing should only take about 5 minutes. Always wear protective gear when sanding. Sawdust kicked up into the air can irritate or damage your eyes, throat, and lungs. Be sure you wear protective glasses and a dust mask. Be patient with this initial sanding. In some cases, it might take as long as 20 minutes before the design is removed. Avoid applying uneven pressure with your sander. This could result in you scoring the board or an uneven sanding, both of which will have a negative effect on the uniformity of your paint job.
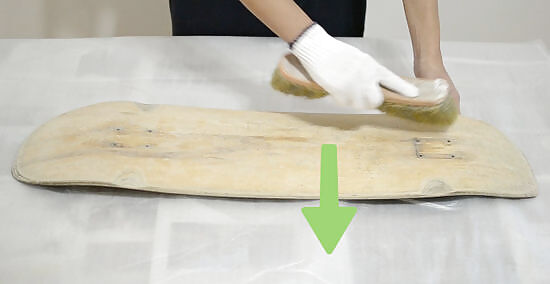
Clear free any remaining sawdust. Use a stiff bristle brush or a lint/fuzz-free rag to clear away any remaining sawdust from your board. Be thorough during this step. If you miss sawdust, it can cause clumping or other irregularities in your paint job. Avoid using wire bristle brushes, or any brush you think might damage the smooth finish of your board.
Repair any visible damage to your board, if necessary. This can be done with carpenter grade wood filling paste, which you can find at most hardware stores. Mix and apply the paste to pressure cracks and chips in your board according to the directions of the paste. In most cases, you should apply a generous amount of paste to each defect in the board. Irregularities in the paste will be sanded away later, so don't worry if your filler paste clumps. Allow the paste to dry as long as indicated by the directions; in most cases this will take about 24 hours.

Sand the repaired areas smooth, if applicable. Again, using 150-grit sandpaper, use your sander to smooth the repaired areas of your board. Apply firm, regular pressure when sanding. It should only take you about five minutes before the wood filler is uniform with the rest of your sanded board.

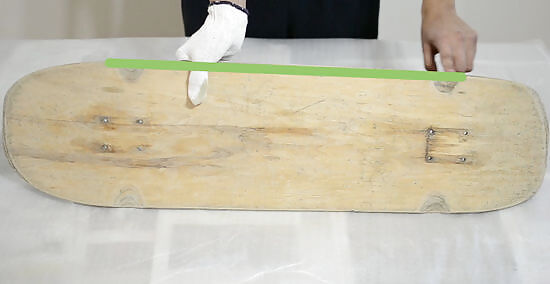
Tape the sides and topside screw holes of your deck. Failing to tape the sides and top of your board might result in drips or streaks along the sides and grip of your board. Use painters tape to ensure the tape pulls free easily from the board.
Priming Your Board

Apply your primer to the deck. An aerosol primer will run less of a risk of an uneven application. Paint brushes loaded with too much primer can end up being too think in some areas and not thick enough in others. In both cases, be sure you follow the directions for your primer. Brush/roller primers will likely require mixing, and aerosol primers will need to be shaken and held a certain distance away from the board while applying. You may want to wait until your primer dries and then apply a second layer of primer to your board. A second layer of primer can provide an even better surface for the paint you will be applying. For aerosol primers, be sure you shake it for the amount of time directed in its instructions. In most cases, you will need to shake the spray can for about 2 minutes. Failing to do so could result in an inadequate prime coat. Common problems with aerosol primers include drips and bubbles in the prime coat. Always allow your primer to dry completely before sanding it smooth. Allow each layer of primer to dry completely after you apply it. Depending on the primer you have used the time will vary, but in most cases 30 minutes should be long enough. Always wear a dust mask/respirator and protective eye-wear when spray painting to prevent accidentally breathing in the toxic spray or getting any in your eyes.

Re-sand the deck to smooth the prime coat. Again using your 150-grit sandpaper, lightly sand your primed board. Use gentle back and forth motions to ensure any clumps, bubbles, blisters, or other irregularities are removed. Do not sand the primer until you can see the grain of the wood. After sanding, you may be able to see faint traces of the wood through the primer; this is normal. Using a soft bristle brush or lint/fuzz free rag/t-shirt, wipe free all sawdust from your board. Be thorough when you do this; any remaining sawdust can cause irregularities in your paint job. To ensure you remove stubborn particles of primer-sawdust from your board, you may want to do a final pass over your board with a dampened lint/fuzz free rag/t-shirt. Allow the board to dry completely after this wipe down.
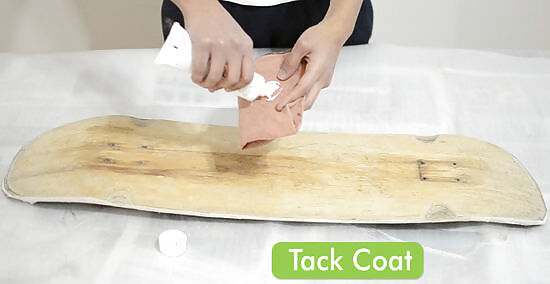
Wipe a tack coat on your primer to prevent defects in your paint. A tack coat is a gentle application of a thinning agent that cleans the freshly primed wood of your board, preparing it for the spray paint. You'll want to use a thinner that matches the kind of acrylic spray paint you've chosen for your board. In most cases, this will be a lacquer thinner, not a paint thinner. Wet a paper towel or a rag with a small amount your thinning agent and run it along the dry, primed bottom of your board. If you notice your paper towel or rag getting dirty, wet a clean portion with your thinning agent of your paper towel or rag and finish wiping the rest of the board. Avoid using a fuzzy rag or paper towel that might deposit lint on the surface of your board. You should try not to touch the cleaned part of your board with your hands, as this could transmit oil or dust to it and affect your paint application. An old cotton t-shirt is a good option for tacking.
Conceiving Your Design
Understand the process. You'll be using a series of stencils to apply layers of paint to your board. The unpainted areas left behind by your stencils will form the design of your board. A simple, stencil-free way of achieving the same effect involves covering areas of your board with tape in creative patterns.
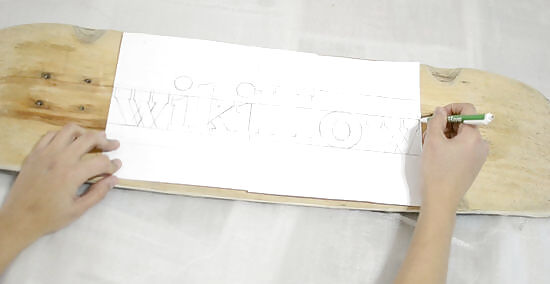
Draw a blueprint for your paint job. By sketching out the design beforehand, you're less likely to make a mistake when applying the paint. Take a piece of paper and draw the rough shape of the deck of your board. Then, inside the deck, sketch out your design. Beginners might want to stick with geometric designs, using squares, rectangle, triangles, and lines. The straight lines of these will be easier to create stencils for, or, in many cases, can be created with tape.
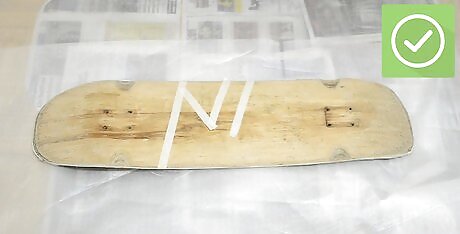
Label the colors for your design on your blueprint. If you want your board to have three colors, you'll need to apply three layers of paint, four colors will require four layers, and so on. Inside the designs you have created, number each design according to layer. For example, if you want the squares in your design to be red and you plan on applying red in the first layer, draw a "1" inside each square of your design.
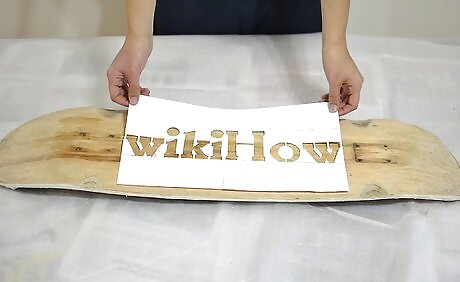
Create your stencils, if applicable. You won't need to do this if you are simply using tape to create designs in your board. More complicated designs and shapes with arcs, like circles, will likely need a stencil. You can make your stencils out of many different materials. Some common options include cardboard, mylar, or rigid card stock.
Painting Your Board
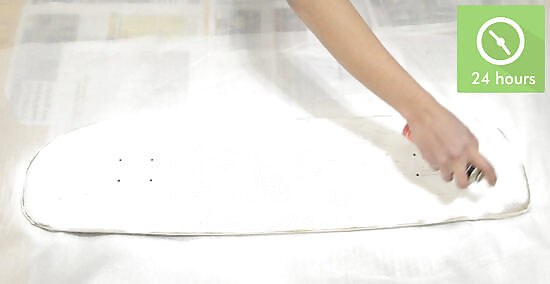
Spray your base color. This color will form the background upon which you will layer your stenciled designs. A high contrast color, like black or white, will allow the other colors that make up your design to stand out better. Spray your board with your base color so the smoothly sanded bottom of your board is completely covered in an even layer of paint. Be sure you follow the directions on your aerosol paint before using it. Most will require that you shake the can for a certain amount of time and hold it a designated distance from the surface you are painting. Wait until your paint is fully dry before moving on to the next coat of paint. In some cases, this may take as many as 24 hours. Applying the next layer of paint too soon could case your first layer to mix with the next, blending the colors together.

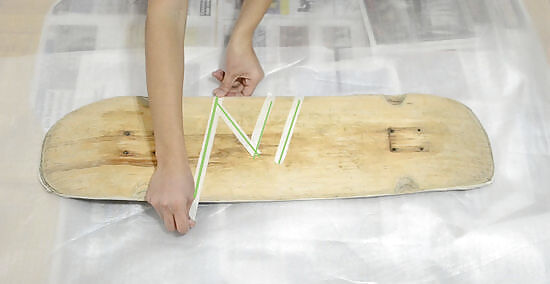
Attach your stencil or tape design and spray your second layer. The places you cover with your stencil/tape will remain the color of your base layer. The gaps in your stencil/tape will be painted the color of your next layer. Spray your second layer over the entire bottom of your board to ensure you have an even application. You might want to leave some extra tape extending beyond the edge of your board, or for stencils/tape designs in the center of your board, you may want to overlap the ends of your tape, bending back one end to stick up from the board. This will make removing stencils/tape easier when you are finished. Do not apply another layer until your second layer is completely finished drying. Once it is, continue adding stencils/tape and new layers of paint to your board in this fashion to complete your design.
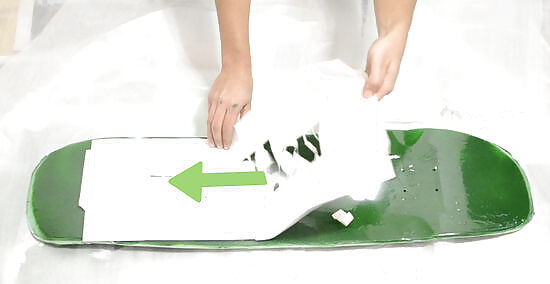
Remove your stencils/tape carefully. After the paint has completely dried, with gentle, steady pressure, pull your tape free from the board. Use the tags you have left hanging off the edge of your board or sticking up from it to remove the tape easily.
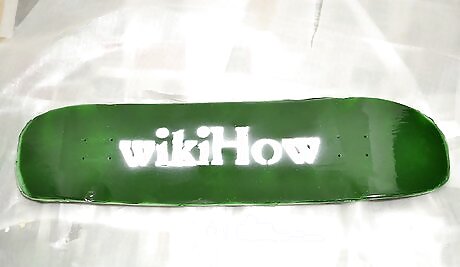
Smooth the finished design. But first, allow the paint a minimum of 24 hours to dry and set. Then you should use 220-grit sandpaper to lightly sand your finished paint job. This will give a uniform finish to the board and remove any irregularities from it. Once you have finished sanding, wipe free the sawdust with a damp, lint/fuzz free rag/t-shirt. Wait 15 minutes, and then remove the tape on the sides/top of your board. Reattach your trucks and your design is done!


Comments
0 comment