
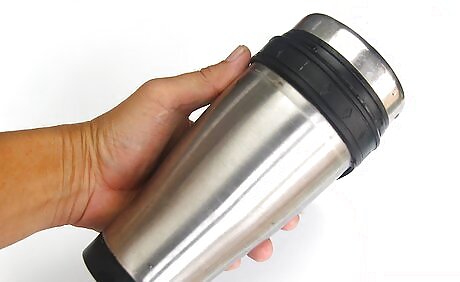
Getting the Cup Ready for Paint
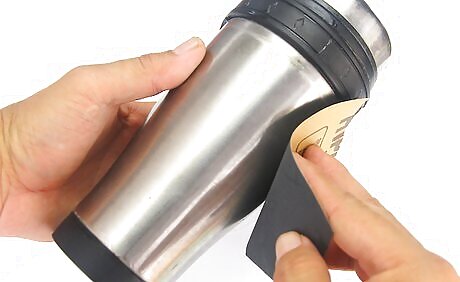
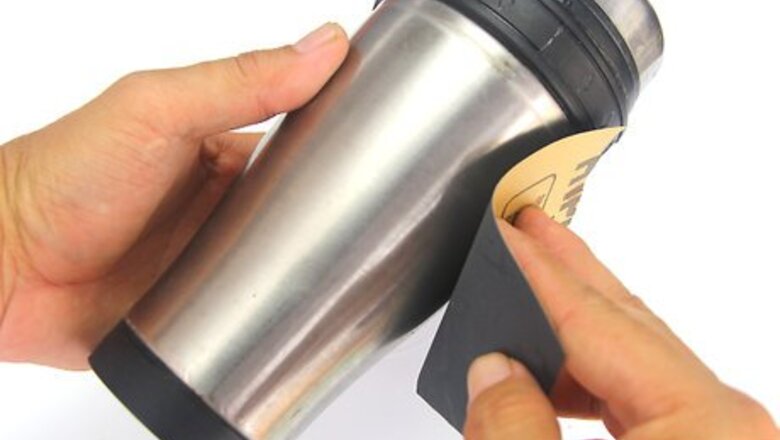
Sand the cup with fine-grit sandpaper. Run the sandpaper along the cup until it is smooth to the touch. The smoother the cup is, the easier it will be to apply paint to it evenly. If your sandpaper wears out while sanding the cup, simply use another piece.
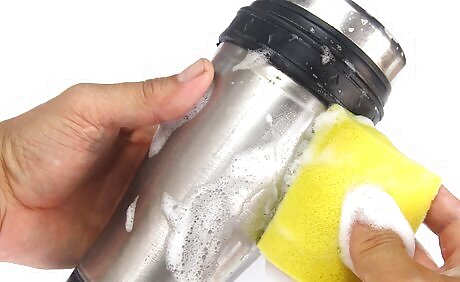
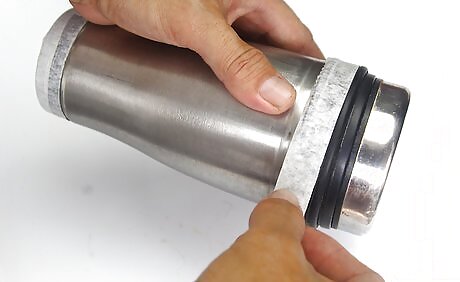
Clean the cup with soap and hot water. Use a sponge to spread the soap around the entire outside of the cup. After cleaning, dry the cup with a clean towel until it no longer has any damp sections.
Apply blue painters' tape to the lip and any other areas you don't want to paint. By taping off the lip of the cup, you'll make sure that your mouth won't touch the paint when you drink from it. There are no other areas you need to tape off, but apply painters' tape wherever you want to leave the original finish of your cup intact. You may, for example, want to put tape around the bottom of the mug, so there are 2 unpainted areas framing the paint.
Apply vinyl decals if you want to paint a design onto your cup. Vinyl decals act as a stencil for the spray paint and help you to put fun and creative designs onto your cup. Put your favorite team's logo on your cup, your name, or the outline of an animal you like. Find vinyl decals online and be as creative as you want with them!
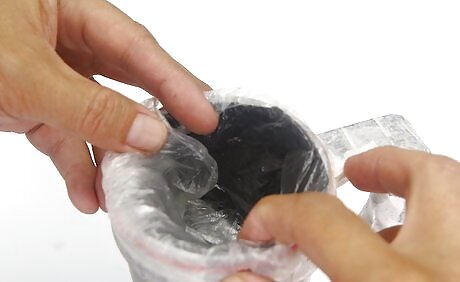
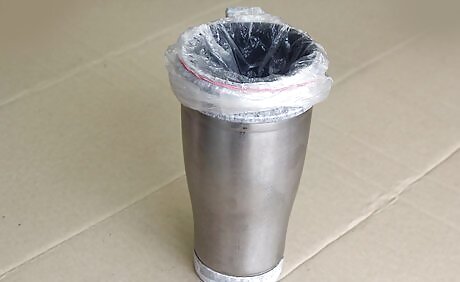
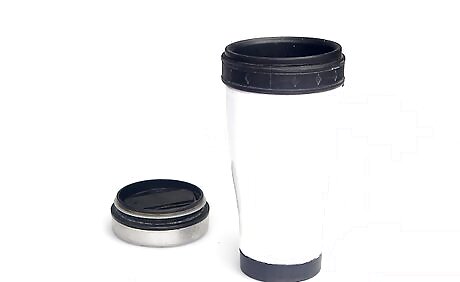
Cover the opening of the cup with plastic. You need to make sure that no paint gets inside of your Yeti cup, as paint can be dangerous to ingest. Wrap some plastic over the opening of the mug and hold it in place with a rubber band or painters' tape. You could also seal the lid in a plastic ziplock bag and then put the covered lid over the opening.
Move the cup to a well-ventilated area. A backyard or the work area of a garage is usually best when using spray paint. Wherever you go, make sure you will not be breathing in too many paint fumes as you work. Also make sure you are away from anything valuable you do not want to get paint on.
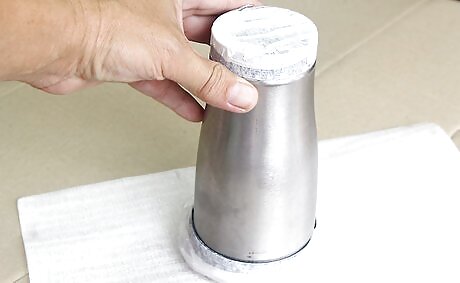
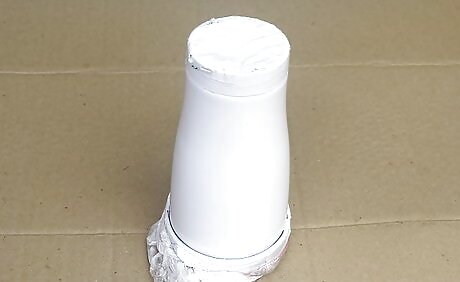
Place the cup upside down on cardboard or a canvas drop cloth. Make sure the cup is level and stable so it doesn't fall over while you're painting. Putting the cup upside down helps you to keep paint from getting inside of it. Cardboard or a drop cloth helps you to keep the area you're painting in clean.
Applying Paint
Shake your can of spray paint before using it. Shaking the cans helps the ingredients to mix before you use the paint. It also helps prevent the can from emitting unsightly spatter when you first use it. Shake the can for 10-15 seconds, or however long the can instructs you to.
Hold the can of spray paint about 1 foot (30 cm) away from the cup. If you spray too close to the cup, it will be harder to get an even coat. It will also make it more likely that the paint will run down the cup instead of applying firmly to the side.
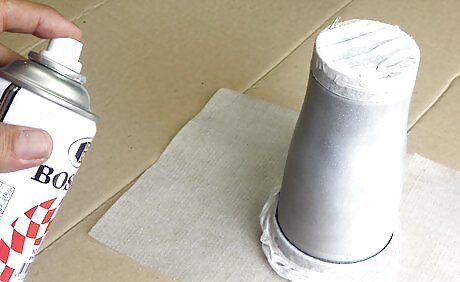
Spray a thin layer of paint onto the cup. Spray up and down the cup rather than side-to-side. Don't try to get the cup as dark as you'd like it to look with the first coat. Applying thin layers one at a time helps you to give the cup a consistent look when you're done. As soon as you have sprayed around the whole exterior, stop. Do not touch up areas, unless you've missed them completely. If you have the space, simply walk around your cup to apply paint to all sides. Otherwise, wear a glove and slowly turn the cup with your other hand while spraying.

Let the paint dry for at least 10 minutes. You need to wait until the first coat is dry before applying any additional paint. The paint should be dry after 10 minutes or so, but check your can to see if it gives specific information.
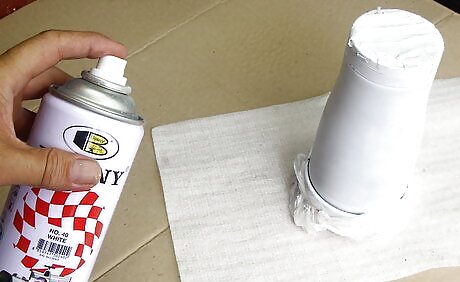
Apply at least 2-3 additional coats of paint. You can apply as many additional coats as you want until the cup is the exact shade you have in mind. Always let the paint dry before putting on an additional coat.
Finishing the Job
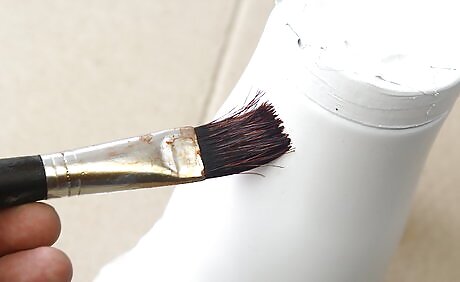
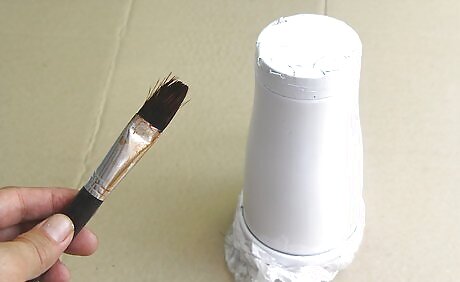
Apply a coat of polycrylic sealer. Sealer helps protect your paint job and make the cup feel smooth to the touch after painting. Use a small brush to apply an even coat of the sealer over all of the painted parts of the cup.
Let the sealer dry for at least 15 minutes. Look at your can of sealer to see if it gives specific information about how long it will take to dry. As with the paint, you will need one coat of sealer to be completely dry before applying a new one.
Apply 2-3 additional coats of sealer. You will want to end up with 3-4 coats of sealer total. Apply a fourth mainly if you think the cup could still be smoother or if you're particularly concerned about protecting the finish of your paint job.
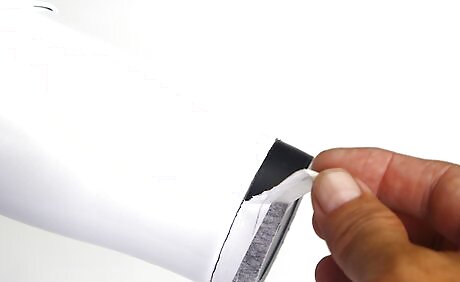
Remove the painters' tape and vinyl decals if you put them on. If you can't pick the decal off of your fingernails, use the edge of scissors or a different tool to start peeling it back. Once you pull it away, your chosen design should be left behind as an unpainted area.
Allow your cup to sit for 24 hours before drinking from it. After 24 hours, everything should be dry and your cup should be ready to use. If you like how it turned out, ask your friends and family members if they'd like you to paint their Yeti cups too!


Comments
0 comment