views
X
Expert Source
Marty Stevens-Heebner, SMM-C, CPO®Certified Professional Organizer & Senior Move Manager
Expert Interview. 14 January 2020.
Getting Rid of Extra Hangers
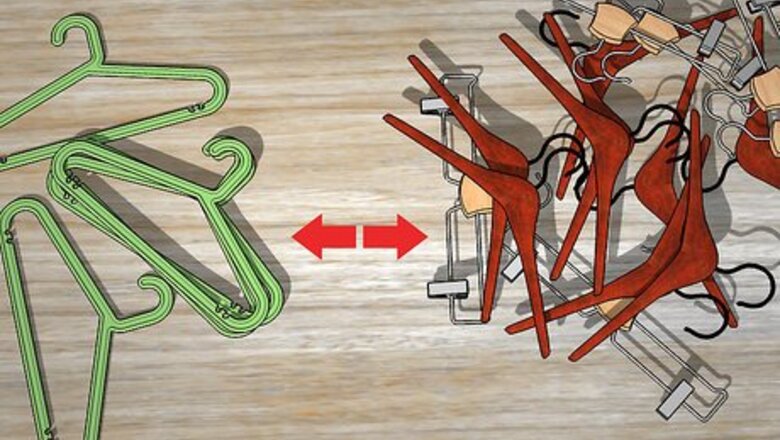
Sort out the hangers you want to keep. Most hangers are inexpensive so decide if it is worth the trouble to transport them all to your new home. Put the higher quality wire or wooden hangers into one pile to be kept. Add the plastic and wire hangers of lesser value into a separate pile to be purged. Even efficiently packed hangers take up a lot of space so make sure that the hangers you decide to keep are worth the effort of moving.
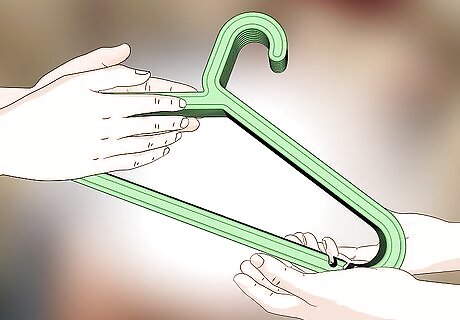
Give your excess hangers to acquaintances. Ask your friends, neighbors, and family if they need hangers. If they do, then give them the hangers you decided not to move with you. This is a double win: you have less items to move and your friends get free hangers. Try posting the hangers to networking sites like Craigslist or Nextdoor. These sites might help you find someone who wants the hangers if your acquaintances do not. Offer for them free and see if you get any responses.
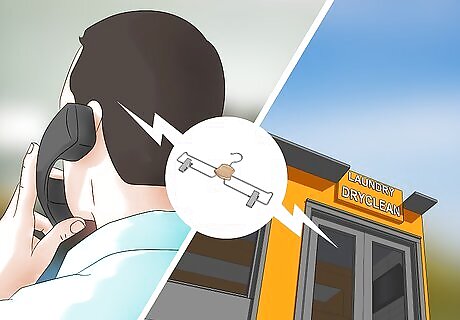
Ask nearby dry cleaners if they want wire hangers. Some dry cleaners will accept wire hangers for reuse in their business. If you have a lot of wire hangers, call the local dry cleaners and ask if they are interested. That way you won’t have to create waste by throwing the hangers out.

Donate your hangers to local charities or thrift shops. Some charities and thrift shops will accept unwanted plastic or wooden hangers and use them to store clothes or merchandise. Before making the trip, call ahead and ask about the organization’s policy on hangers. For large organizations like Goodwill, this may differ from store to store.
Moving Hangers in Wardrobe Boxes
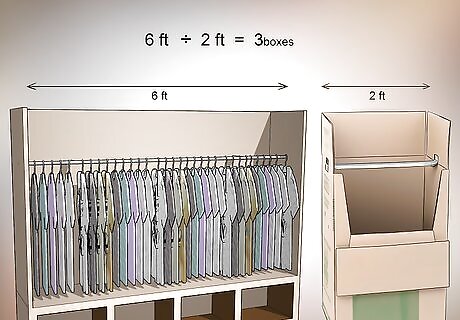
Determine how many boxes you will need. Wardrobe boxes are special cardboard cartons designed to move clothes that are still on the hanger. They each have a metal hanging bar so you can hang your clothes up. One wardrobe box generally holds about 2 feet (0.61 m) of closet space. To calculate how many wardrobe boxes you need, measure the clothes in your closet, and divide that number by 2 feet (0.61 m). Wardrobe boxes are available at almost any packing supply store.
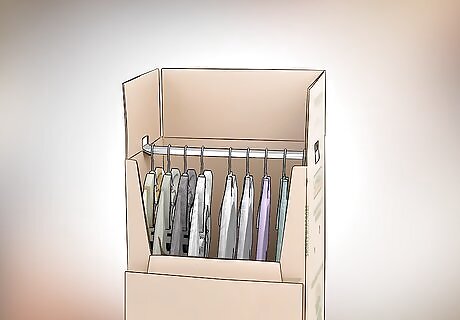
Hang your clothes in the wardrobe boxes. If you have additional hangers that you want to bring, hang them in the wardrobe box as well. This is an easy way to move your hangers. Hanging them from the rod in the wardrobe box will prevent them from becoming tangled during transport. To maximize moving space, try hanging items like belts and purses from your hangers. You can even store shoes and linens at the bottom of your wardrobe boxes if necessary.
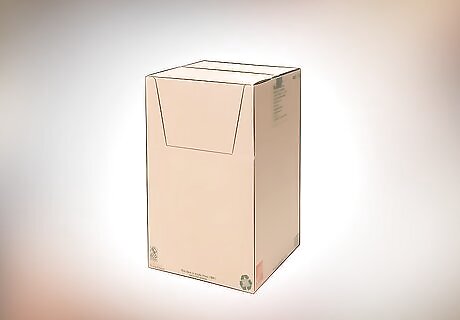
Close and seal the wardrobe box when it is packed. After you have placed your hangers and clothes in the wardrobe carton, press down the flaps on the top of the box. Use heavy-duty packing tape to seal the top of the box. Then use the tape to seal the front of the carton shut.
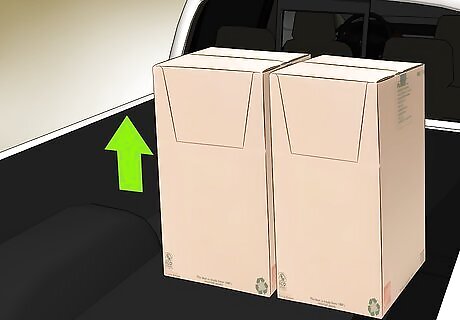
Transport the wardrobe box rightside up. To keep your clothes and hangers from falling off the wardrobe rod, make sure you move the box with the rod side facing up. If necessary, draw an arrow on the side of the box indicating which side the rod is on.
Using the Garbage Bag Trick
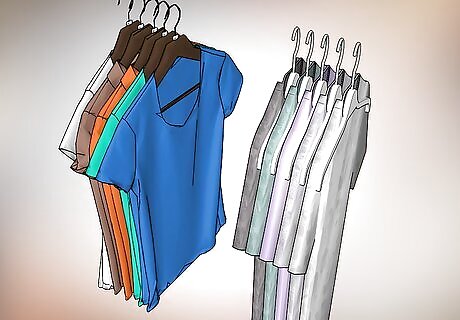
Put your clothing on hangers and divide them into multiple sections. Take out any clothes you want to pack and place each item on a hanger. Then, sort the clothes into multiple sections of 5 to 7 items each. To make it easier to unpack, you may want to sort similar clothes together. For instance have summer and winter piles and maybe another group for more formal clothing items.
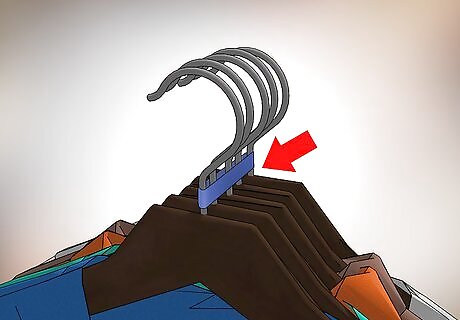
Tie each set of hangers together with a zip tie, cord, or rope. This will make it easier to both place the trash bag over the clothes and to move the hangers. Try to keep the hangers as close together as possible; this will help to conserve space in the moving van. It will also make it simpler to place the bag over the clothes.
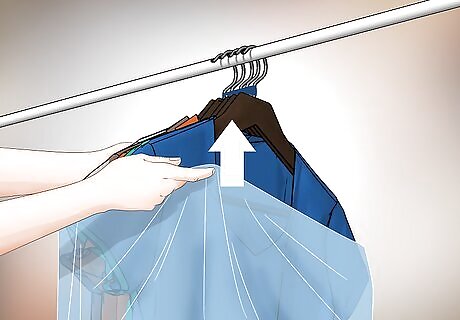
Place a clean garbage bag over each bundle of clothes. Take the empty garbage bag and pull it up over the clothes, making sure the ends of the hangers stick out of the top. This can be done while the clothes are hanging up or lying in a flat pile, whichever you find easiest. Pull the strings of your garbage bag tight to secure everything. If your clothes are long and you don’t want them bunched up in the bag, poke a small hole at the bottom and pull them through. Just remember that if they aren’t in the bag, they will not be protected from dust or dirt.
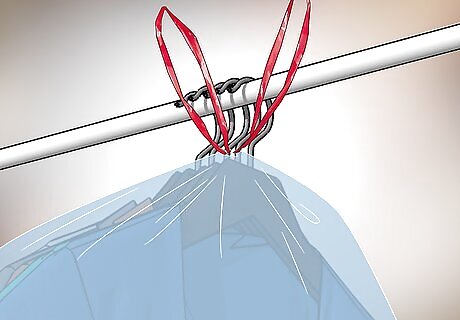
Use a rope or cord to secure the garbage bag if necessary. If your clothes are particularly large, bulky, or heavy, tie the top of your garbage bag with a zip tie or cord to keep everything in. When the bag is secure, you can carry your clothes by the hangers.
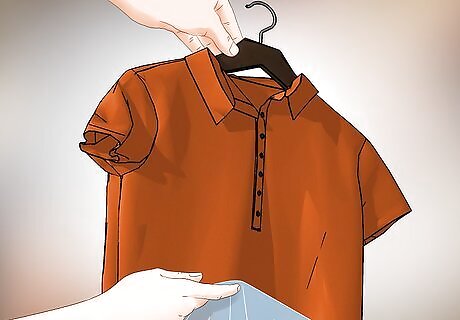
Remove the bags when you arrive at your new home. Simply unfasten the top of the bag and remove it. Then untie and separate the hangers. Your clothes, and hangers, are now ready to be hung in your new closet.
Stacking and Wrapping Hangers
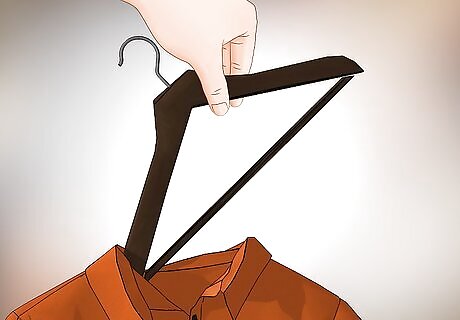
Remove all clothing from your hangers. So you can pack your hangers properly, make sure to remove any clothing items still on them. If necessary, remove any plastic wrap or paper from the hangers as well.
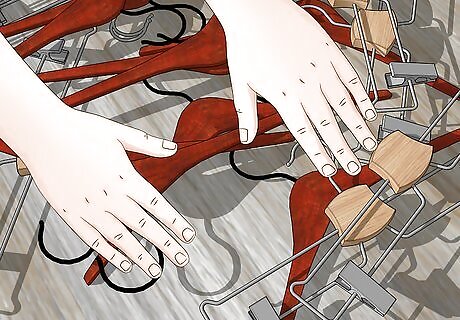
Sort your hangers by material and size. Try to keep hangers of similar size together, that way they’re easier to bundle and move. Place wire hangers in their own group to prevent them from scratching wooden or plastic hangers.
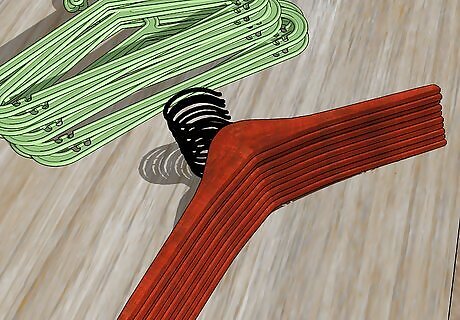
Stack your hangers in neat piles. Place 10-12 hangers (with nothing hung on them) into each pile. Stack the hangers neatly on top of one another and, if necessary, place rubber bands around the hangers to temporarily hold them in place.
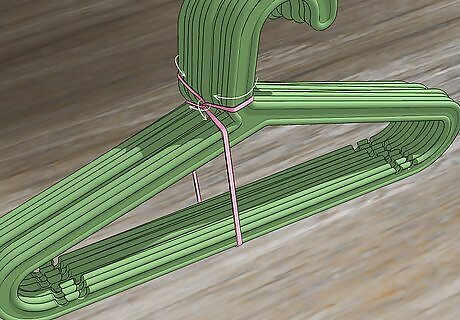
Tie each bundle with cable ties or stretch wrap. Start with top of the grouped hangers, near the necks. Wrap the ties around the bottom bars and then bring the tie back up to the neck. Tie the cables ties near the necks of the hangers to hold the bundle together. Don’t use packing tape to secure the bundles as it will damage the surface of the hangers.
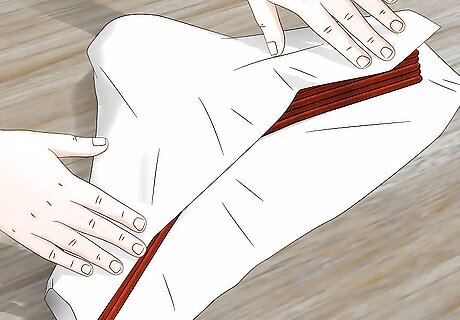
Wrap the bundle of hangers with a sheet. After you’ve bundled everything together, wrap your hangers in a sheet, tablecloth, or old blanket to provide more protection. It will also prevent the hangers from scratching anything in the moving truck. Bundling the hangers together makes them easier to transport and will help to lower the risk that they will be cracked or broken during the move.
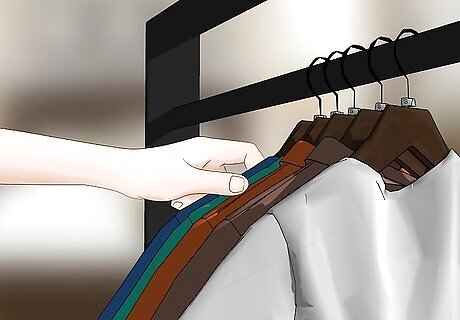
Unwrap each bundle at your new home. When you are ready to use the hangers, simply remove the sheet and the zip tie or plastic wrap. Your hangers will be neatly stacked together and ready for use in your new closets.


Comments
0 comment