views
Titrating the Water
Gather your materials. For this measurement, you need 2 flasks with stoppers, a calibrated pipette, a graduated pipette, manganese sulfate, water, alkali-iodide-azide, sulfuric acid, sodium thiosulfate, and a starch solution.
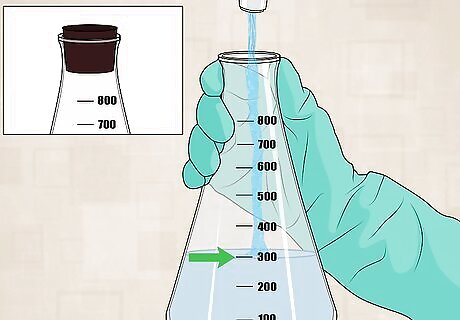
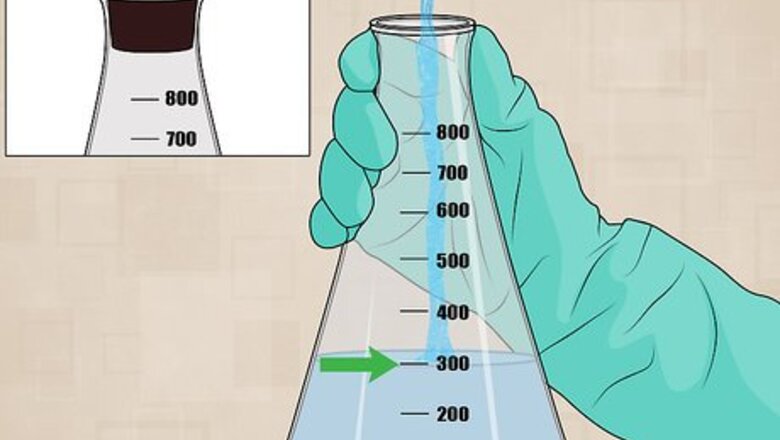
Collect a sample. Take a 300 mL sample of water. This can be from a tap, a stream, a pond, or any other water source. Collect the sample in a flask with a stoppered top.
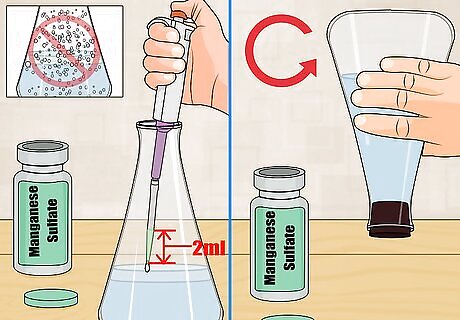
Mix manganese sulfate with the water. Use a calibrated pipette to add 2 milliliters (0.068 fl oz) of manganese sulfate into the sample. Put the tip of the pipette just beneath the surface of the water before releasing the contents. Stopper your bottle and mix the manganese sulfate by inverting the bottle several times slowly. If you drop the contents into the water they will come in contact with the air and this will introduce oxygen into the sample and alter results. If any air bubbles occur, then the sample is contaminated and you will need to start over.
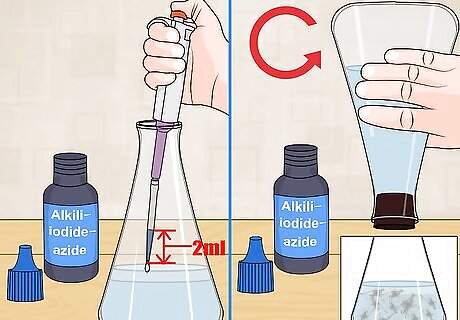
Add alkali-iodide-azide to the sample. Next, add 2 milliliters (0.068 fl oz) of alkali-iodide-azide to the sample using a calibrated pipette. The tip of the pipette should be just below the surface of the water before ejecting the contents. Stopper the bottle and mix the alkali-iodide-azide by inverting the bottle slowly several times. If oxygen is present you will observe the formation of floc. This is an orange-ish solid that will settle in the bottom of the flask.
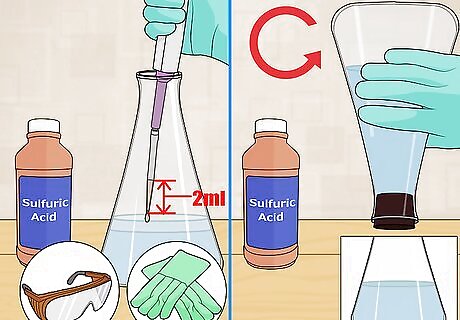
Fix with sulfuric acid. Use a pipette to measure 2 milliliters (0.068 fl oz) of concentrated sulfuric acid. Drop the sulfuric acid into the solution. Do not place the tip of the pipette into the water. Mix the acid by inverting the flask several times. The floc should redissolve. Wear gloves and goggles for safety when working with sulfuring acid. Avoid contact with skin and eyes. Do not ingest. Do not inhale.
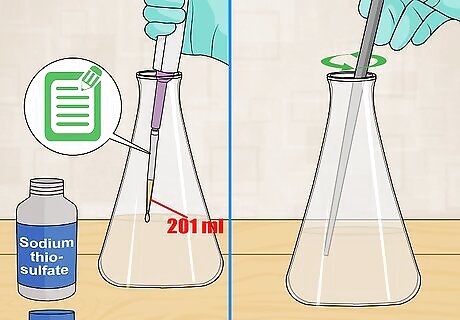
Titrate 201 mL of sample. Measure exactly 201 mL of sample into a new flask. Place this sample beneath a graduated pipet filled with sodium thiosulfate. Add sodium thiosulfate until the sample turns a pale yellow color. Write down the initial amount of sodium thiosulfate in the pipet. Stir the solution continually as you titrate.
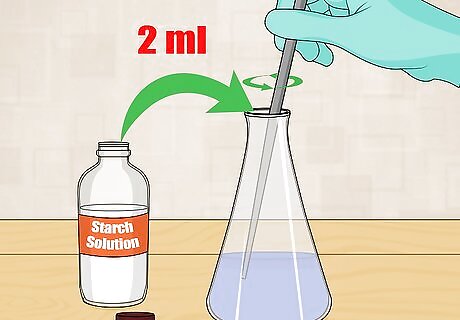
Introduce starch solution. A starch solution will react with the iodine present in the sample to form a blue color. You only need to add 2 milliliters (0.068 fl oz) of starch solution. Stir or swirl the solution well. Starch solution can be made by mixing water with corn or potato starch, or you can buy one premade.
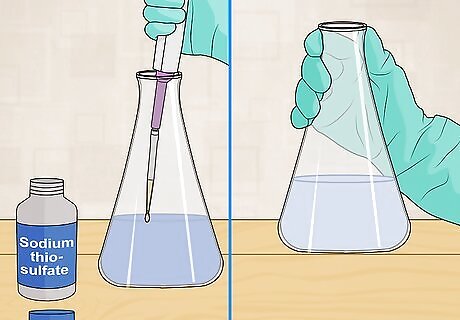
Continue to titrate. Once the sample turns blue, continue titrating with sodium thiosulfate. Add the titrant slowly, as one drop will make a difference at the end of the titration. You should stop titrating when the blue color is gone from the sample. Hold the sample up against a white background in order to look for blue color.
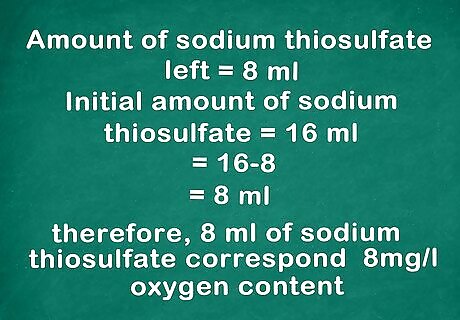
Understand the results. When the titration is complete, write down the amount of sodium thiosulfate left in the pipet. Subtract this amount from the initial amount of sodium thiosulfate to find how many mL of sodium thiosulfate you used to titrate the sample. The amount of sodium thiosulfate in mL is equal to the dissolved oxygen content in mg/L. For example, if you used 8 mL of sodium thiosulfate, that would correspond to a dissolved oxygen content of 8 mg/L.
Using a Dissolved Oxygen Meter
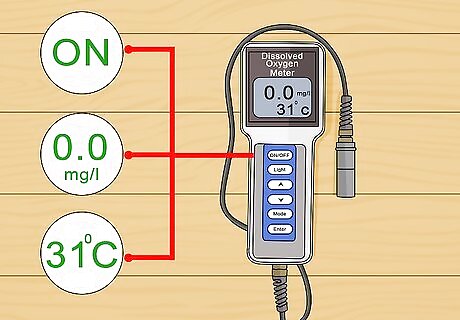
Calibrate the meter. Manually adjust the meter to read zero by turning the screw in the middle of the meter. Next, connect the probe and turn the meter on for fifteen minutes for optimum performance. Adjust the redline with the control knob to align with the 31 °C (87.8 °F) line and set the central line to 0. All meters are calibrated differently. See the manufacturer’s instructions for variations that are specific to your meter. Meters are calibrated in Celsius not Fahrenheit.
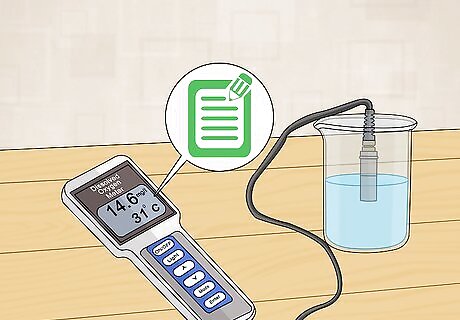
Measure a sample of water. Place the probe into a sample of water that you wish to measure. Allow the meter to stabilize. Write down your reading. Check the sample a few times to make sure the meter is calibrated.

Analyze the measurement. Understand that running water will have a higher dissolved oxygen content than still water. Higher altitudes mean less dissolved oxygen. Consider these things when you look at your measurement to be sure that the measurement makes sense given the sample you are taking.
Estimating with Colorimetric Methods
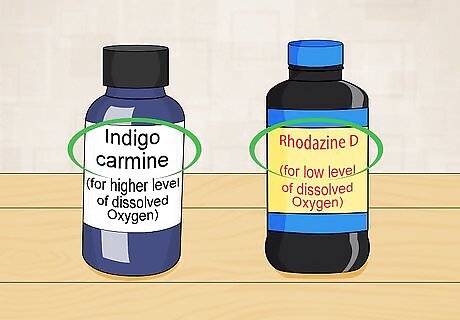
Choose your reagent. There are two reagents used to do colorimetric analysis of dissolved oxygen. One is indigo carmine and the other is rhodazine D. If you expect low levels of dissolved oxygen, rhodazine D is a good choice. Use indigo carmine for higher levels of dissolved oxygen.
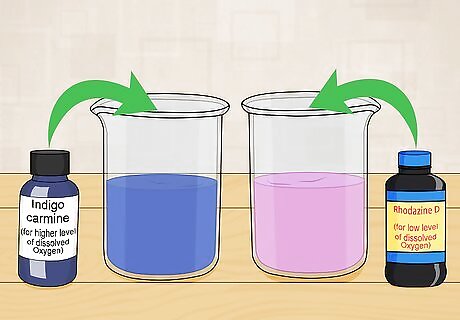
Introduce the reagent to your sample. Once you have chosen a reagent, introduce it to a sample of water. Drop the reagent into the sample of water and watch for a color change. The deeper the color, the more dissolved oxygen present. Indigo carmine will produce a deep blue color. Rhodazine D will produce a deep pink color.
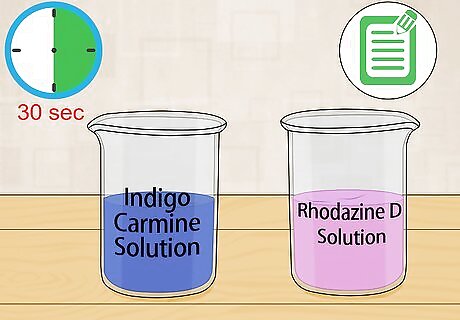
Measure the oxygen levels by matching the colors of the solution to the key. If you are using rhodazine D, record the dissolved oxygen range promptly at 30 seconds after adding the reagent. The same holds true for measuring small ranges of dissolved oxygen with indigo carmine. If you are measuring a sample with higher levels of dissolved oxygen, wait 2 minutes and record the result.





Comments
0 comment