views
Making Hamster Bedding Without Water
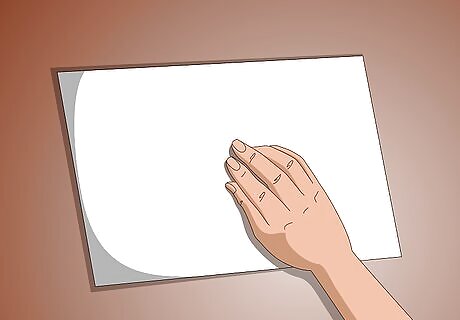
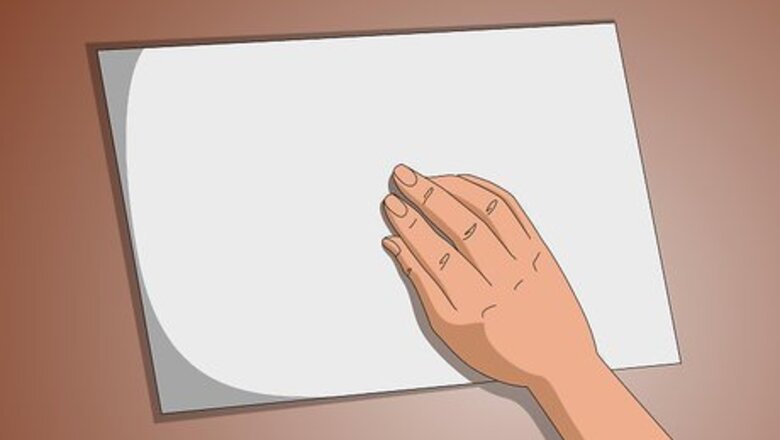
Create hamster bedding with dry white paper. Shredded white paper is a great choice for hamster bedding. Dry white paper is ideal hamster bedding for several reasons, one of which is the color—the white would allow you to notice if your hamster has an illness, such as diarrhea, or is bleeding from an injury. In addition, the ink on white paper does not rub off as easily as newspaper ink, meaning that your hamster’s fur would not get stained with ink. Use scissors to cut the paper into thin strips. It may be helpful to cut the strips into smaller sections so that your hamster can play with it and burrow in it more easily.
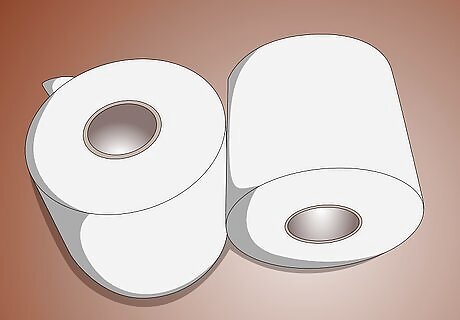
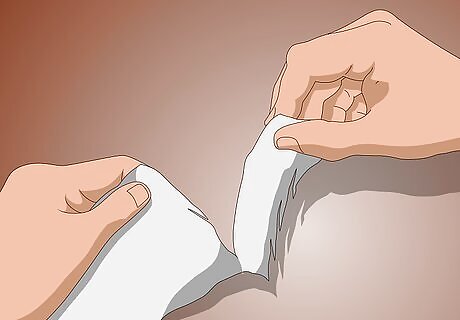
Make bedding out of dry toilet paper or tissue paper. Both toilet paper and tissue paper are comfortable bedding choices for your hamster. As with the white office paper, make strips of the toilet paper or tissue paper. Because toilet paper is so soft, it may be easier to tear it into strips with your hands. You can also shred facial tissues with your hands to make hamster bedding.
Cut up a dry toilet paper roll. In addition to being a toy, an empty toilet paper roll can also be a source of comfortable bedding for your hamster. For larger hamsters, such as Syrian hamsters, you can cut the toilet paper roll into large strips and allow your hamster to shred it more himself. If you have a smaller hamster, like a Roborovski dwarf hamster, you may need to cut the toilet paper roll into smaller pieces that he will be able to shred more easily.
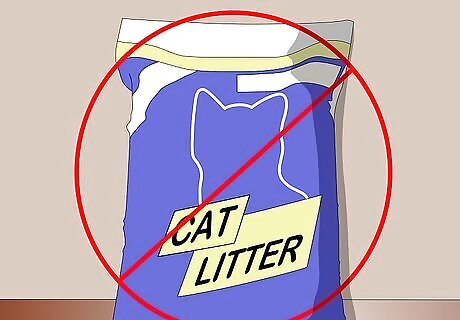
Do not use cat litter to make hamster bedding. Making your own bedding out of common household items can be fun. If you have a cat, you may have thought about putting cat litter in your hamster’s cage. However, cat litter is not recommended for several reasons, one of which is the litter’s rough texture that would be very uncomfortable for your hamster to walk around in. In addition, the chemicals in cat litter to control odor can be very harmful to hamsters. Hamsters cannot digest cat litter. If your hamster tries to eat the litter, he may end up with an intestinal impaction that could make him very sick. If you try to use litter that clumps when it becomes wet, the clumps could become stuck in your hamster’s fur like small blocks of cement.
Making Hamster Bedding With Water
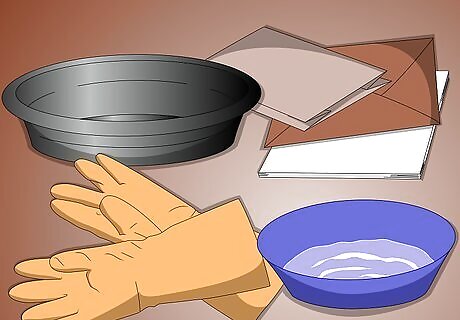
Organize your supplies. Making your own hamster bedding with water is another option for saving some money on bedding. Before starting the process, gather all of your supplies in one place. Some of these supplies include a large bowl, plenty of dry paper (e.g., white paper, brown paper bags, old envelopes), an old t-shirt or colander, and a pair of gloves. You will also need some paper towels and/or a cookie sheet on which to dry the bedding. Making bedding with water can be a very messy process, so it would be best to work in a large sink, such as your kitchen sink. Make sure that you have a drain stopper to prevent paper pieces from going down the drain. The t-shirt or colander will be necessary for draining the water when the paper is fully soaked. Wearing a pair of gloves will keep your fingers from getting stained as the ink from the paper mixes with the water.
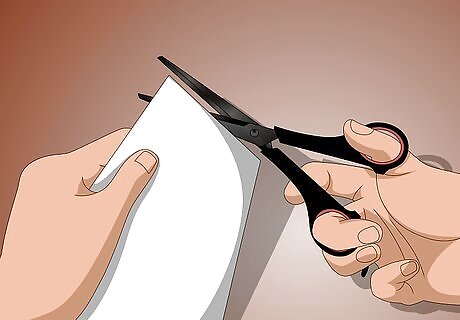
Cut or tear the paper into small pieces. In addition to being messy, making bedding with water can take a lot of energy. The smaller you make the pieces of paper, the less work you will have to do later in the process. Add the pieces to the bowl and place the bowl in the sink.
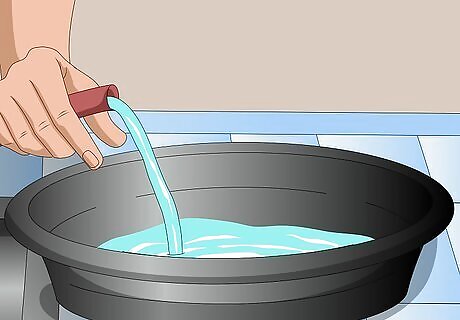
Fill the bowl with water. Add enough water to completely cover all of the paper. The temperature of the water does not matter. However, if you want to sift the paper with your hands to make sure all of the paper is thoroughly soaked, make sure the water is not too hot.
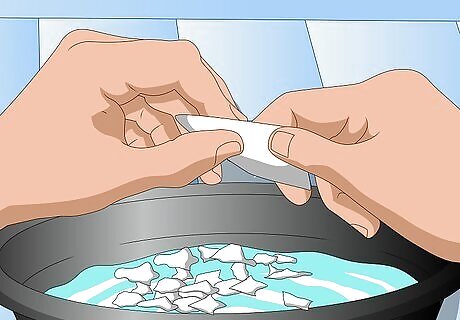
Tear the paper again. After filling the bowl with water, allow the paper to soak for about five minutes before tearing it apart with your hands. Tear the paper into smaller pieces so that the water begins to look like a watery pulp. If you are impatient, you can start tearing the paper as soon as you add the water. However, the paper will be much easier to tear if you let it soak first.
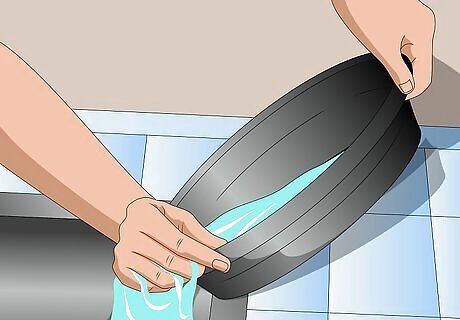
Drain the water. There are a few ways to drain the water—pouring the water and paper pieces into a colander or old t-shirt, or keeping the paper pieces in the original bowl and pouring out only the water. This step may be a little tricky, since you will have to be extra careful not to let any paper pieces go down the drain. To make this step easier, put the drain stopper in place before you start dumping out the water. If you are using a colander, position it over the drain stopper and pour the water and paper pieces into the colander. Pieces of paper may slip through the holes of the colander. If the stopper fills up, clean it out by putting the pieces back in the original bowl. Press down on the paper in the colander to get out any excess water. If you prefer to use an old t-shirt, position it in the sink next to the drain (with the drain stopper in). Slowly pour the water and paper pieces onto the t-shirt. When you have finished pouring, roll up the t-shirt and wring out the excess water. Pouring out only the water from the original bowl creates less mess, but you may not be able to get all of the excess water as easily as using a colander or old t-shirt. Rinse and drain several times to get out all of the ink. The water will run clear when there is no more ink left.
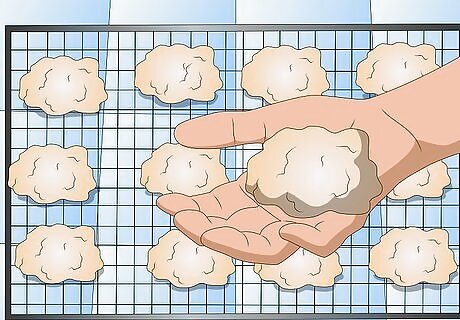
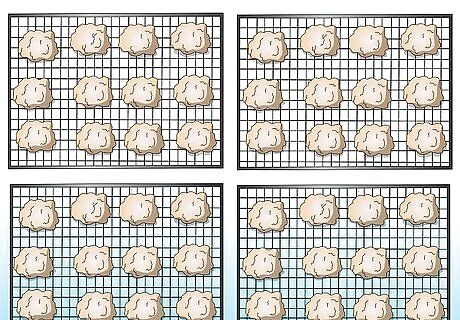
Form the paper into balls. To start drying out the paper, you will first need to form it into balls. Use both of your hands to do this. Make sure not to make the balls too large or too tight—this could increase the amount of time it takes the paper to dry. You could also form the paper into clumps, rather than balls. The clumps would be a little looser and shorten the drying process. Place the balls on some paper towels or a cookie sheet to allow them to dry. It may take a few days for the balls to dry. Periodically check on them to test their dryness. You may need to change out the paper towels if they get too damp.
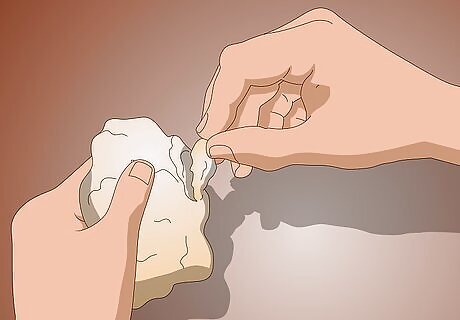
Break apart the balls of paper. After the balls of paper have dried out for a few days, you will need to break them apart. Depending on how much bedding you have made, breaking the balls apart may be tedious and time-consuming. To relieve the tedium, consider turning on your favorite TV show or watching a movie. Place the broken-apart bedding on some paper towels. The bedding may still be a little damp, so you will probably need to dry it for even longer to make sure it is completely dry before adding it to your hamster’s cage. Spread the bedding out as thinly as possible to quicken the drying process. For odor control, you can sprinkle some baking soda on top of the bedding after you have broken it apart and are allowing it to dry.
Add the bedding to your hamster’s cage. After the bedding is completely dry, you can add it to your hamster’s cage. For larger hamsters, add about three to four inches’ worth of bedding in the bottom of the cage. Smaller hamsters do not need as much bedding. It is okay if you add a lot of bedding. Remember that too much bedding is better than not enough.


Comments
0 comment