views
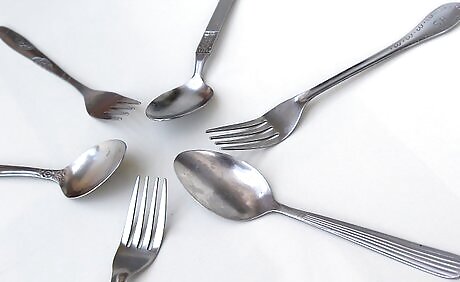
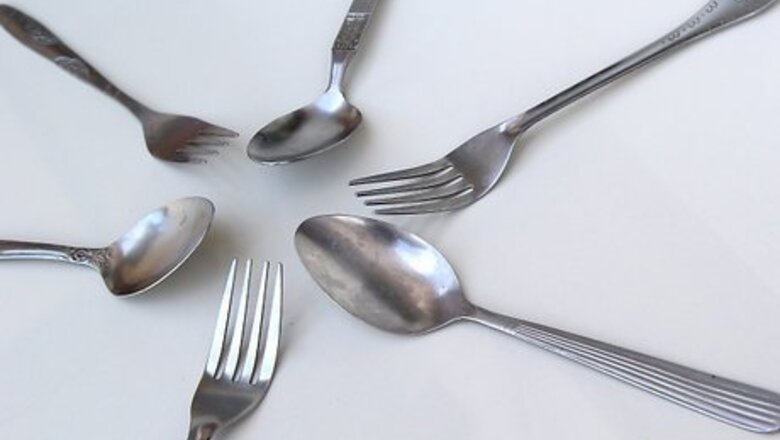
Gather your materials. For this project, you will need 6 pieces of silverware, at least 1 of which must be a fork. Forks and spoons are preferable to knives, as the thick handles of knives make them difficult to drill a hole through for hanging. You will also need a pair of pliers, a pair of needle-nose pliers, a drill and a set of drill bits, and some fishing line or thin ribbon.
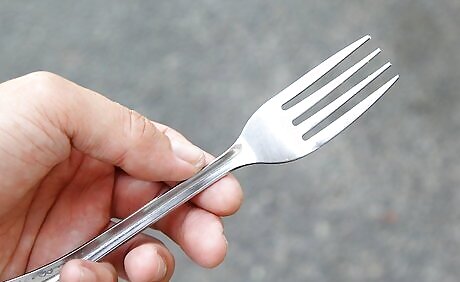
Prepare the fork that will be the centerpiece. All of the remaining pieces of silverware will hang from this central fork. To prepare it, you will need to drill 2 holes in it and bend its prongs to allow for hanging the other pieces. Begin by drilling the hole for hanging the entire wind chime. This hole should be placed in the handle of the fork, very close to the end. Select a very small drill bit for this job - preferably 1/32 inch (0.8 mm) or smaller. All-purpose drill bits will generally be able to handle drilling through metal if they are high-quality. You may want to secure the fork to a work surface using a C-clamp while you drill.Make Wind Chimes From Old Silverware Step 2Bullet1.jpg Next, drill a hole in the central fork for hanging a piece of silverware directly below it. This hole should be drilled in the center of the broad part of the fork, just above the tines.Make Wind Chimes From Old Silverware Step 2Bullet2.jpg Now you'll need to bend each of the fork's tines in a different direction to make room for the other pieces hanging below. Use your pliers to bend each tine until they are at a 90 degree angle to the fork's handle. Make the bend right where the tine meets the broad part of the fork, and spread the tines out until they are each at right angles to their adjacent tines.Make Wind Chimes From Old Silverware Step 2Bullet3.jpg Finally, curl the end of each tine so that the fishing line can be looped through it. Use your needle-nose pliers to grab the end of each tine and wrap it back on itself until it forms a small loop.Make Wind Chimes From Old Silverware Step 2Bullet4.jpg
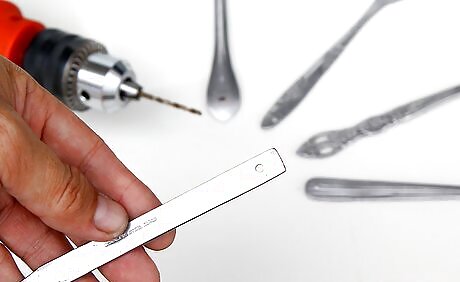
Drill holes in each remaining piece of silverware so that they can be hung. Only 1 hole needs to be drilled in each of the 5 additional pieces of silverware. Position the hole very near the end of the handle of each piece. Again, you may want to secure the silverware with a C-clamp when drilling.
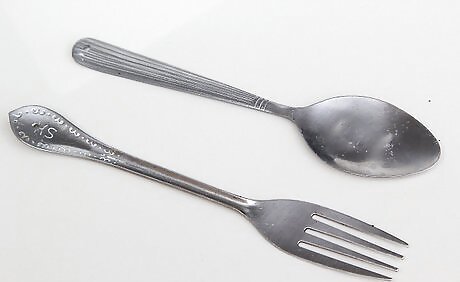
Make decorative changes to the remaining pieces of silverware if desired. The 5 remaining pieces of silverware can be hung as-is, or they can be altered in shape. For example, you can use your needle-nose pliers to curl the tines of forks tightly back onto themselves. You could also curl the blade of a knife or the basin of a spoon in the same way. Another option is hammering each piece of silverware flat. This would best be accomplished by laying the silverware on a hard work surface and striking them with a sledgehammer.
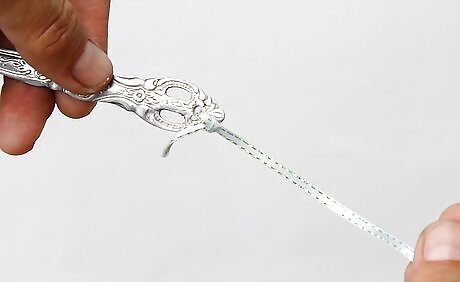
Hang the lower pieces of silverware from the central fork. To begin assembling the wind chimes, cut 5 pieces of fishing line to the length that you want the lower pieces of silverware to hang. Carefully tie the end of each piece of fishing line to the hole in each lower piece of silverware. Cut off any excess length after securing the knot.Make Wind Chimes From Old Silverware Step 5Bullet1.jpg Loop the other end of the fishing line through 1 of the curled tines of the centerpiece fork. Tie a knot to secure it in place. The fifth piece of silverware should be tied to the hole you drilled in the broad part of the central fork.Make Wind Chimes From Old Silverware Step 5Bullet2.jpg
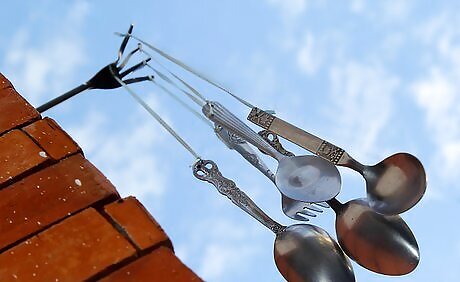
Hang the entire set of wind chimes from your desired location. Now, the 5 lower pieces of silverware should be hanging from the centerpiece fork above. The only remaining step is to tie a piece of fishing line through the hole in the handle of the central fork. This fishing line can then be tied to a hook in your ceiling, covered porch, or another location.


Comments
0 comment