views
Preparing the Resin
Choose a suitable work space and put on protective gear. Look for a place with good ventilation where burns and spills won't matter. Put on gloves and goggles to protect yourself.
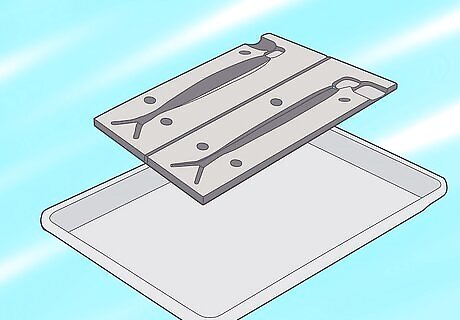
Put your mold on a heat-resistant surface. An old baking pan works well for this purpose. If you're making more than 1 soft plastic lure, you can arrange several molds on the pan.
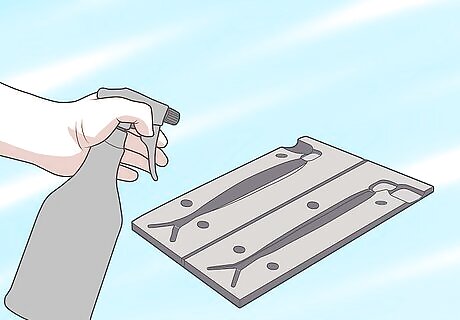
Spray the mold cavities with cooking spray. This will make it easier to remove the soft plastic lure from the mold after it cools and solidifies. Be aware that the cooking spray may affect the smell of the lure.
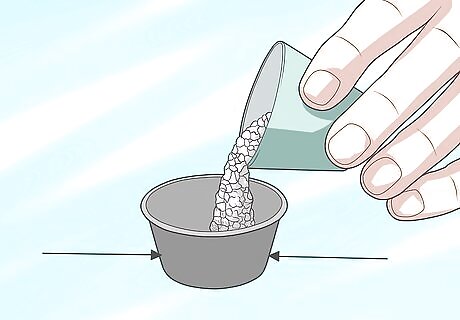
Fill a microwave-safe measuring cup half-full of plastic resin. If you fill the cup fuller than this, you may have difficulty pouring the resin into the mold once it's heated. If you're melting down old soft plastic lures, put them in the cup in place of the resin.
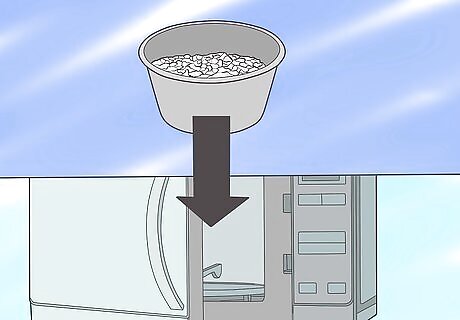
Microwave the resin in 30 second increments until it is clear. As the resin heats, it will first thicken and then thin, changing from a milky white to clear. Microwave the resin in 30 second increments until it is clear. Stop heating at once if you see smoke.
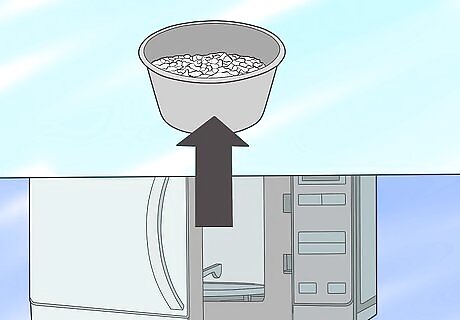
Remove the cup of resin/plastic from the microwave. The cup may be hot, so use a pot holder and exercise caution.
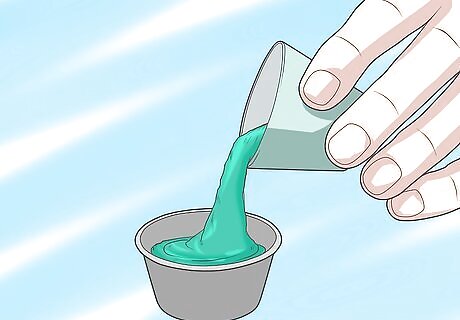
Add a few drops of your desired color. Add the color drop by drop until you have the shade you want. Stir the resin slowly as you add color. Most fish food is either green or orange, so these colors are a great choice. Match the hatch. Look for baitfish, or other types of possible bait living in the area to be fished, and match their colors.
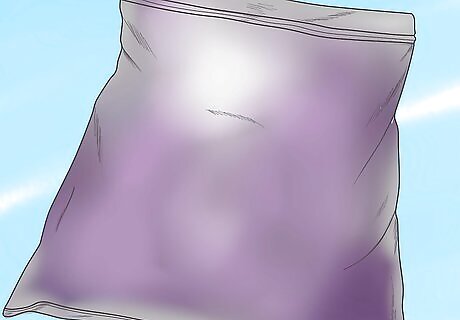
Add scents, flavorings, and glitter if desired. Use only non-metal glitter to avoid starting a fire in the microwave. As with color, add scents and flavorings gradually in small amounts.
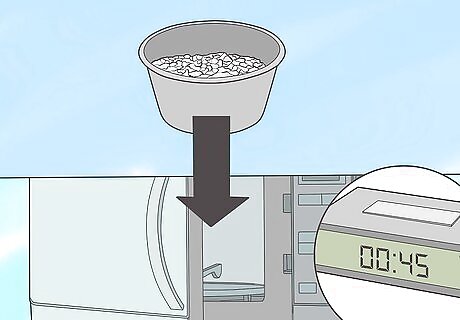
Return the cup to the microwave and heat on high for 30 seconds. This allows the color, flavoring, scents, and glitter to be incorporated into the resin.
Filling the Mold
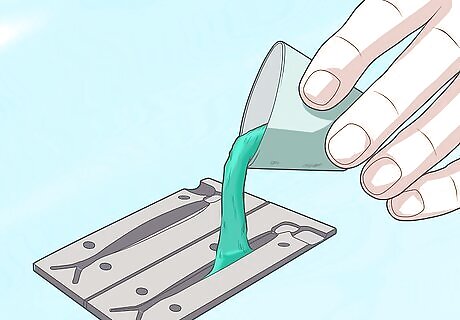
Pour the colored plastic into your mold slowly, filling it. This will prevent bubbles from forming. It may take several tries before you learn to fill the mold to the right level.
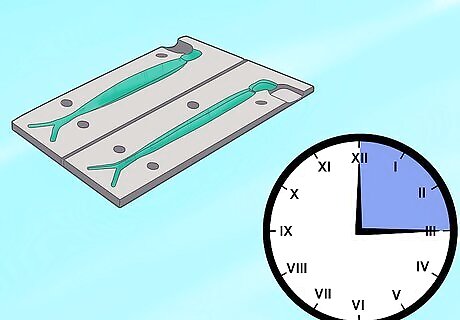
Wait 10 to 15 minutes for the plastic in the mold to cool. You must let the plastic cool before removing it from the mold, or it won’t form correctly.
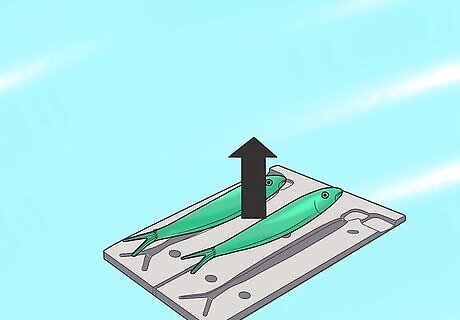
Remove the plastic lure from the mold. Carefully pop the lure out of the mold by turning it upside down and pressing on the bottom of the mold.
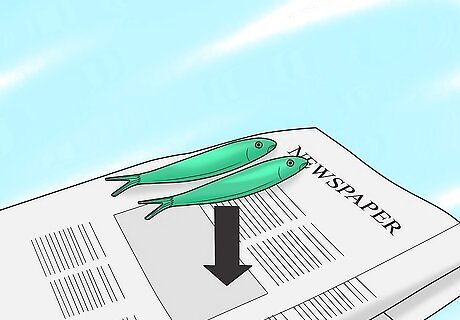
Place the plastic lure on a paper towel or old newsprint to cool overnight. Be sure to lay the molded plastic out flat, as it will set in the position in which you lay it out. If the lure does set in a crooked position, you can melt it down and re-pour it.
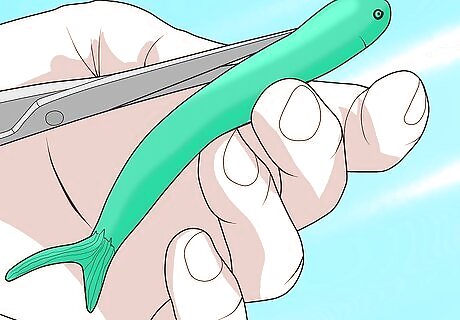
Trim off any excess plastic. First, transfer the soft plastic lure to a cookie sheet or baking pan. Trim the excess with a craft knife, scissors, or a pizza cutter. As you trim the excess, gather it together. You can melt it down and add it to your next soft plastic lure, or you can add the shavings at the very end to add highlights to lures of a contrasting color.


Comments
0 comment