
an "instruction manual."
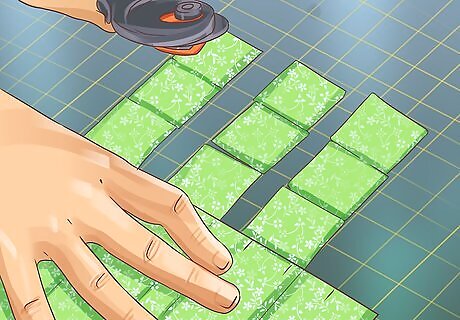
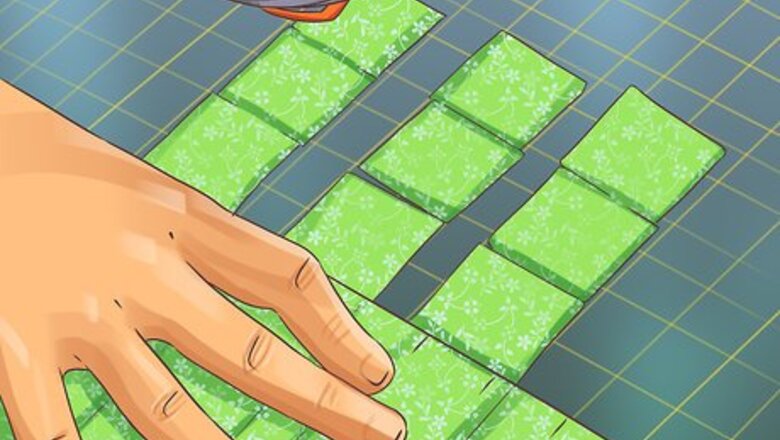
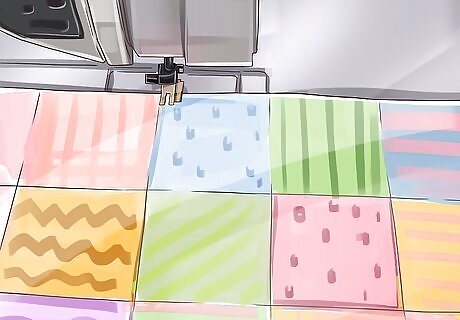
Cut squares of fabric. Make all of your squares the same size. You can use any color you like, but you should make sure the colors coordinate.
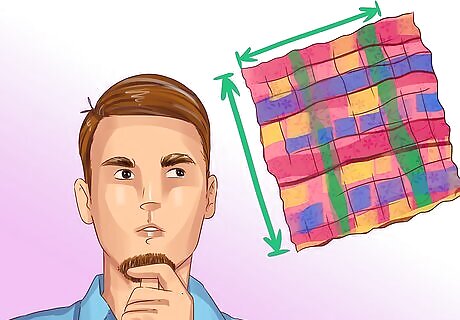
Decide what size you want your quilt to be.
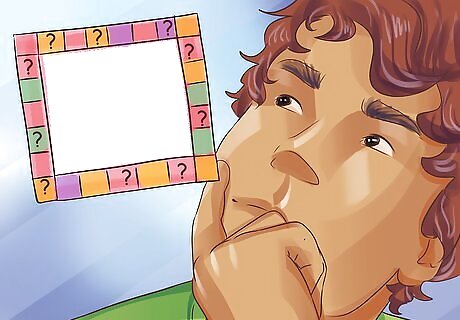
Determine how many of your squares you will need per side. Do this by subtracting half an inch seam allowance (about a finger width) for each side of the square... or one inch total from the width of each square. For example, 5 inch (12.7 cm) cut squares will make 4 inch (10.2 cm) sewn squares. If you want a 36 inch (91.4 cm) wide quilt, you'll need 36/4 or 9 squares per row.
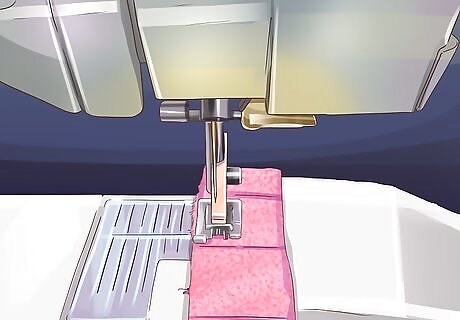
Match up fabric squares and sew them together in rows.
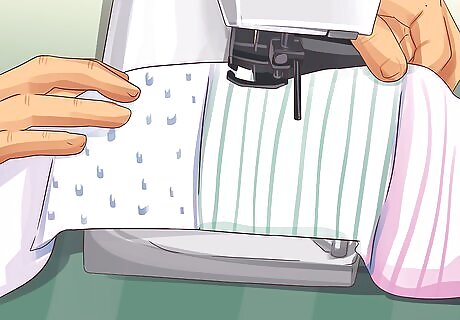
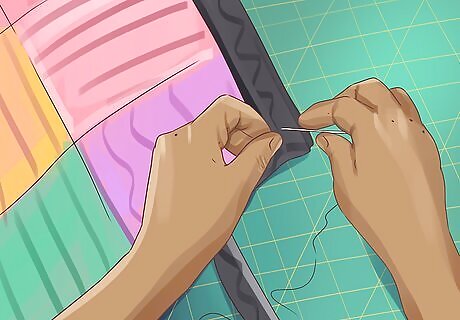
When you have sewn your rows together, proceed to sew the long sides of each row together by matching up the seams, pinning(or basting) and sewing along the long sides of each row of fabric squares.
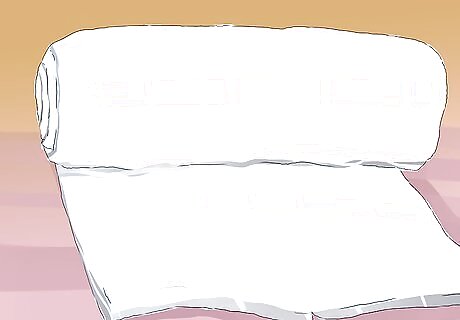
After all rows are sewn together, pick out a backing fabric. This, of course, will go on the back of the quilt. Cut it to be the size of your top... (all those rows sewn together.) plus an inch on each side "just in case".
Purchase enough quilt batting to pad your quilt.
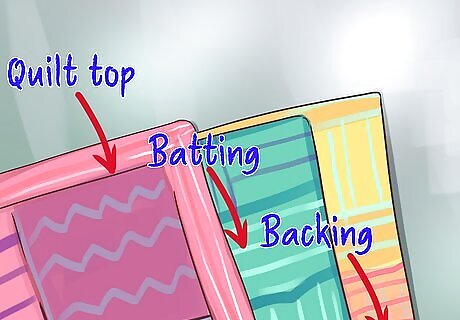
Sandwich your backing, batting and top as they will lay together in the finished product.
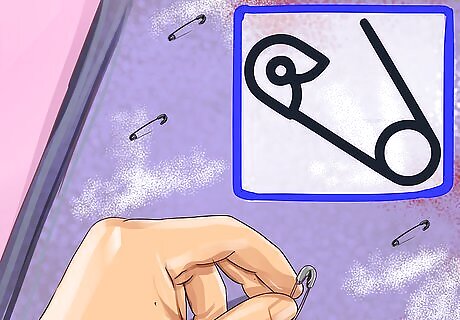
Baste or pin all layers together, smoothing as you go.
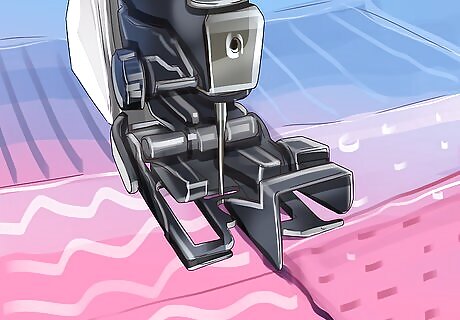
Quilt the quilt by sewing into each crease of fabric, even in between where the pairs are made. This is called "stitching in the ditch", and is one of the easiest methods of quilting.
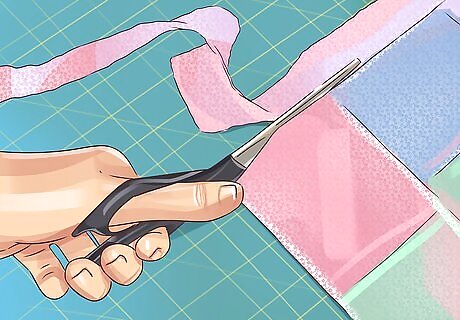
When the quilting is done, trim all edges even.
Finish the edge by sewing on Bias tape.

When finished, give to a friend or family member or keep it for your own baby.


Comments
0 comment