
X
Research source
Instead of melting, it changes directly into a gas, which is called sublimation. [2]
X
Research source
This gas can form into a 'foggy' look and make it resemble a tornado.
Making your tornado using dry ice can be a fun, exciting demonstration to set up for a science fair, to do in science class, or just to explore and learn more about tornadoes. This article will teach you how to make one step-by-step.
Making the Tornado Chamber
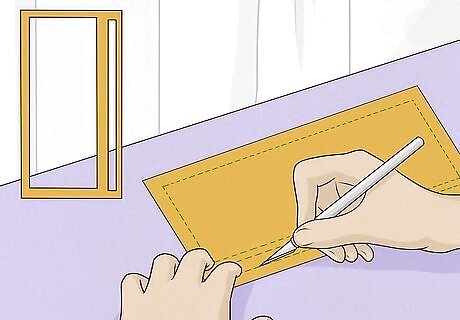
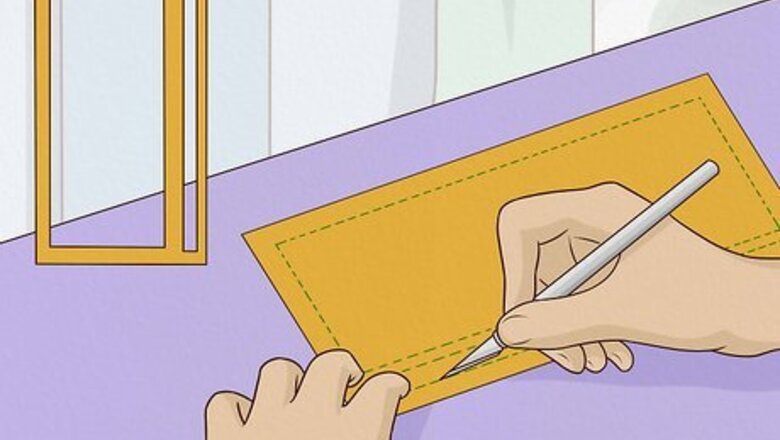
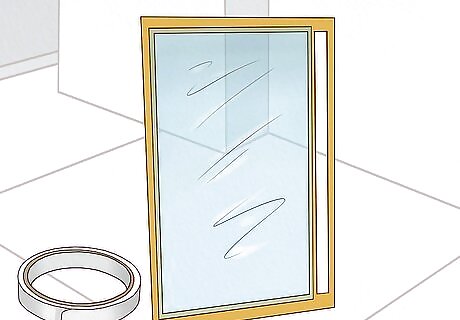
Cut and slit open different areas of the paper box. Using the extract-o blade, slit and cut open the front face of the box. Cut open the top to fit the fan, it should be just a bit smaller than the fan itself. Then slit the sides and back. Finally, cut open the bottom of the box, making the cut bigger than the plastic container.
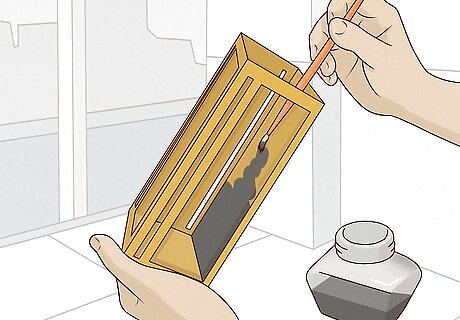
Paint the inside of the box using black paint.
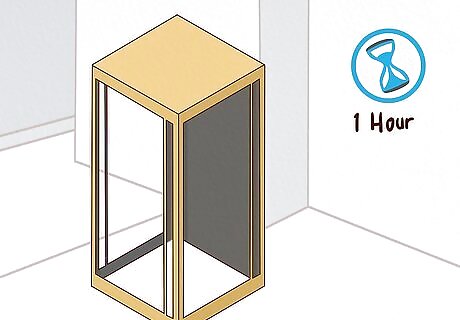
Allow the box to fully dry for about an hour.
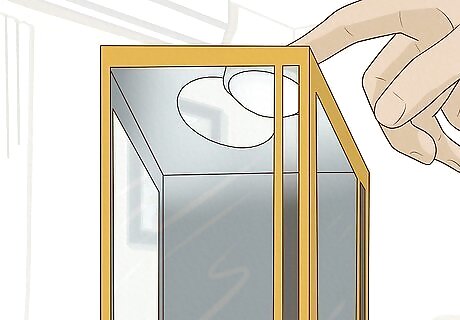
Hot glue or tape the clear plastic on the front of the box. This should resemble a 'window', making it easy to see when the tornado starts. Ensure the nearby slot is open so air can flow through it.
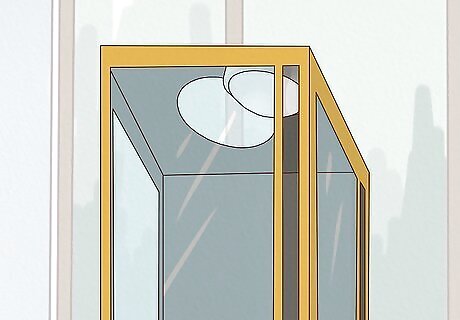
Attach the tap-light on the inside of the top of the box near the fan opening. This is optional but it makes it easier to see the demonstration and tornado.
Starting the Tornado
Turn on the battery powered light if you have attached it on the box.
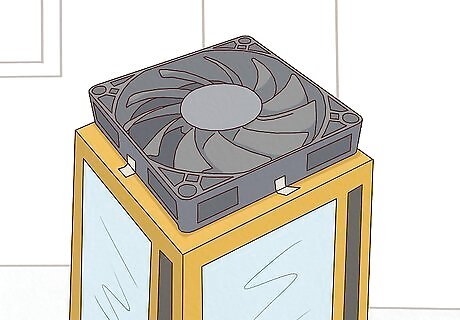
Place the fan onto the top of the box and turn it on. The breeze should be blowing up.
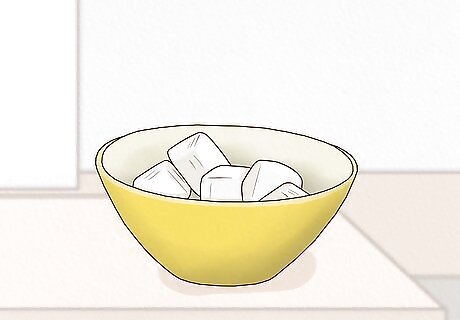
Place small chunks of the dry ice into the plastic container.

Pour the warm water over the dry ice.

Place the tornado chamber over the plastic container.
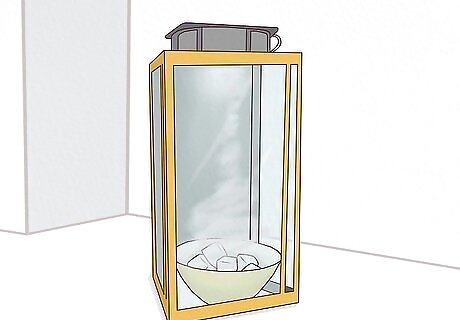
Understand how it works and enjoy. The fan air forces out of the chamber. The air from outside the box is forced in through the slits on the sides, which creates a vortex or spiral of air because the air is taken out of the box. Real tornadoes form in a similar way by using and creating updrafts and wind-shear, when wind is from different directions.


Comments
0 comment