
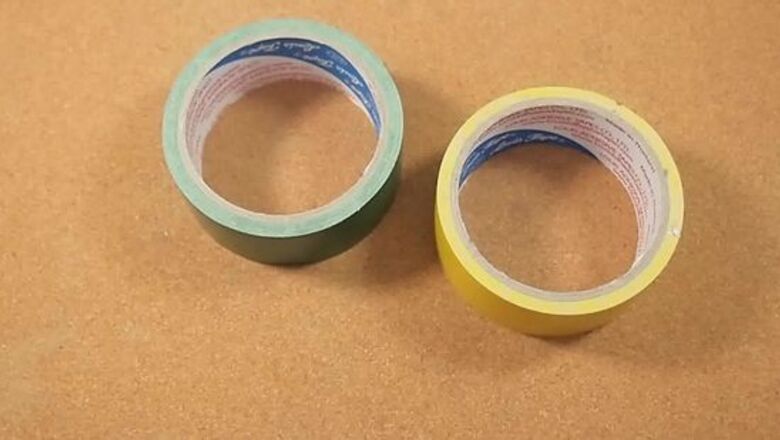
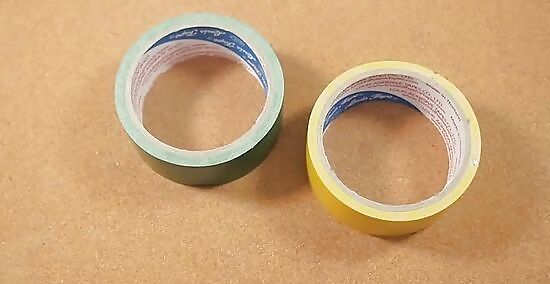
Purchase or locate suitable duct tape. Choose two different colors or patterns for this style of bracelet.
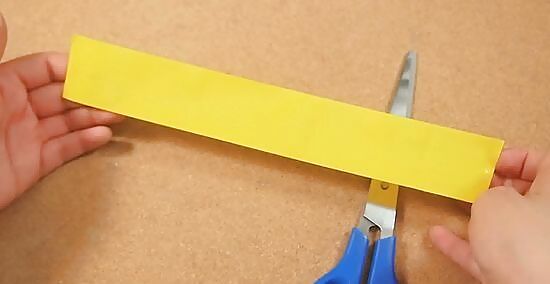
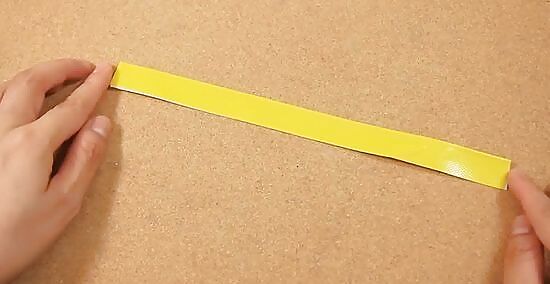
Measure one piece of duct tape long enough to fit your wrist. An easy way to measure, is to wrap the non-sticky side around your wrist and cut it after about an inch (2.5cm). Cut the length, with a little overlap in case. The length should be adequate to allow you to slip the bracelet on and off.
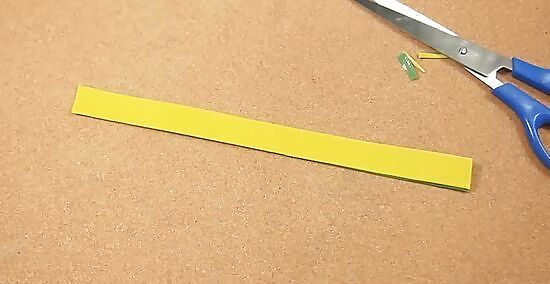
Fold lengthwise. Fold this length of duct tape in half.
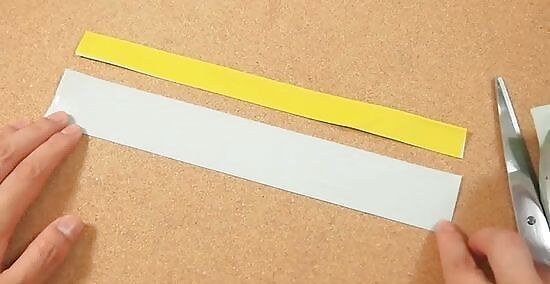
Measure the second piece of duct tape. It should be the same length as the first piece, only in a different color or pattern. Cut the length as before.
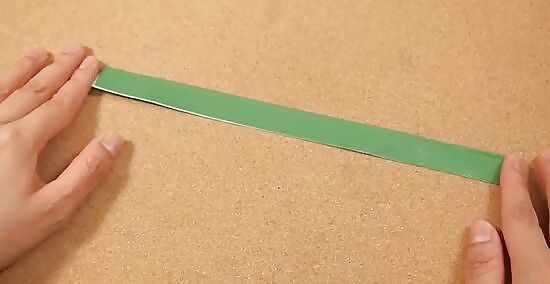
Fold the second piece lengthwise like you did to the first.
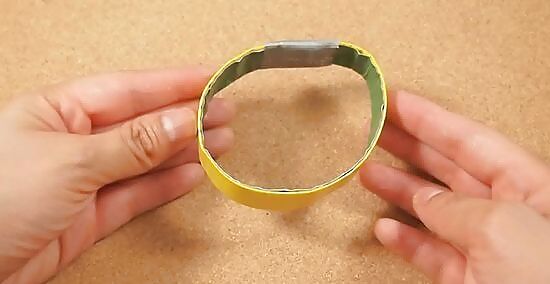
Line up the two lengths of duct tape. Carefully stick them together (either use double sided tape or glue). Use up any extra length at the end to ensure the perfect fit. Trim any edges.
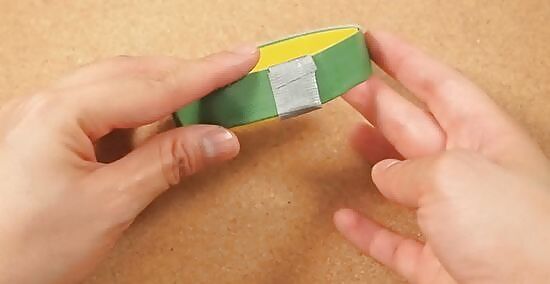
Fasten the ends with duct tape or Velcro™. Velcro™ spots are ideal for easy removal and doing up. All done!
Finished!


Comments
0 comment