views
Folding a Classic Paper Airplane
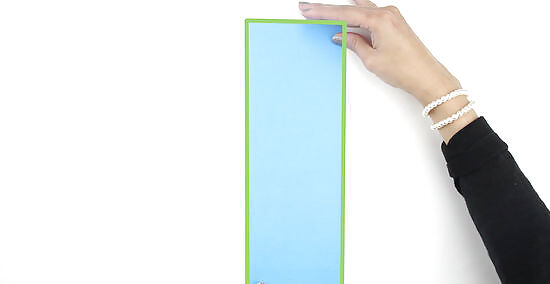
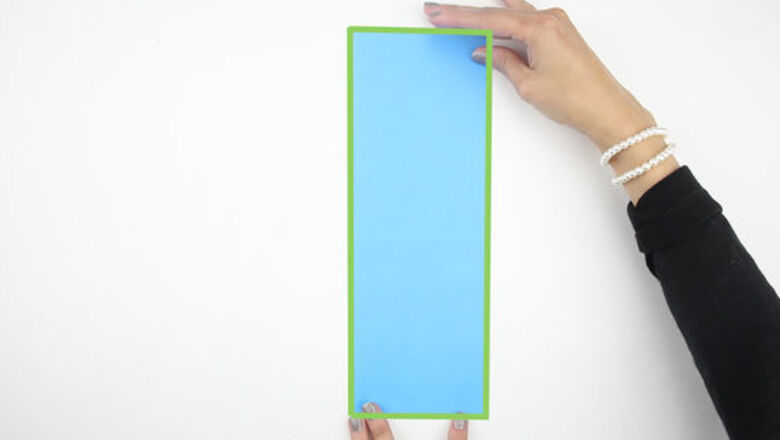
Crease a piece of letter-sized paper in half lengthwise. Get a piece of printer paper that’s a rectangle and lay it on a flat surface. Fold the paper in half lengthwise so the paper looks like a long rectangle. Crease the fold with your fingernail before unfolding the paper again. If you want to make a colored paper airplane, use construction paper instead.
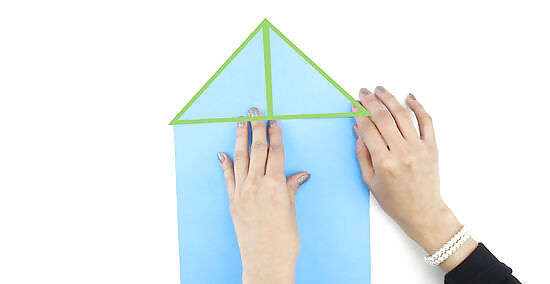
Bring the top corners toward the center crease. Once the paper is flat again, grab one of the top corners and fold it toward the crease you just made to form a triangle. Press along the fold with your fingernail so the fold stays in place. Repeat the fold along the other top corner so the top of your paper forms a point. Make sure the crease points toward you when you’re folding your paper airplane or else you’ll fold the wrong corners.
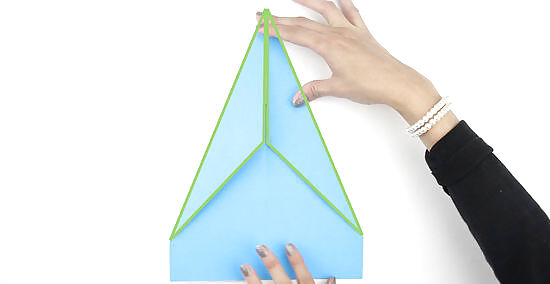
Fold the angled top edges toward the crease again. Grab the new top corner on one side of your paper and fold toward the crease to form a long triangle. Run your fingernail across the fold to secure it in place. Fold the other top corner in the same way so your piece of paper looks like a large triangle. Tip: Try using a ruler or a credit card to press the fold down if pressing it with your fingernail doesn’t work.
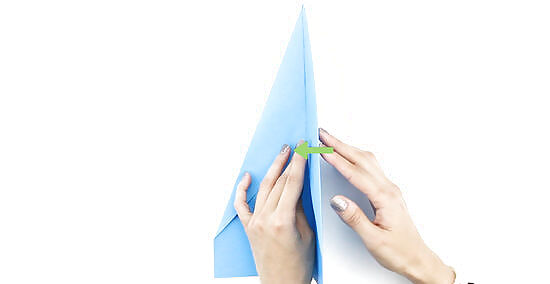
Fold the paper along the centerline. Use the first crease you made as a guide for making your next fold. Fold the airplane in half along the crease so the triangles you made are on the inside. Slide your fingernail across the crease so the fold stays in place. This fold creates the bottom of your plane so it’s easier to hold and throw once it’s finished.
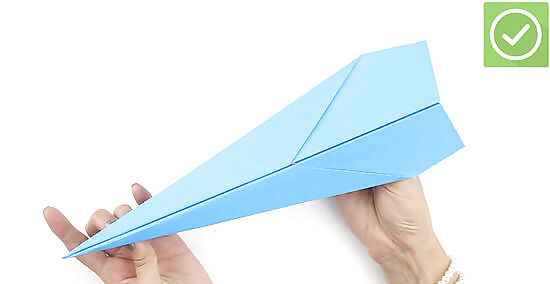
Crease the angled side toward the center fold to create the wings. Bring the angled side of the paper to the fold you just made down the middle. Crease the paper with your knuckle or fingernail. Flip the paper airplane over to create the wing on the other side. Once both sides are creased, unfold them slightly so the plane is flat on top. Make sure your wings are symmetrical to one another so your plane stays level when you throw it.
Making an Advanced Plane
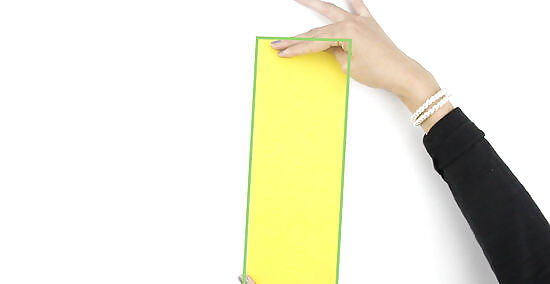
Crease an 8 ⁄2 in × 11 in (22 cm × 28 cm) piece of paper in half lengthwise. Use a piece of printer or construction paper for your paper airplane. Lay the paper on a flat surface and fold it in half lengthwise to create a long rectangle. Press down on the crease with your fingernail before unfolding the paper again. Try using different kinds of paper to add designs and test how it affects your plane.
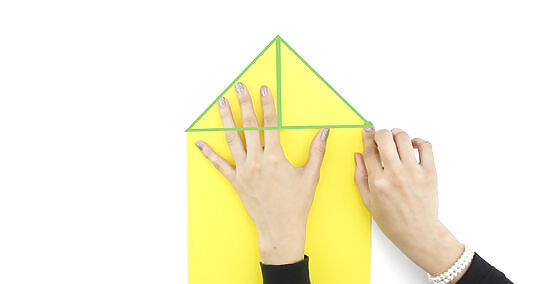
Bring the top corners toward the crease in the middle. Grab one of the top corners and fold it into a triangle so the edge lines up with the crease. Flatten the fold using your knuckle or fingernail so it holds in place. Repeat your fold on the other top corner so there’s a point at the top of your paper. Make sure the crease you folded is pointing toward you when you start folding the paper, or else your folds won’t line up.
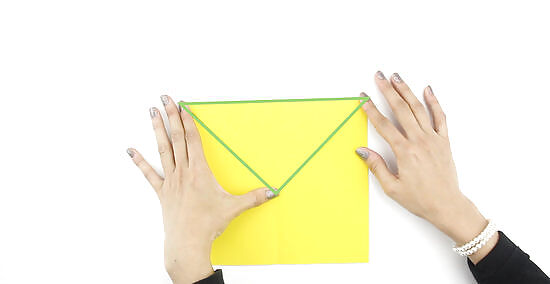
Fold the top point down so there’s ⁄2 in (1.3 cm) left on the bottom. Grab the top point of your paper and fold it down to hide the triangles you just made. Bring the point down until it’s ⁄2 in (1.3 cm) from the bottom of the sheet. Run your knuckle over the fold to secure it in place. Your piece of paper should look like an envelope. Don’t let the point touch the bottom edge of your paper or it will affect the structure of your plane when you’re finished.
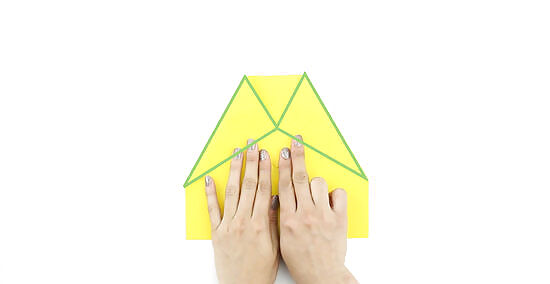
Bring the top corners toward the center. Grab one of the new corners you just made at the top of your paper. Fold the corner over so the edge lines up with the middle crease. Secure your fold by running your knuckle over it. Repeat the fold on the other side so there are 2 triangles. If you want your airplane to have a blunt edge in front instead of a point, fold the top of your paper so only the corners touch the center crease.
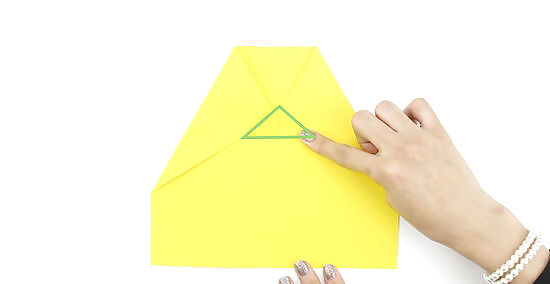
Hold your folds in place by folding the bottom point over them. Crease the point closest to the bottom of your paper so it covers the 2 right angles along the center of your paper. Make sure the fold holds the triangles in place. Your paper should look like a large triangle on top of a narrow rectangle when you're finished.
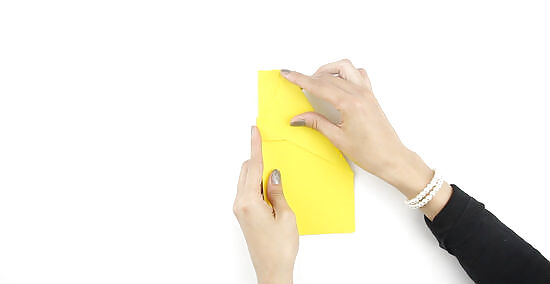
Fold the paper in half along the center crease. Fold your plane in half the opposite way as your initial fold. Keep the previous folds you made on the outside so you can still see the triangles. Press along the fold with your knuckle to flatten it. Don’t hide your previous folds inside or else it will affect your plane’s structure.
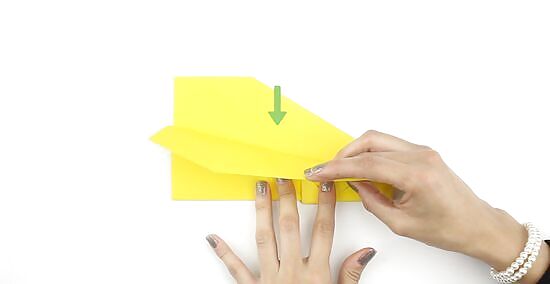
Crease the wings down so they line up on the bottom edge. Take the angled edge of the plane and fold it toward the crease you just made. Flip your plane over and repeat the fold on the other side to make the second wing. Unfold the wings so the top of your plane is flat so it can fly easily. Make sure the wings on your plane are the same size so your plane doesn’t fly to one side.







Comments
0 comment