views
Making a Tied or Knotted Pillow

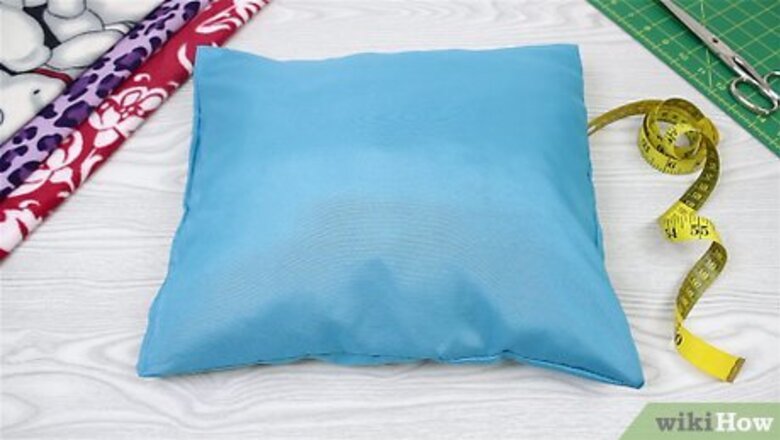
Buy a pillow form. You can also buy fiberfill and fill the pillow with stuffing yourself. This project is easily customizable according to the size of pillow you want to use.
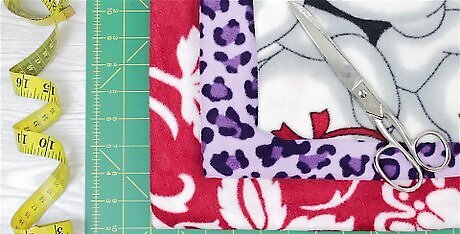
Buy some fleece. You can get really creative here. Lots of people choose a solid color for one piece of fleece, and a coordinating pattern for the other. Some people choose to go simple with two different solid colors. The possibilities and combinations are endless! Depending on the size of your pillow, you will need about 1 yard (0.92 meters) of each type of fleece.
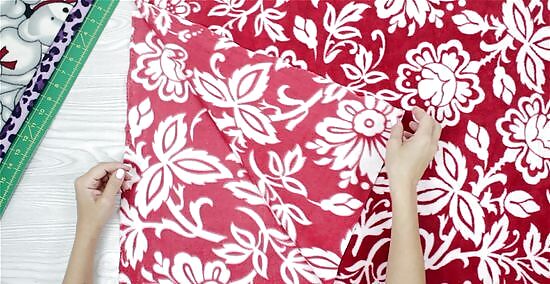
Stack two pieces of fleece on top of each other, with the wrong sides facing in. This is important, because you won't be turning the pillow inside-out afterwards. It may not make much of a difference if you are using a solid color, but some patterned fleeces may be blank on one side, which would make a difference.

Cut the fleece down so that it is 4 inches (10.16 centimeters) longer and 4 inches (10.16 centimeters) wider than your pillow. Use a sharp pair of fabric scissors, or rotary cutter, and a straight edge to cut through both pieces of fleece at the same time. This will ensure that both pieces are even and that they match up. If you are working with a large pillow, or if you'd like a longer fringe, cut the fleece so that it is 8 inches (20.32 centimeters) longer and 8 inches (20.32 centimeters) wider than your pillow.
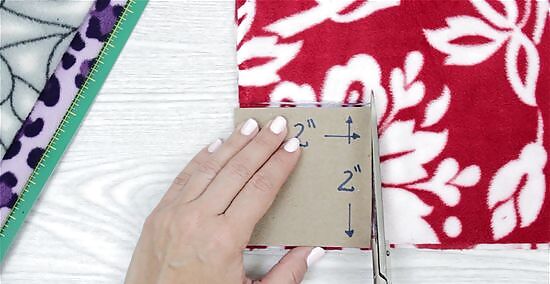
Cut a 2-inch (5.08-centimeter) square out of each corner. This will make your fringe neater in the end. Consider drawing the squares first with a ruler and a piece of chalk to ensure that the squares are neat and even. If they are crooked, your fringe may not turn out right. If you are working with a large pillow, or if you'd like a longer fringe, cut 4-inch (10.16-centimeter) squares out of each corner instead.
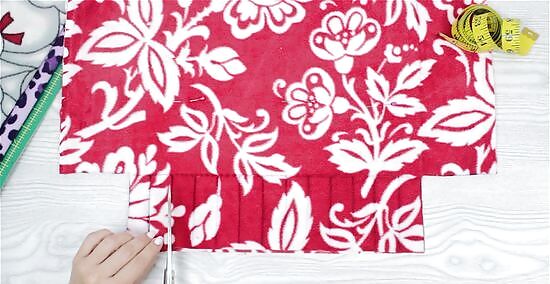
Cut 1-inch (2.54-centimeter) wide, 2-inch (5.08-centimeter) deep slits along all four sides of your fleece. Be sure to cut through both layers of fleece at the same time. This ensures that the fringes match up. Use a piece of chalk to draw the lines, if you need to. If you are working with a large pillow, or if you'd like a longer fringe, cut the slits 4 inches (10.16 centimeters) deep instead.
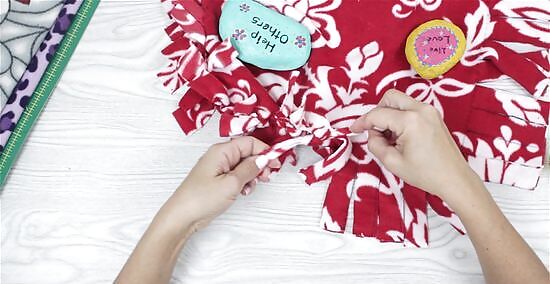
Start tying the fringes together. Tie the top piece to the matching bottom piece in a tight double knot. Keep doing this until you have completed three sides. If you are using fiberfill, tie most of the fourth side shut, but leave four ties undone.

Slide your pillow form into your pillowcase. If you are using fiberfill, simply stuff your pillow with that instead.

Finish knotting the top of the pillow. At this point, your pillow is all done! If you used chalk to mark off your lines, brush it off the fringe.
Making a Woven Pillow

Get a pillow form. You can also get some fiberfill to fill your pillow with instead. This project takes a little bit more time than the knotting version, but the results are well-worth it, because you don't get those bulky knots.
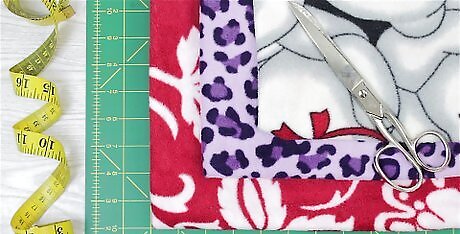
Get some fleece. For a more interesting pillow, consider getting a solid color and a matching pattern. For a simpler pillow, consider getting two different solid colors instead. Depending on the size of your pillow, you will need about 1 yard (0.92 meters) of each type of fleece.

Stack the two pieces of fleece with the right sides facing out and the wrong sides facing in. This is very important because you won't be turning the pillow inside-out at the end. It probably won't make too much of a different if you are using only solid colors, but it may make a different if you are using patterned fleece; sometimes, the pattern may only be on one side.

Cut the fleece so that it is 8 inches (20.32 centimeters) longer and 8 inches (20.32 centimeters) wider than your pillow. Use a ruler and a pair of fabric scissors (or a rotary cutter) to ensure that your lines are straight. Also, try to cut though both layers at the same time. This will ensure that both pieces of fleece match up.
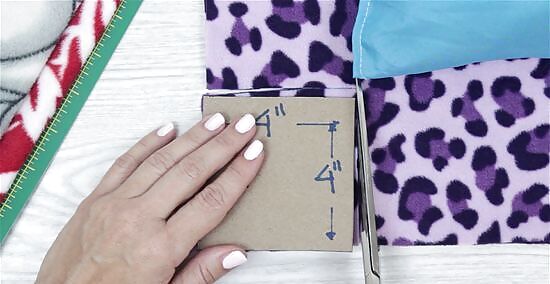
Cut a 4-inch (10.16-centimeter) square out of each corner. If you need to, draw the squares first using a ruler and a piece of chalk. Be sure to cut through both layers of fleece so that everything matches up.
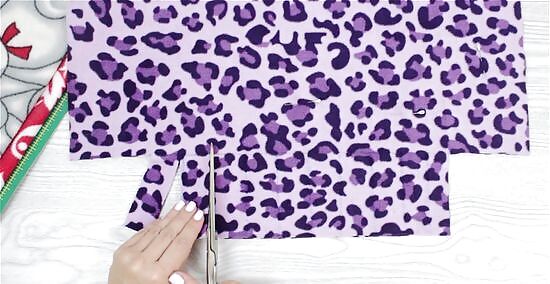
Cut 1½-inch (3.81-centimeter) wide, 4-inch (10.16-centimeter) deep slits into all four sides of your fleece. If you need to, draw the lines using a piece of chalk and a ruler first. Make sure that you cut through both pieces of fleece. This way, you can be certain that the tassels will match up.
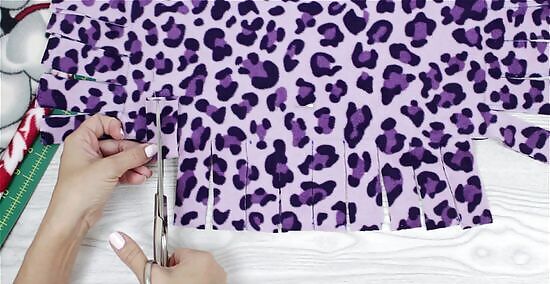
Cut a 1-inch (2.54-centimeter) long vertical slit into each tassel. The slit needs to be centered, and it needs to be at the base of the tassel, where the fringe joins the pillow.

Take your first two tassels, and push them through the slit. Starting at the bottom left corner, take the top and bottom tassels. Keeping them together, push them through the 1-inch (2.54-centimeter) slit, and give them a gentle tug.
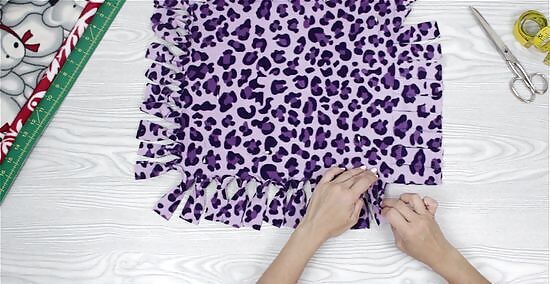
Keep weaving the tassels until you have completed three sides. If you are going to use fiberfill to stuff your pillow with, complete most of the fourth side, leaving only four tassels undone.

Stuff your pillow, then finish weaving the fourth side. Simply tuck your pillow form into the fleece, or stuff it with fiberfill, then weave the opening shut. If you see any chalk on your tassels from before, gently brush it off.
Making a Circle or Heart Shaped Pillow
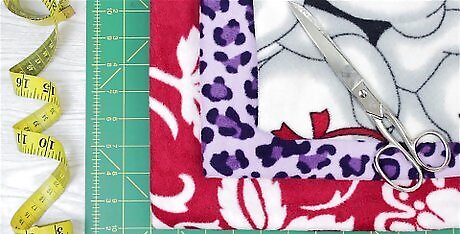
Choose your fleece. The most popular design is a solid color and a matching pattern, but you can use two different solid colors instead. You will need about 1 yard (0.92 meters) of fleece for each color/pattern.
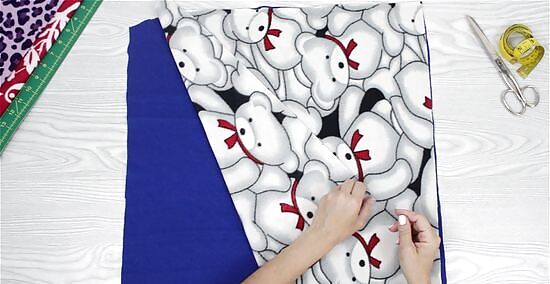
Stack the two pieces of fleece together with the right sides facing out. This is very important. You won't be turning your pillow inside out, so the right sides need to be on the outside from the very beginning.

Trace your pillow or your shape onto the fleece. If you already have a pillow that you would like to use, put it down onto the fleece, and trace around it using a piece of chalk. If you don't have a pillow, simply draw a large circle or heart onto the fleece.
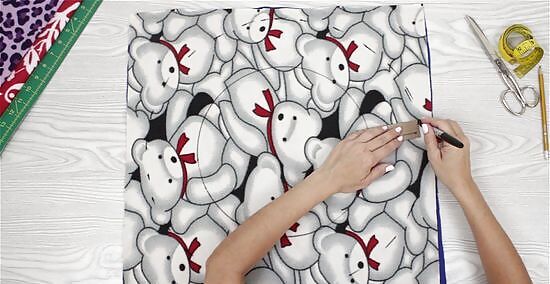
Draw a second shape around the first one, leaving a 2 to 4-inch (5.08 to 10.16-centimeter) border between them. This border will make your tassels. The larger your shape/pillow are, the longer your tassels should be.
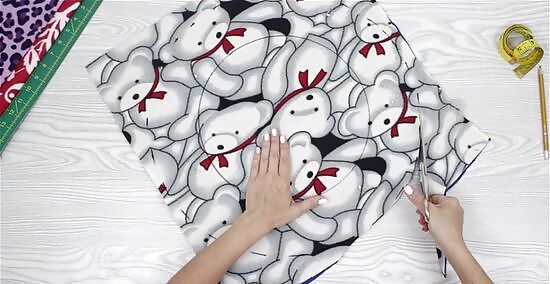
Cut around the larger shape. Do not cut out the smaller shape. You will be using that as a guide for your tassels. Also, be sure to cut through both layers of fleece at the same time. This ensures that both shapes match up.
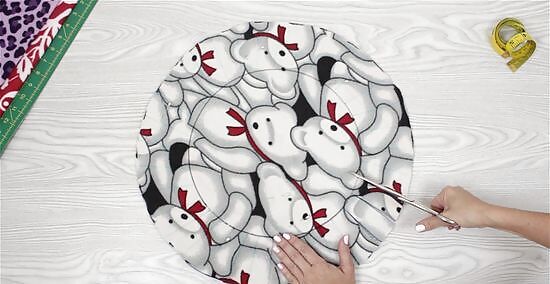
Cut 1-inch (2.54-centimeter) wide slits all around your shape. Make the slits go all the way down to the first shape that you drew. Depending on the space between them, this will be anywhere between 2 and 4 inches (5.08 and 10.16 centimeters). Once again, be sure to cut through both layers of fleece at the same time. # Start tying your strips together. Take your first strip, and tie it to the one just below it in a tight double knot. Keep tying the strips together in a similar fashion until you have four left. If you are using a pillow form, put the pillow between your two pieces of fleece first.

Fill your pillow with fiberfill, then finish tying the strips together. At this point, your pillow is all done and ready to show off! If you feel that the fringe is too long, you can trim it shorter with a pair of scissors.







Comments
0 comment