
Using Settings (Version 1709 and Newer)

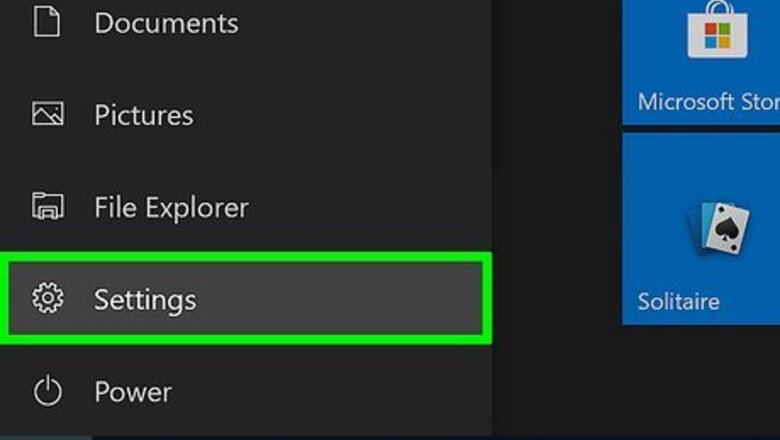
Open the Settings app. Click the Start Windows Start button and select the settings Windows Settings gear.

Go to the Network & Internet category.
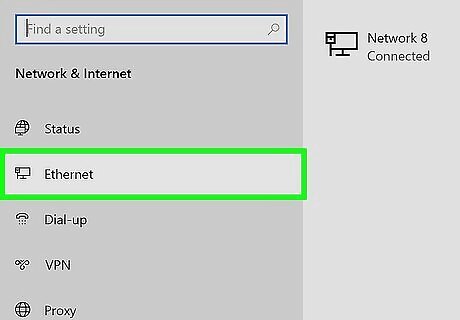
Go to your network type. Click either Wi-Fi or Ethernet from the left pane.
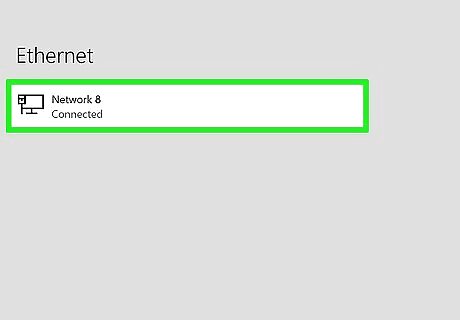
Open the properties of the current connection. Click the name of the current network box in the center portion of the window.

Change the network profile to private. Click the "Private" radio button under the "Network profile" header.
Using Settings (Version 1703 and Older)
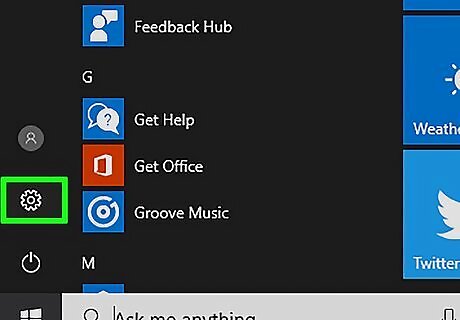
Open the Settings app. Click the Start Windows Start button and select the settings Windows Settings gear.

Go to the Network & Internet category.
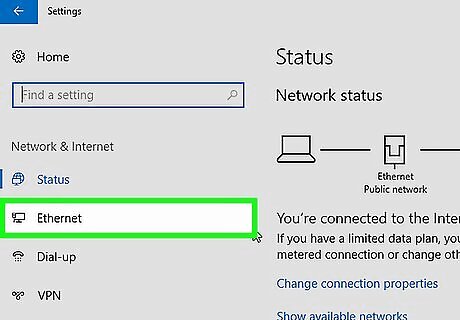
Go to your network type. Click either Wi-Fi or Ethernet from the left pane.
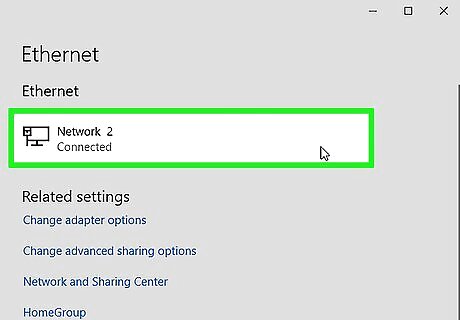
Open the properties of the current connection. Click the name of the current network box in the center portion of the window.
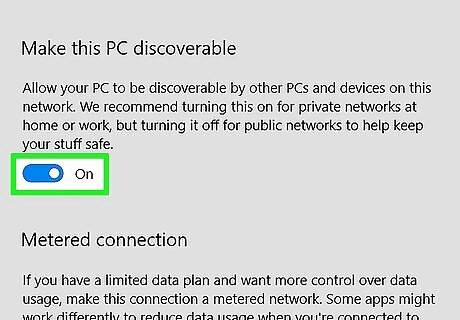
Make your PC discoverable. Toggle on Windows Switch On the switch under the "Make this PC discoverable" header. Doing so will change your connection type to private.


Comments
0 comment