views
Creating the Fascinator Base
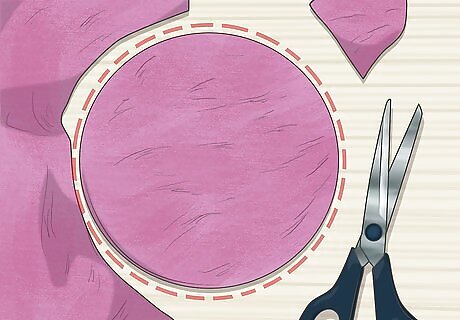
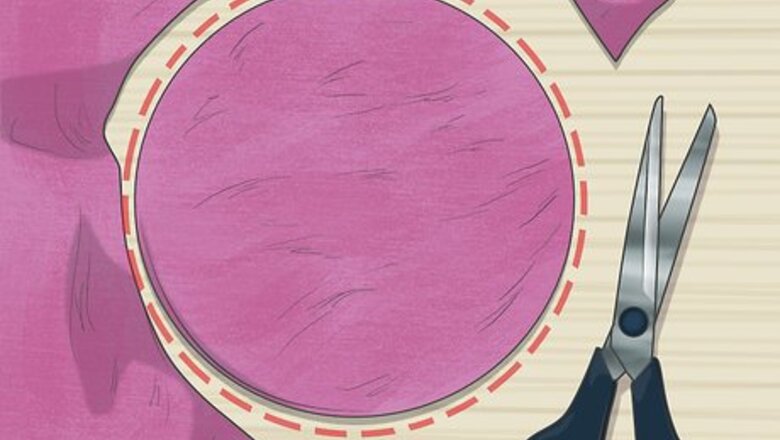
Cut out a 3 to 5 in (7.6 to 12.7 cm) circle of felt. Go with a smaller-sized base if you want a dainty fascinator, or opt for a larger base for something more dramatic. Use a sharp pair of fabric scissors to cut out the circle. You may want to use a circular object, such as a bowl or cup to trace a circle onto the felt before you cut it out. You can cut the felt into a different shape if you prefer, such as a teardrop, oval, triangle, square, or star.
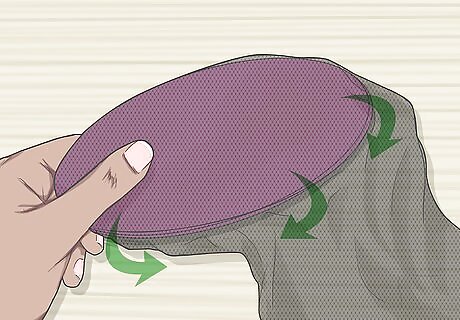
Add 1 or more layers of mesh or tulle to cover up the felt circle. You can do 1 layer for sheer covering of the felt circle, or add more layers for extra coverage and volume. Thread a needle with a matching color thread, and then tie a knot in the end. Lay the desired amount of tulle or mesh over the felt circle and sew along the outer edges of the felt to attach the tulle to the base. You can cut out mesh or tulle to the same size as the base, or cut out larger pieces and drape them over the base.
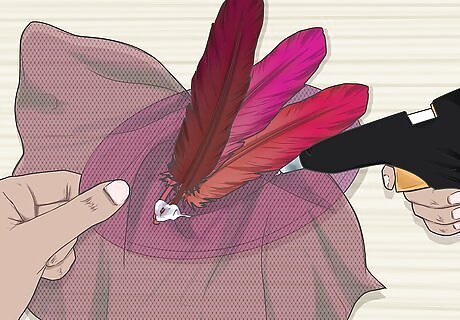
Layer feathers around the felt circle to create a feathery base. You can cover the felt with feathers if you want to make that the backdrop for other items on your fascinator. Apply a dot of hot glue to the felt and press a feather into it. Hold the feather in place for about 10 to 15 seconds. Repeat to add more feathers to the felt base. Use feathers in colors that complement the felt base if you will not be covering it completely, such as pink dyed feathers with a pink felt circle, or peacock feathers with a green felt base. Be careful not to touch the hot glue! It can burn you if it gets on your skin.
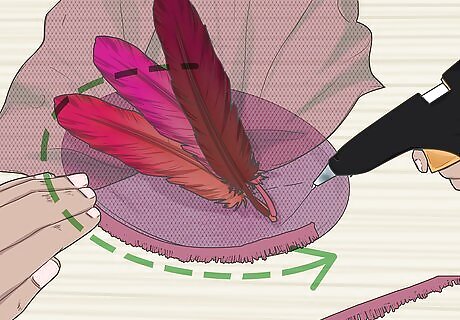
Glue fringe around the felt base to hide the edges. If you want to ensure that the edges of the felt base will not be visible, try adding a fringe trim. Apply hot glue to the outer edges of the felt circle. Then, press fringe trim into the hot glue going all the way around the circle. Choose fringe that will complement the other colors in your design, such as black fringe for a black felt base with red silk flowers.
Accenting Your Base
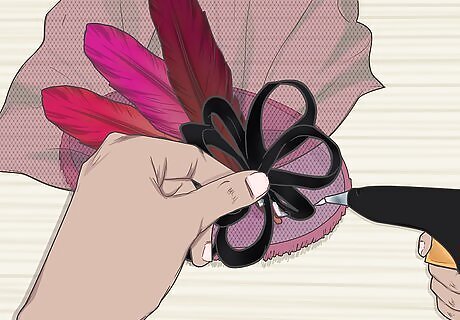
Create ribbon loops and glue them onto your base. Grasp the end of a piece of ribbon and fold it over about 2 to 3 in (5.1 to 7.6 cm) from the end. Then, repeat this as many times as you like to create more loops. Once you have the desired number of loops, staple through the ribbon layers at 1 end to secure the loops. You may also use ribbon that has wire in it for a 3-D effect. Shape the ribbon into loops or waves and then glue the ribbon onto your fascinator base.
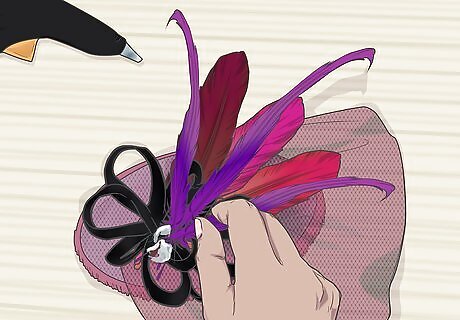
Attach a spray of feathers that match or complement your other colors. Choose a single long feather, or a bundle of feathers to attach to the center of your fascinator. Apply hot glue to the bare ends of the feather to attach them to the fascinator base. Direct the feathers so that the ends are going towards the back or top of your head. You may position the spray of feathers so that the bare ends are at the center of your base or off to one side slightly. Try putting the base on your head and holding the feathers in a few different positions first to see what looks best to you.
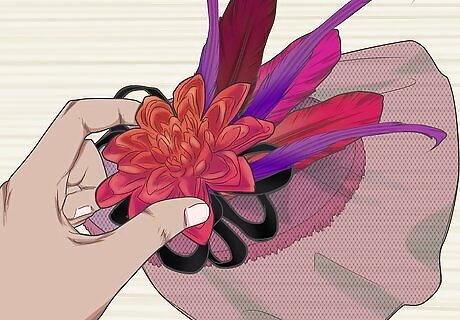
Select a silk flower for an easy pre-made centerpiece. You can purchase silk flowers in almost any variety in a craft supply store or online. Choose a silk flower in the color and style that will complement the other elements in your fascinator. Cut off the stem so that the bottom of the flower is flat. Then, apply hot glue to the back of the flower and press it into your base. You can position the silk flower in the center or off to 1 side. For an extra flowery fascinator, try surrounding the silk flower with other smaller ones, or layering petals around the main flower. You could also add silk leaves and trail a vine off 1 side of the fascinator.
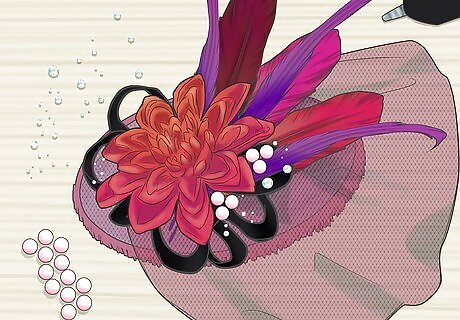
Glue on beads, sequins, paste-gems, or buttons to accent your base. You can glue on a single large bead, sequin, or button as a centerpiece, or use a variety of smaller beads, sequins, and buttons to accent your fascinator. Apply a dot of hot glue where you want to attach a bead, sequin, or button, and then press the item into the hot glue and hold for about 10 to 15 seconds. To avoid burning your fingers on the hot glue, try pressing the item in place with the back of a pen or pencil.
Securing the Base to the Hairpiece
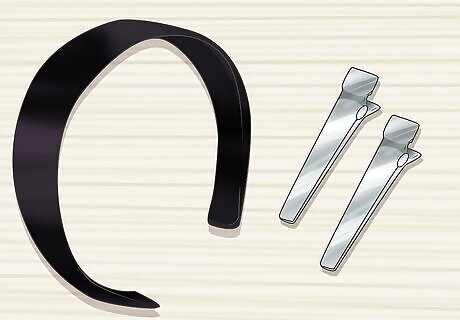
Opt for a headband or large metal hair clip to secure your fascinator base. These types of fascinator bases will provide the most stability. Opt for a 1 in (2.5 cm) or wider headband or a 3 in (7.6 cm) hair clip. Avoid using combs and small clips because these may not be strong enough to keep the fascinator on your head. Make sure the headband or hair clip does not have any bumps, glitter, or other items on its surface that might make it hard to glue your fascinator in place. Opt for a plain, smooth-surfaced headband or hair clip. Try on the headband first to ensure that it is snug, but not too tight. A headband with texture on the underside will work best for keeping the fascinator on your head.
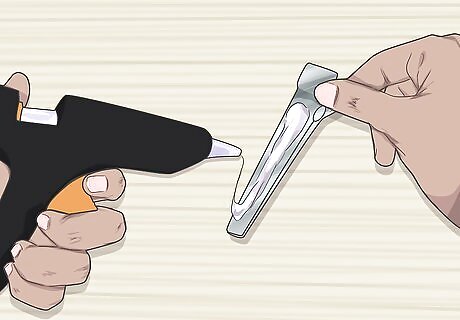
Apply a thick line of hot glue to the top of the headband or hair clip. If using a headband, apply enough glue to cover the diameter of your felt base, and position the line of glue so that it is slightly off to the side you want to wear the fascinator on. For example, if you want to wear the fascinator so it tilts to the right, apply the line of glue starting at the center of the headband and going to the right. Do not apply hot glue to the inside of the hair clip, or you may not be able to reopen it.
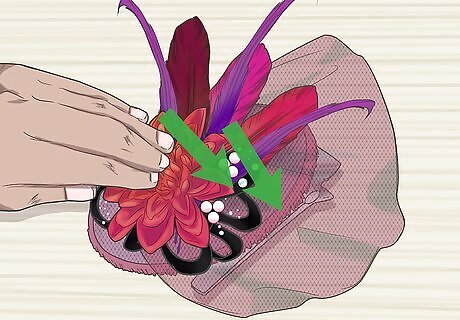
Press the felt disc onto the headband or barrette. Press the bottom of the felt disc onto the line of glue on the headband immediately after you apply it. Hot glue dries quickly! Hold the felt base tightly against the headband or hair clip for about 30 seconds to ensure that it is completely dry. Your fascinator is complete after the glue is dry! Try it on and see how it looks.







Comments
0 comment