
Decide on the size and style you want your tripod to be. Some people will choose a round shape, while others prefer a rectangular cube.
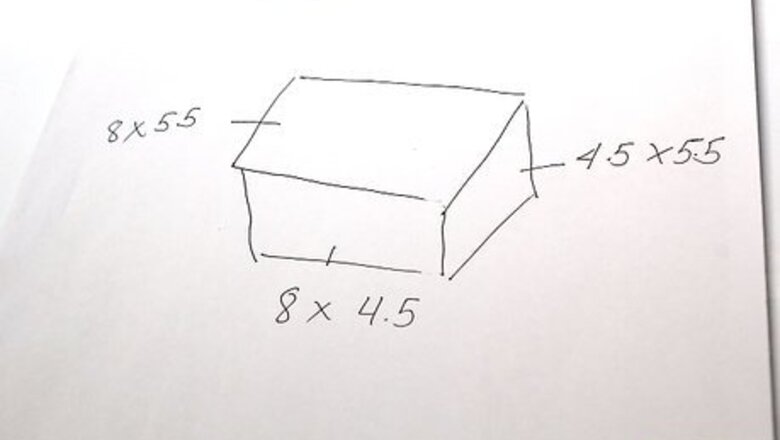
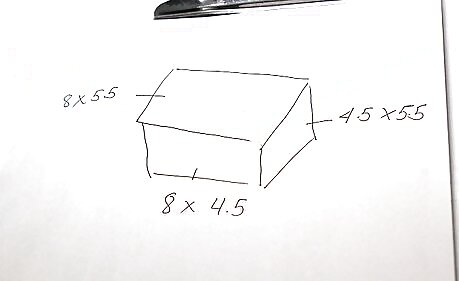
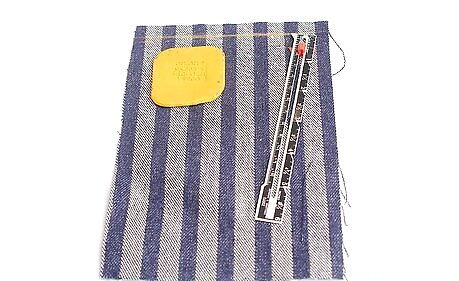
Create some templates of the appropriate size for what you are making. The one shown in the article measures 8 x 5.5 x 4 inches (20cm x 14cm x 10cm). Cut out two templates for each shape.
Take an 8 x 5.5 inch (20cm x 14cm) piece and attach it to a 4 x 5.5 inches (10cm x 14cm). Make sure the outer parts of the beanbag are all touching each other. You will be inverting the beanbag when done.

Create or visualize about a 1/2 inch (1.27cm) seam line and sew there. At the corners, be sure that you have a tight seam at the corners.
Double sew the seams to make sure that they hold.
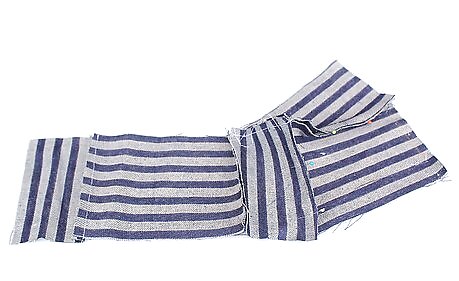
Continue matching the lengths. For example, match the 4.5 with 4.5 (11.5cm with 11.5cm), etc. Continue to do this until you have formed a cube.
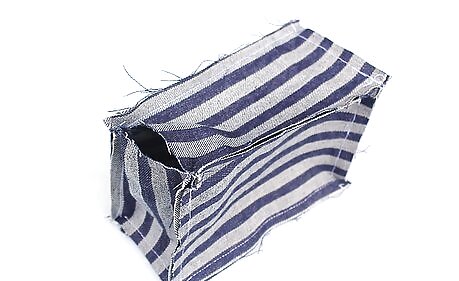
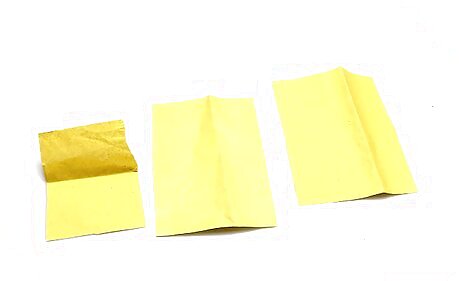
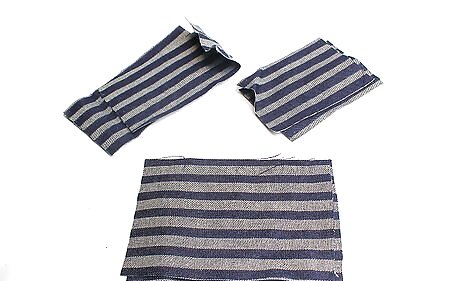
Do this until all of the seams, except for one short one, are closed.
Invert the bag that you have just created.
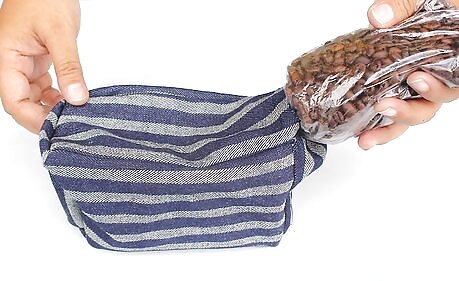
Cut the corner of the bag if the beans are still bagged. Then carefully pour them into the beanbag. If you have a funnel, you can use that, depending on how much this improves the flow.
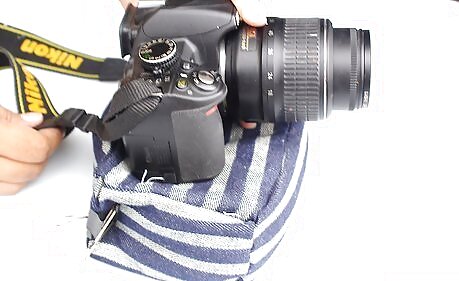
Determine whether the bag will work as a tripod. To do this, clip the hole in the beanbag so that the beans can't fall out and use it. If you're pleased with the results, it can be sewn up; if not, make the necessary adjustments first.
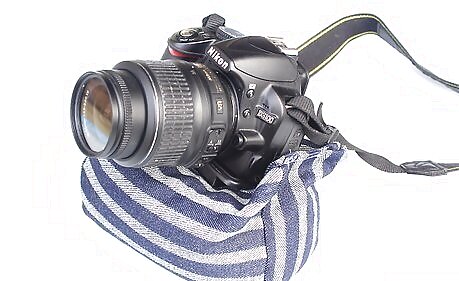
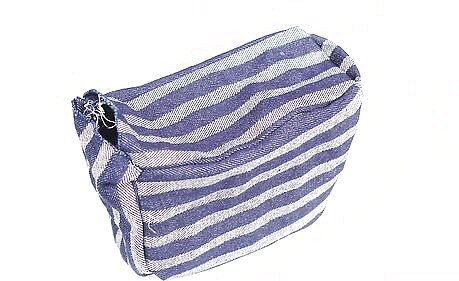
Sew the beanbag tripod together so that the beans won't fall out. Remember to take it with you for photo shoots.


Comments
0 comment