views
Inspecting the Stitches
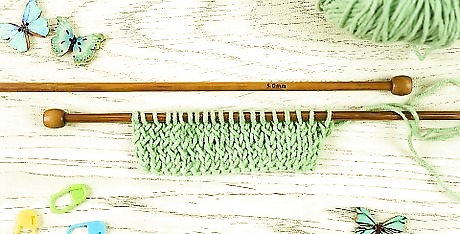
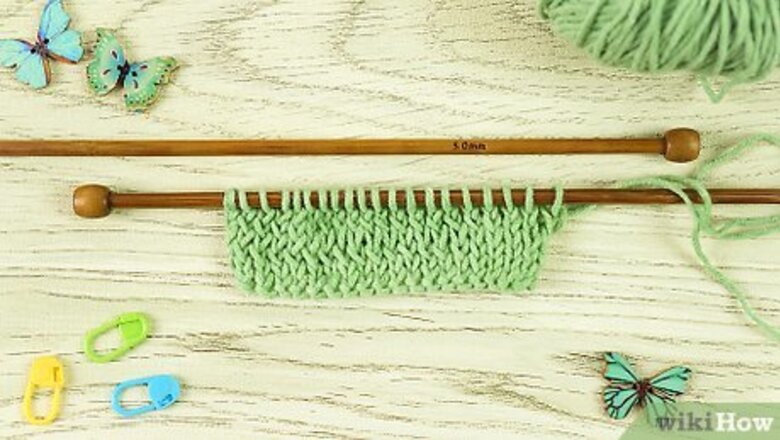
Look for rows of raised, wavy stitches to find the wrong side. Wavy stitches are called purl stitches and purling always appears on the wrong side of the work. If you see wavy purl stitches, you're looking at the wrong side. The side with flat braided stitches is the right side (or the knit side). The right side feels flatter and smoother than the wrong side.
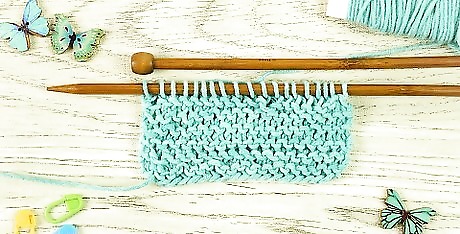
Use the first row to identify the right side if the sides look identical. Garter stitch patterns won't have wavy purl stitches on the wrong side. Instead, both sides of the work look identical. To find the right side, check where your cast on tail is after knitting the first row. When the cast on tail is in that position, you're looking at the right side of the work. The first row and every odd numbered row after that is right side facing. For non-garment items, like toys or blankets, consider the piece reversible. Either side can be the right side.
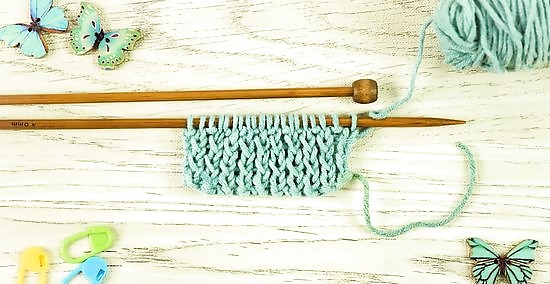
Check for columns of wavy, bumpy stitches to identify the wrong side. Ribbing patterns have vertical, alternating columns of knit and purl stitches. The side with vertical rows of wavy purl stitches is the wrong side.
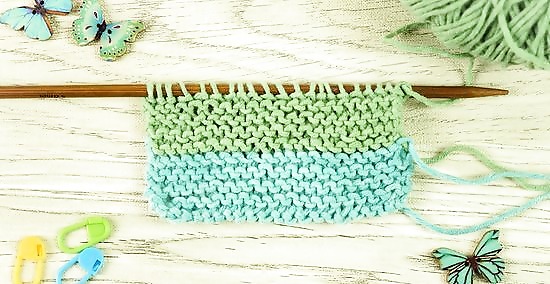
Find a row with a gap to identify the wrong side of multi-colored work. If the swatch has more than 1 yarn color, look closely at the row where 1 color changes to the next color. The side that shows a row with a small gap in between the colors is the wrong side. The right side looks like normal and has no gaps between the rows. This trick works for any stitch with identical-looking, like the garter stitch.
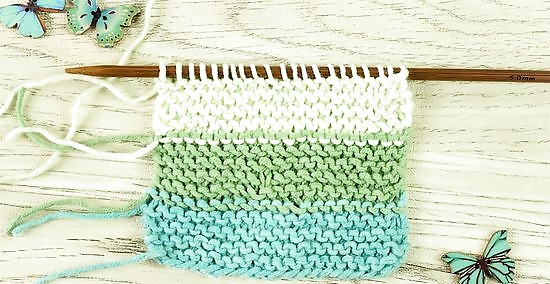
Look for loose yarn to spot the wrong side. When you’re knitting a specific pattern with multiple color changes, it’s easy to tell the sides apart! The right side is the side with the stitching and colorful pattern on it. The wrong side has loose strands of yarn and the stitches look random.
Reading Pattern Instructions
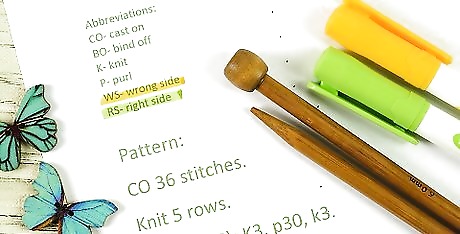
Note that RS is the right side and WS is the wrong side. Knitting patterns use RS (right side) and WS (wrong side) to indicate what kind of stitch you should do for that row. For example, directions for a stockinette stitch might look something like this: Row 1 (RS): Knit. Row 2 (WS): Purl.
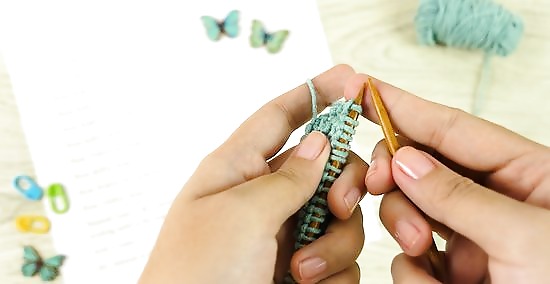
Flip the work over at the end of each row to work on the reverse side. When all of the stitches on 1 needle have been transferred to the other needle, you've reached the end of a row. Flip the work and place the needle with the stitches on it in your left hand and start the next row. For example, if you're knitting stockinette, flip the work when you reach the end of the first row and do the next row with purl stitches. The pattern directions might look like: Row 1 (RS): Knit. Row 2 (WS): Purl.
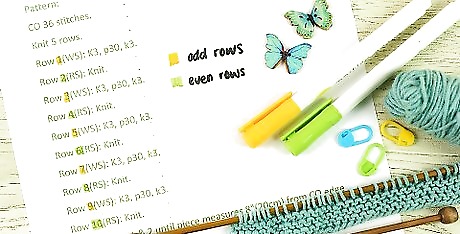
See if even and odd rows are labeled on the pattern. The first row of a knitting pattern is considered the right side, and the second row is considered the wrong side. Since one is an odd number, all of the odd rows are right side facing. The even rows are on the wrong side.
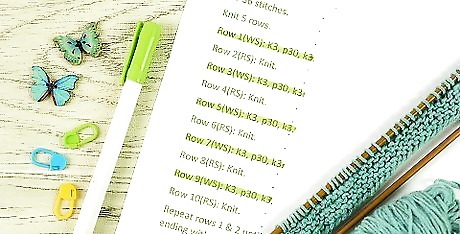
Highlight odd rows on the pattern to track which side is which. If your pattern doesn’t label the rows as even or odd, simply find the first row on the paper pattern and highlight it. Then, highlight all of the odd numbered rows after that. That way, when you’re looking at the pattern, you know the highlighted rows are right side facing and the even rows are wrong side facing. For example, you would highlight this on your pattern since it’s the first row: Row 1 (RS): K1, kfb, knit to end [1 st inc].










Comments
0 comment