views
Mark where your lanscape timbers will go.
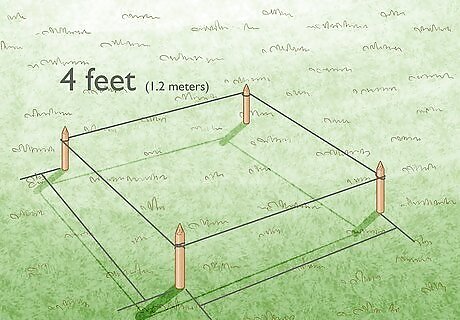
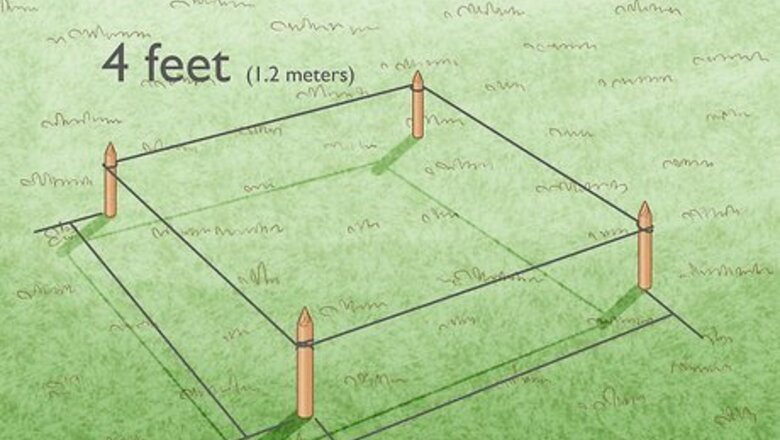
Set up mason lines to mark the locations of your landscape timbers. For a simple garden edge with a rectangular design, set up stakes at all 4 corners of your garden, and pull a mason line taut between each stake. If your planned garden is large enough that it’s difficult to keep a single line taut between two stakes, add an additional stake midway along your garden’s length or width. If you don’t have a mason line, any other kind of string can work just as well. For ease of access, try not to have your timbers set at a width of more than 4 feet (1.2) meters from each other if you’re planning on creating a garden. Although the length of the rectangle can be as long as you’d like, if the rectangle is too long, it’ll be difficult to reach your plants without stepping in your garden.
Create trenches for your timbers.
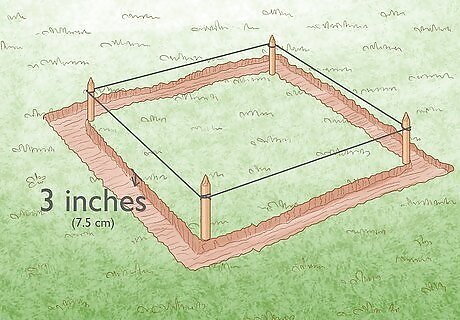
Dig trenches 3 inches (7.5 cm) deep along the mason lines. For tough turf, use a sharp spade. These trenches will need to be wide enough to accommodate the size of your timber—usually 4 to 6 inches (10 to 15 cm) across. Remove as much organic matter, like roots or other plant residue, as you can. If you’re working on a shallow slope (under 10 degrees), dig approximately 8 inches (20 cm) into the ground from the higher end of the slope. For steeper slopes, dig 12 inches (30.5 cm) into the ground.
Even out the bottom of the trenches.
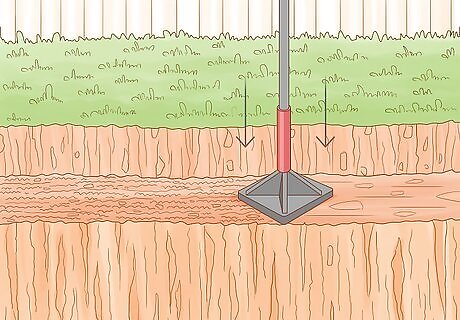
Tamp down the ground to create a level surface. Run a level along the bottom of your trenches, removing or adding dirt as needed to create a level surface. With your hands or the back of your spade, tamp down the soil at the bottom of the trenches. To add longevity to your timbers, add a layer of sand or gravel about an inch (2.5 cm) thick to the bottom of your trenches.
Add landscape fabric (optional).
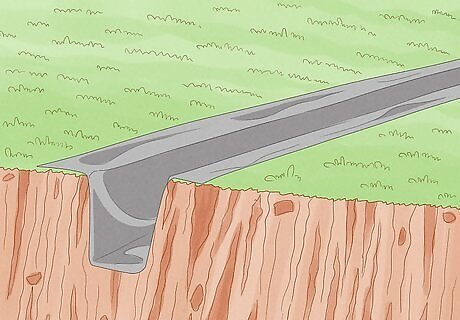
Install landscape fabric if you want to keep out weeds. To do this, roll landscape fabric over the trenches, then drive it into the ground with small stakes and a hammer. Trim any extra fabric that hangs out over the edges. This step is optional—if you aren’t worried about weeds in or around your trenches, it’s okay to skip this step.
Cut your timber to fit the trenches.
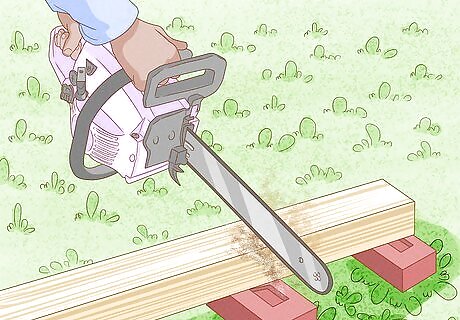
You may need shorter pieces of timber to fill out your trenches. Measure the length of each trench, and use this information to decide how many pieces of timber you’ll need. If you need a shorter piece of timber at the ends of each trench in order to match its length, mark the length of timber you need on a longer piece, then cut it. A circular saw works great for this, but a hand saw can also do the trick.
Place your timber into the trenches.
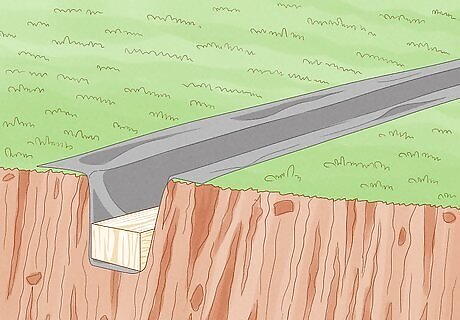
Line up the pieces of timber so that they’re a snug fit in the trenches. Use a level after placing each log so that you can be sure they’re level against the ground. If a piece isn’t flat against the ground of the trench, add or remove some soil from underneath it. To make sure your timber edging lasts for a long time, use rot-resistant wood. Cypress, cedar, redwood, or pressure-treated wood can last beyond 7 years, while less durable options might need to be replaced earlier.
Build your second layer of timber (optional).
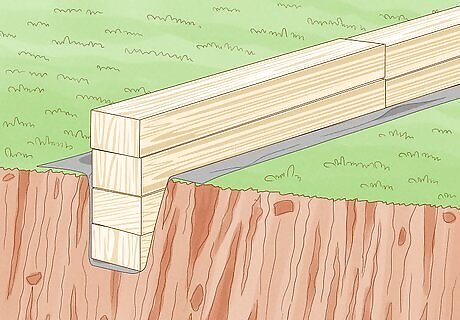
Place a second layer of timber on top of your first layer. Be sure that the layers of timber line up smoothly. If you’re having trouble making sure the second layer is level, place wood shims between the levels. This step is only necessary if you want a taller garden edging. If you’re satisfied with the height of a single layer of timber, there’s no need to install a second.
Drill holes into your timber.
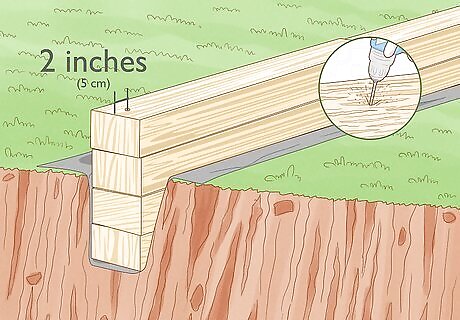
Drill 2 holes on each log, 2 inches (5 cm) from each end. Pre-drill your wood with a power drill. Use a drill bit that is slightly smaller than the size of the rebar stakes that you’ll eventually be placing into it. By doing so, you can prevent your wood from becoming damaged. If you have 2 or more layers of timber, drill through all of them at the same locations.
Secure the timber to the ground.
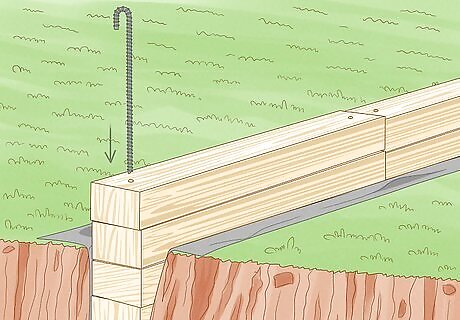
Driving rebar stakes into the holes you drilled will secure your timber. Place the end of a rebar stake into the hole that you pre-drilled. Then, drive it through the wood and into the ground with a hammer. Use a hammer to push the rebar stakes through the timber, ideally using rods or rebar stakes long enough to be driven 2 feet (0.6 meters) into the ground.
Clean up the area around the edging.
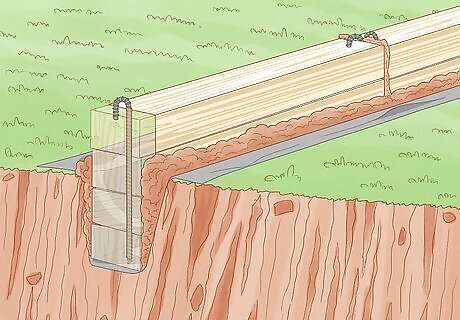
Tidy up the edging by filling in any gaps with dirt. For any areas near the timber that aren’t level with the ground around it, add dirt or soil. Tamp down any gaps that you’ve filled with soil. This will keep your timber even more secure and create an attractive garden edge.


Comments
0 comment