
Inserting the Image

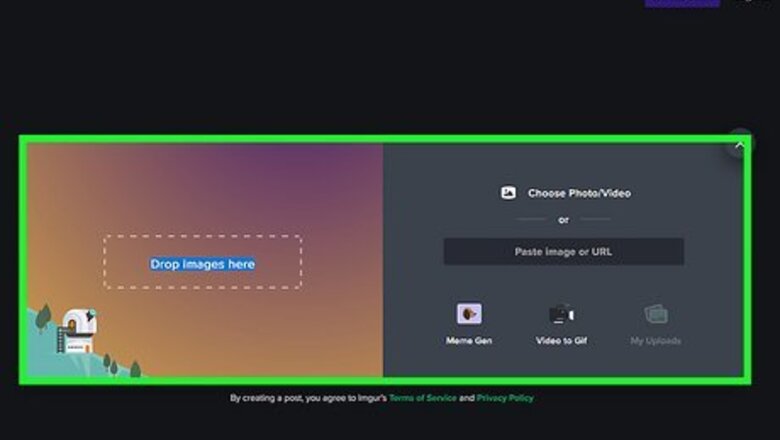
Upload your image. There are many free image hosting services, such as Picasa Web Albums, Imgur, Flickr, or Photobucket. Read the terms carefully. Some services will reduce your image quality, or take down your image if too many people view it (since this uses up the host's bandwidth). Some blog-hosting services let you upload images using the blog administrator tools. If you have a paid web host, upload the image to your own site using an FTP service. Creating an "images" directory is recommended to keep your files organized. If you want to use an image on another website, ask the creator for permission. If she grants it, download the image, then upload the image to an image hosting site.
Open your HTML file. Open the HTML document for the web page where the image will be displayed. If you are trying to insert an image on a forum, you can type directly in the post. Many forums use a custom system instead of HTML. Ask for help from other forum-goers if this doesn't work.
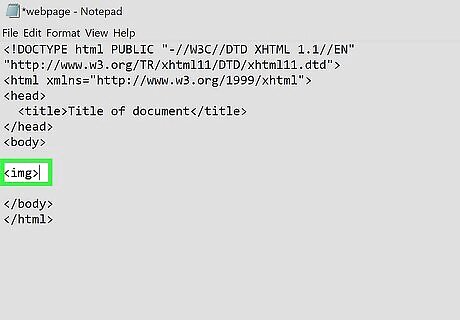
Begin with the img tag. Find the point in your HTML body where you'd like to insert an image. Write the tag here. This is an empty tag, meaning it stands alone, with no closing tag. Everything you need to display your image will go inside the two angle brackets.

Find the URL of your image. Visit the web page where your image is hosted. Right-click the image (control-click on Mac) and select "Copy Image Location." You can also click "View Image" to see the image alone on a page, then copy the URL in your address bar. If you uploaded the image to an images directory in your own website, link to it with /images/yourfilenamehere. If this doesn't work, the images directory is probably inside another folder. Move it up to the root directory.
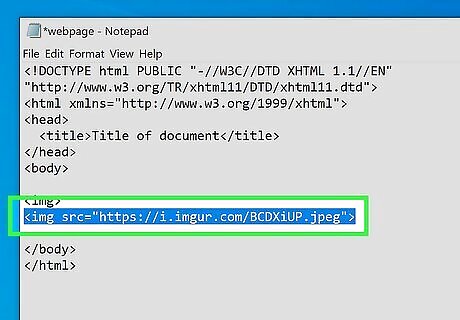
Place the URL in a src attribute. As you may already know, HTML attributes go inside a tag to modify it. The src attribute is short for "source," and tells the browser where to look to find the image. Write src=" " and paste the image URL in between the quotation marks. Here's an example:


Add an alt attribute. Technically your HTML has everything it needs to display the image, but it's best to add an alt attribute as well. This tells the browser what text to display when the image fails to load. More importantly, this helps search engines figure out what your image is about, and lets screen readers describe the image to visually impaired visitors. Follow this example, changing the text inside the quotation marks:
If the image is not important to the page content, include the alt attribute with no text (alt="").
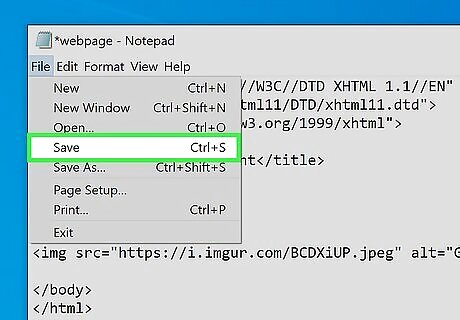
Save your changes. Save the HTML file to your website. Visit the page you just edited, or refresh the page if you already had it open. You should now see your image. If it's the wrong size or you're unhappy with it for another reason, continue to the next section.
Optional Adjustments
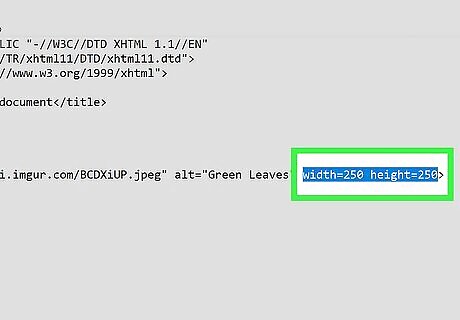
Change the size of the image. For best results, resize the image using free editing software, then upload the new version. Setting the width and height using HTML tells the browser to shrink or expand the image, which can be inconsistent across browsers and (rarely) cause display errors. If you want a quick and serviceable adjustment, use this format:
 (Number of pixels, or the more phone-friendly "CSS pixels" in HTML5.)
or (Percentage of web page dimensions, or percentage of HTML element containing the image.)
If you only enter one attribute (width or height), the browser should preserve the width:height ratio.
(Number of pixels, or the more phone-friendly "CSS pixels" in HTML5.)
or (Percentage of web page dimensions, or percentage of HTML element containing the image.)
If you only enter one attribute (width or height), the browser should preserve the width:height ratio.
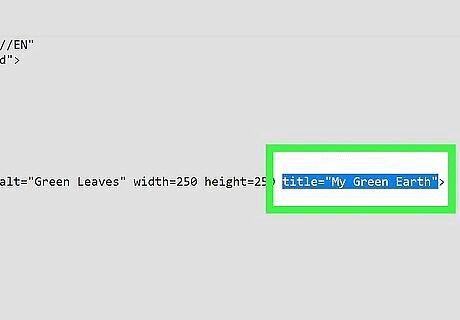
Add a tooltip. The title attribute can be used to add an additional comment or information about the image. For example, you can credit the artist here. In most cases, this text will be displayed when the visitor hovers the cursor over the image.
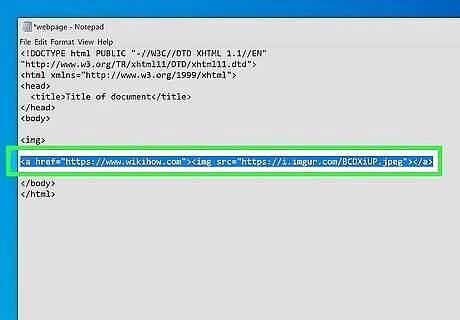
Make it a link. To make an image that's also a link, insert the image tag inside the hyperlink tag. Here's an example:


Comments
0 comment