views
Creating a Triangle Fold
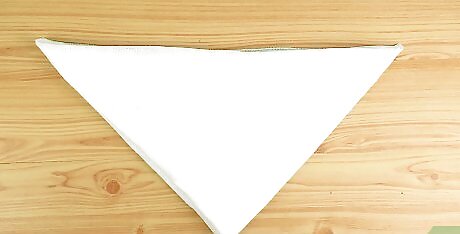
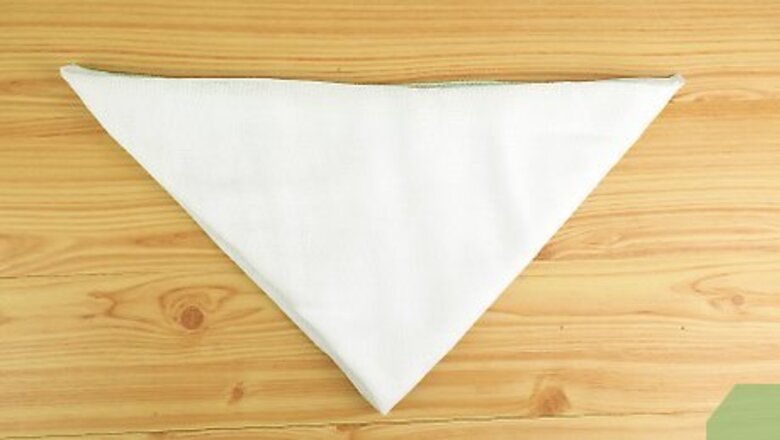
Bring one corner of the diaper to the opposite corner to form a triangle. Spread a clean diaper out on a flat surface. Pick up one corner of the cloth and bring it to the opposite end to form a triangle with 3 points. If the diaper is rectangular, fold in a longer side so the diaper is more of a square before forming the triangle.
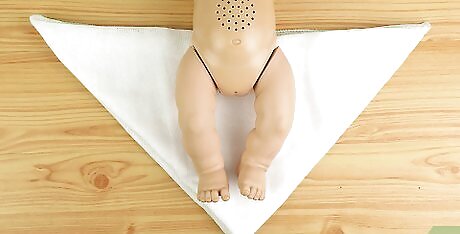
Place your baby on the triangle so the longest edge is behind their back. Situate the cloth diaper so the long flat edge is at the top with the 3 points on the left, bottom, and right. Set the baby down on the diaper so the long edge is up behind the baby’s back and the opposite point is between the baby's legs.
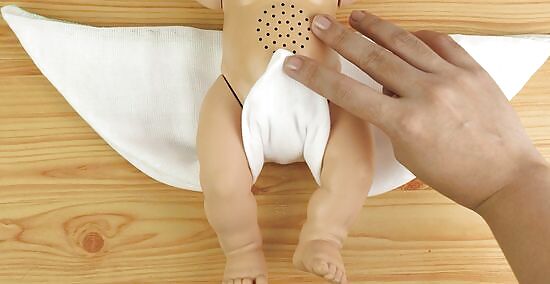
Pull the bottom point up between their legs and hold it on their stomach. Take the point of the diaper that’s facing directly downwards and bring it up between the baby’s legs so it’s nice and snug. Keep this point held on the baby’s stomach using your hand. Make sure the cloth is covering the back of each leg.
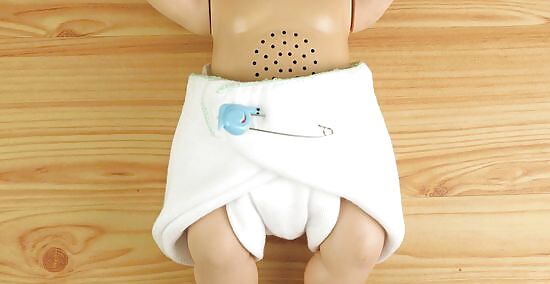
Bring the left and right points to the center and fasten them. Pull the left side to the center and hold it over the baby’s belly before pulling the right side to the center too. Use a safety pin to secure the cloth in place by pushing the pin through each layer of fabric, except the one touching the baby's legs. Cloth diaper clips work well too, as they have 3 attachments that simply clip right on to each section of the cloth. When it's time to remove the pins, do so carefully so you don't accidentally poke the child.
Using the Pad Fold
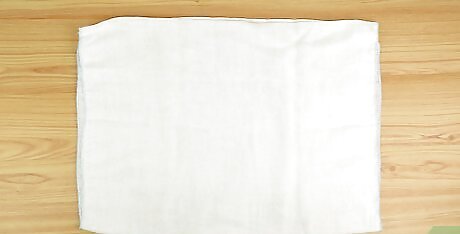
Lay the diaper flat on a stable surface. Spread a clean diaper out on a flat surface like a changing table or clean floor. Lay the cloth diaper down so it’s facing you vertically.
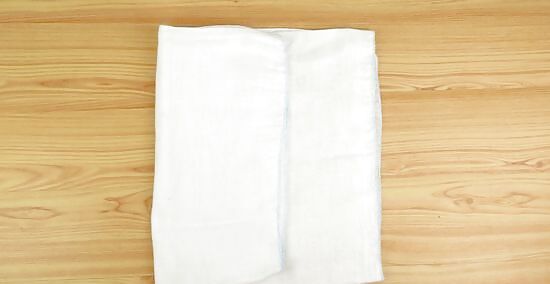
Fold the far left side into the center. Bring the third of the diaper on the left side to the center so it’s covering the second third. The fold doesn’t have to be perfectly precise, but it should be as even as possible. If you’re using a prefold cloth diaper, you’ll be folding it along the seams.
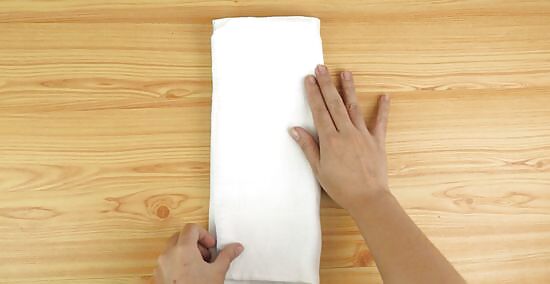
Bring the far right side on top of the left side. Fold the last third of the cloth diaper that’s on the far right so it’s covering the left side, creating a trifold. Straighten up the fold so it’s even in width.
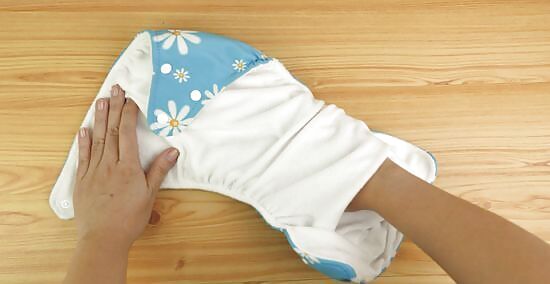
Position the diaper in a cover or pocket diaper. This type of fold is to be used in a cover or pocket diaper since it doesn’t have its own way of being attached. Once you place it in a diaper cover, wrap it around the child as you would a normal diaper and secure it. Look for covers or pocket diapers at your local big box store or online.
Doing a Jelly Roll Fold
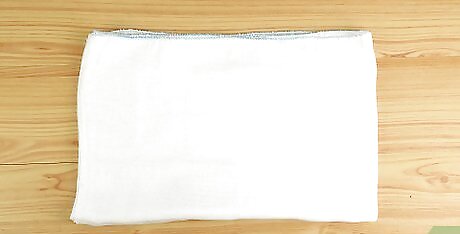
Lay the cloth diaper down on a flat surface. Spread the cloth diaper out on a clean changing table or other surface. Situate the diaper so it’s facing you vertically. This fold is great for keeping runny liquids from escaping a diaper.
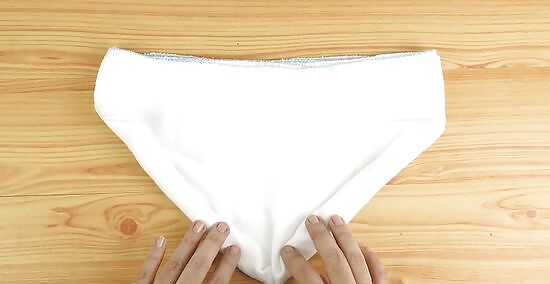
Roll the lower corners inward to the center of the diaper. Use your fingers to roll the bottom left corner to the center, and then the right corner to the center. This creates a V-shape with the diaper. Keep the back of the cloth diaper, the upper two corners, flat.
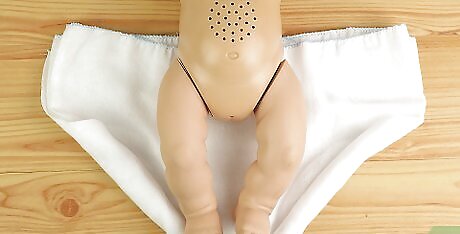
Situate the baby on the diaper so the flat edge is at the baby’s back. Place the baby on the diaper while holding the bottom edge of the cloth to keep the edges rolled. The flat edge of the diaper should be at the baby’s upper back.
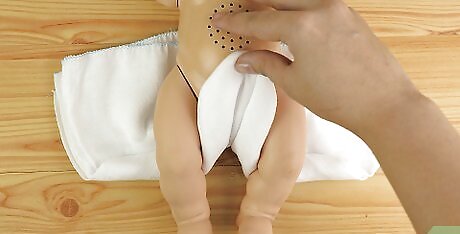
Pull the bottom of the diaper to the baby’s belly. Bring the rolled edges up to the baby’s belly, going in between their legs. Keep one hand on this section to keep it in place on the child. Keep the edges rolled when you bring them up to the baby’s belly.
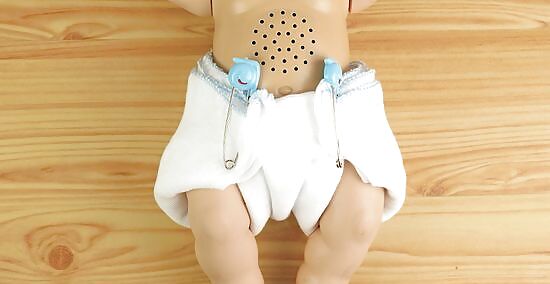
Bring the left and right edges to the center and secure them. Pull the left corner of the diaper around the baby’s waist and onto the belly, and then do the same with the right corner. Use a safety pin or cloth diaper clips to secure the cloth and keep all the edges in place. Pull the left and right edges around the waist snugly so the diaper isn’t too loose.
Folding a Bikini Twist
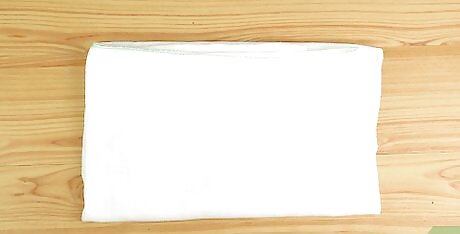
Lay the cloth diaper flat on a table. Spread out a clean cloth diaper on a flat surface like a changing table. Position the cloth so that it’s facing you vertically.

Twist the cloth 180 degrees in the center. Pull the bottom right corner of the cloth diaper to the left side and move the left corner to the right side, forming a twist in the fabric. Once the twist is formed, spread out each corner so they’re lying flat. Make sure the twist is in the center of the fabric.
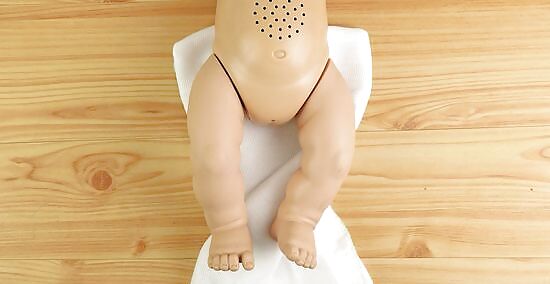
Place the child on the diaper so the twist is between their legs. Set the baby down on the diaper so the top flat edge is against the baby’s back. The twist should be in between the baby’s legs with the bottom edges still laying flat.
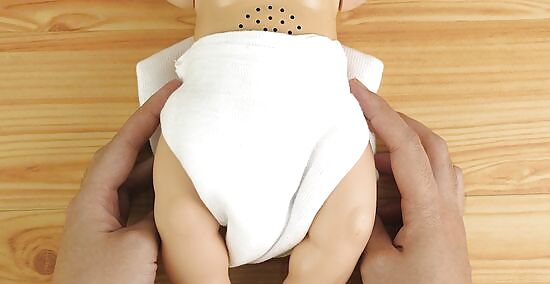
Bring the bottom, left, and right edges to the baby’s belly. Pull the bottom section up over the baby’s stomach and hold it in place. Bring the left corner around the baby’s waist and place it over the center, and then the right corner over. Pull each side up against the baby snugly so the diaper isn’t too loose.
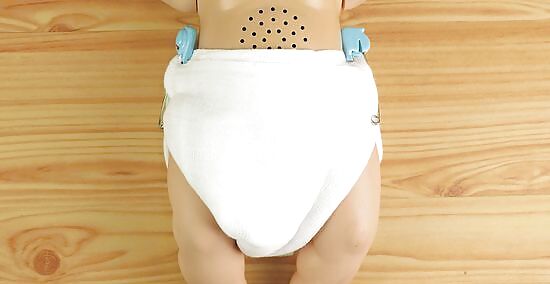
Secure the diaper with safety pins or cloth diaper clips. Use safety pins to attach the right and left edges to the cloth at the baby’s stomach, carefully pushing the pin through the fabric and attaching it in place. If you’re using cloth diaper clips, press each attachment to the left, right, and bottom edges of the diaper. If you’re using safety pins, put your fingers under the cloth as you’re pinning to make sure you don’t clip the baby’s skin.





Comments
0 comment