
Inserting an Elastic into the Waistband
Turn your pants inside out. Before you begin altering the size of your waistband you will need to turn your pants inside out. This way, any alterations you make to the pants will not be visible when you are wearing them. For instance, all incisions and sewing will be done on the inside of the pants.
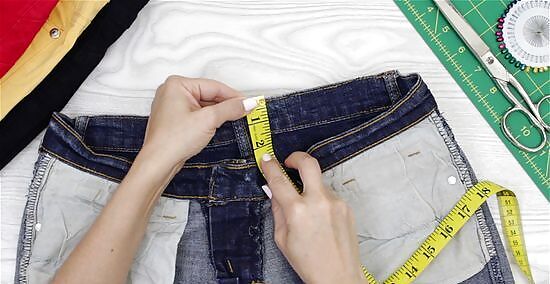
Measure the waistband. Once they are inside out, measure the width of the waistband. You will need to use an elastic that is approximately 1/2 centimeter (¼ inch) to 1 ½ centimeters (½ an inch) smaller than the width of the waistband.
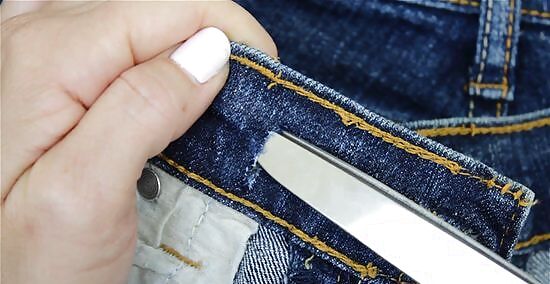
Cut an opening 2cm (1 inch) from the button hole. To insert an elastic into the waistband of your pants, you will need to cut an opening for the elastic. Make a vertical cut approximately 2 centimeters (1 inch) from the button hole, and then again in the same place on the other side of the waistband. Only cut the inner layer of the waistband. Pinch the inner layer of the waistband and make a small cut using fabric scissors. Do not cut any closer than 0.5 centimeters from the edges of the waistband. You do not want to accidentally cut the edge of the band.
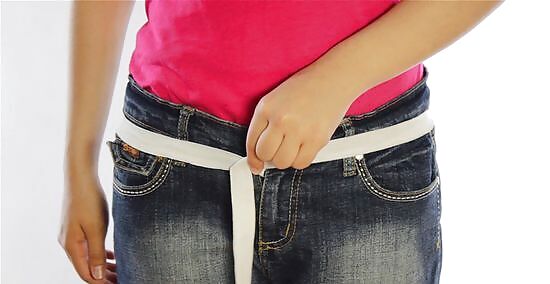
Measure the length of the elastic. Before inserting the elastic, you will need to measure its length. To do this, take the elastic band and wrap it around your waist exactly where the waistband of the pants sit. Pull the elastic tight so that it is comfortable and can hold the pants onto your waist. Create a mark on the elastic to save the measurement.
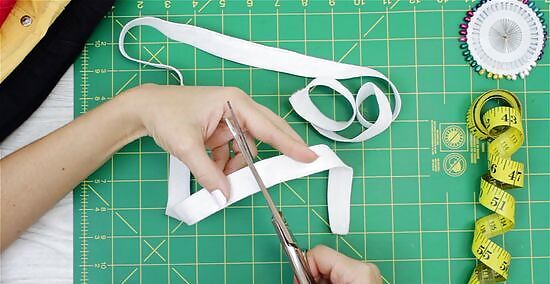
Cut the elastic. From this measurement, you will need to subtract the length of the waistband that the elastic is not covering. For example, measure across the front of the pants from the one cut you made in the waistband to the other cut. Subtract that measurement from the elastic and cut the elastic using scissors.
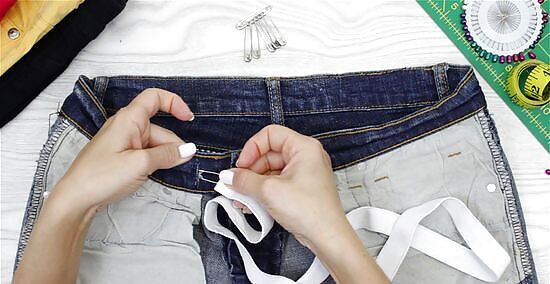
Guide the elastic through the waistband. Attach a safety pin to one end of the elastic and insert it into one of the holes you created in the waistband. Guide the elastic through the waistband until the safety pin comes out the other hole. To avoid pulling the elastic all the way through the waistband and out the other side, you can pin the end of the elastic to the waist band.
Sew the elastic to the jeans and close the opening. Tuck the end of the elastic into the waistband. About 1cm (¼ inch) of the elastic to should tuck into the button side of the hole. The elastic should overlap with the incision made on both sides of the waistband. Using a thread that matches the color of the pants, sew the hole closed. Make sure that you sew over the elastic in order to secure it in place. Sew both of the holes closed. Use a thicker needle if you are working with denim or any other thick fabric.
Attaching a Piece of Elastic to Your Waistband

Cut a small strip of elastic. If you do not want the look of an elastic waistband, you can sew a small strip of elastic into the back of your pants. This will help to cinch in your waistband in a less noticeable way. Cut a 1 ½ centimeter (½ inch) wide strip of elastic about 15 centimeters (6 inches) long. The length of elastic will vary depending on the size of your waistband. For example, the elastic should reach about half way between the center belt loop and the side belt loop of your pants.
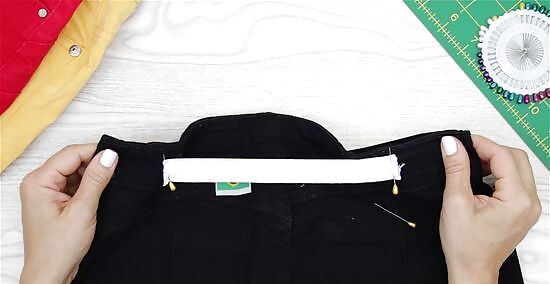
Center the elastic in the back of your pants. Turn your pants inside out and center the elastic along the waistband at the back of your pants. To hold the elastic in place, pin it to the pants. Place a pin on either side of the center belt loop, to mark where the belt loop is located.
Sew the elastic onto the waistband. Begin near the center of the elastic, on one side of the center belt loop, and use a zigzag stitch. Sew through the center of the elastic until you reach the end. In order to sew a zigzag stitch, select the zigzag stitch on your sewing machine. As you sew, pull the elastic tight and let the material of the pants feed through the machine normally. Then repeat the sewing process, starting on the other side of the center belt loop and sew outwards towards the other side of the elastic. Remove the pins as you are sewing. Do not sew over a pin because this could break your needle. Use a thread that matches the color of the pants.
Finding Other Ways to Fix a Gaping Waistband

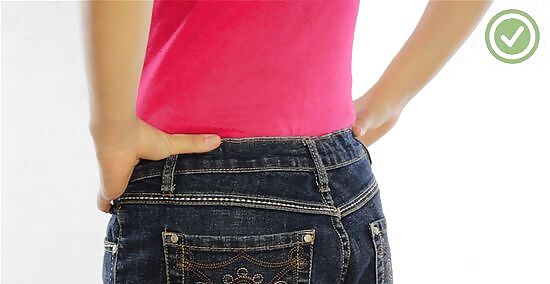
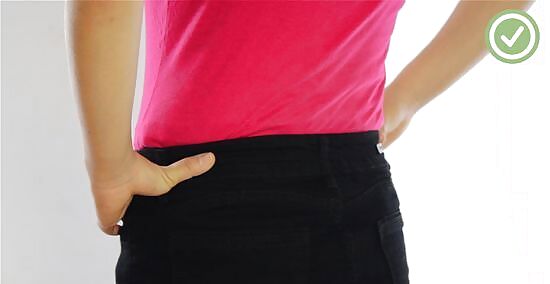
Wear a belt. An easy way to fix the gaping in your waistband is to wear a belt. A belt will help to cinch in your waistband and hold your pants in place. They can also add style to your outfit. There are a variety of different types of belts that you can purchase. They come in different colors, materials, and widths. Choose a belt that matches with your overall look.
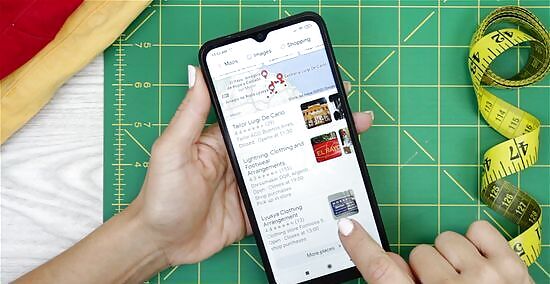
Take your pants to a local tailor. If you are not confident in your sewing skills, you can have your waistband altered professionally by taking your pants to a tailor. In order to locate a tailor in your area, complete a Google search for a tailor. Read online reviews to select a tailor with exceptional sewing skills.

Get your pants altered upon purchase. Some stores will actually offer tailoring when you purchase an item. For example, expensive suits can be altered by the store they are purchased from. When you are purchasing an expensive item, like a suit, make sure that it fits properly and has all necessary alterations made.


Comments
0 comment