views
Measuring for an Electric Towel Rail
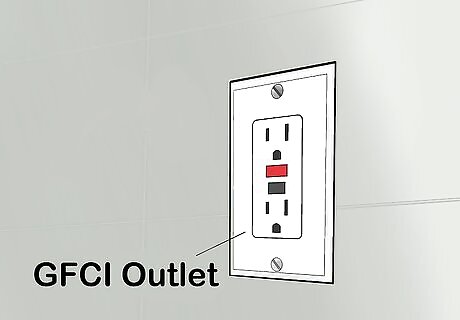
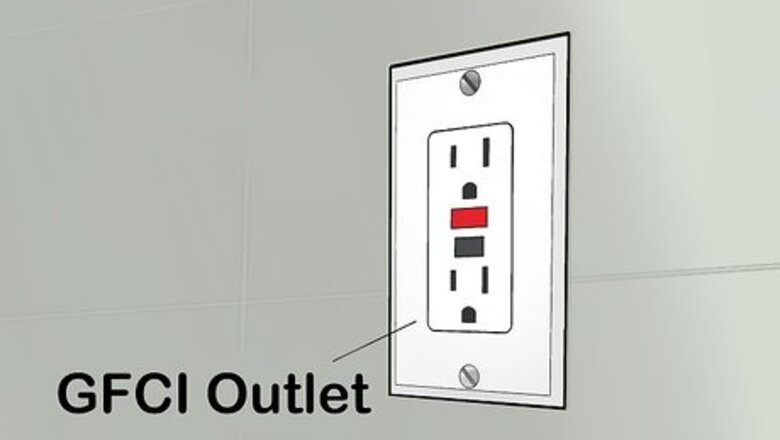
Find the nearest Ground Fault Circuit Interrupter outlet. A GFCI outlet is simply an outlet that will shut off if current goes through an unintended channel, such as through water. Any outlet in a bathroom will most likely be a GFCI outlet, but it’s a good idea to test it with a circuit tester, which can be found at most major hardware stores. Plug something into the outlet when you test it that will clearly show whether it is conducting electricity, like a night-light or a radio. Then plug the tester into the same outlet and push the button on the tester. The outlet should stop conducting electricity. Use the reset button on the outlet to turn it back on. If you are hard-wiring the towel rail directly into your electrical system, you will need to find the electrical junction box instead. You may need to have one installed.
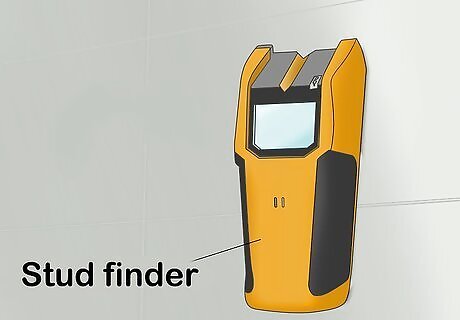
Look for a location for your rail where it can be screwed into studs. If your rail is not free-standing, it will ideally be attached to the wall with screws secured in studs. Use a stud-finder or test for studs with a small nail or screw. Studs are often found adjacent to windows, doors and outlets. If you can’t find any studs in a suitable location, you can also attach your rail using toggle bolts, which have metal “wings” that spring open to hold the bolt in place.
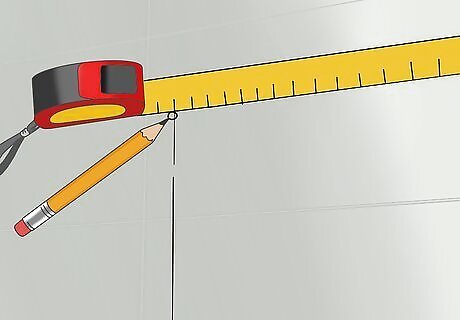
Mark the wall where your support anchors will go. Towel rails that are not free-standing typically attach to the wall at two points, which are called the support anchors. The support anchors may be attached to the rail, or they may be separate pieces that the rail snaps or slides into. Have someone hold the anchors against the wall where you plan to attach them, and use a carpenter’s pencil to trace around the support anchors where they meet the wall. Use a tape measure or level to double check that your anchors are placed at the same height before you mark where they are. Otherwise, your rail will be uneven.
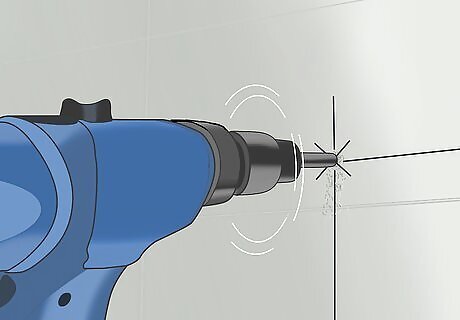
Drill holes in the center of each spot where the support anchors will go. You can find the center by drawing an X in the shape of the support anchor that you traced on the wall. The center of the X is where you should drill the hole. If you are using toggle bolts, you will need to use a bit large enough to make a hole for the toggle to fit through. Toggle bolts have collapsible metal “wings” on one end that spring open on the other side of the wall once you push them through the hole.
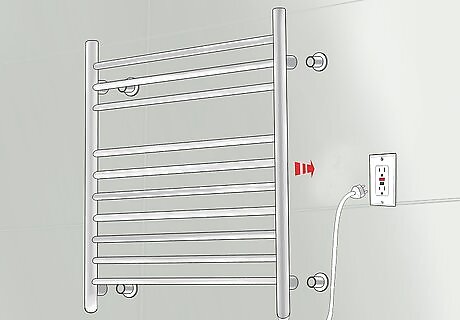
Hang the towel rail using the support anchors. Attach the support anchors to the wall using the holes that you drilled. The rail may install as one piece, or you may have to attach the support anchors first and then slide or snap the rail into place. Follow the instructions on your rail installation kit to determine how yours should be installed.
Fitting a Hydronic Towel Rail
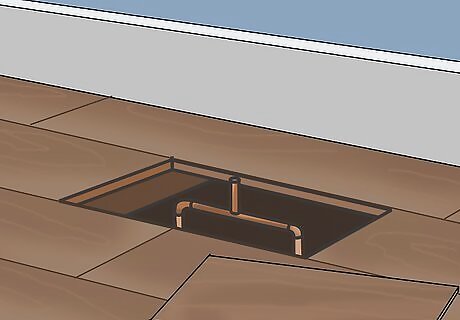
Find the radiator supply and return lines. If your radiator has already been moved out of the way, these should be clearly visible as copper pipes protruding from the floor or wall. Your new hydronic towel rail will connect to these pipes.
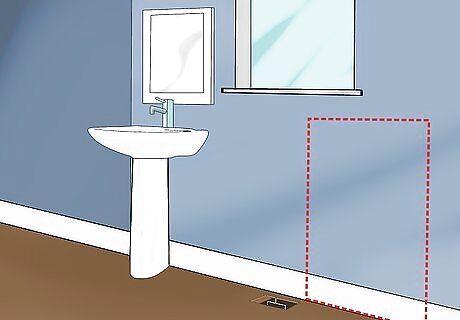
Place the towel rail as close to the lines as possible. Find a location for your towel rail that will bring its supply and return lines as close to the existing ones as possible. This will make installation easier. Make sure you place it far from curtains or anything that could become a fire hazard.
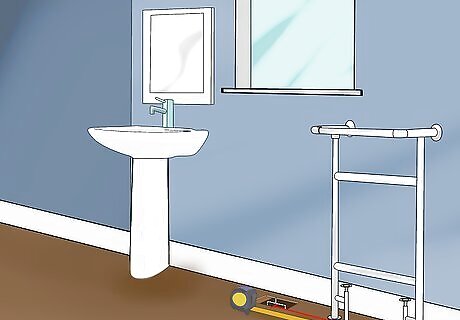
Measure the distance between the original lines and the rail lines. Once you have determined the location of your rail, have someone hold it in place while you measure the distance between the existing pipes and the rail’s supply and return lines. This will let you know how much copper pipe you will need to buy to connect them. Keep your measurements vertical and horizontal, not diagonal. In other words, instead of measuring a straight diagonal line between the rail and the old pipes, measure the distance as a right angle, since the new copper pipes you use to connect them will have to be positioned in right angles.
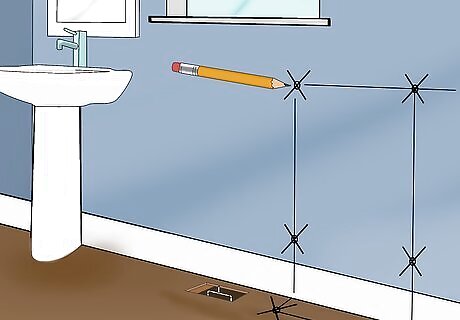
Mark the placement of the rail’s support anchors on the wall. Most towel rails connect to the wall at 2 points, 1 on each end, and these points are called support anchors. Have someone hold the towel rail against the wall where you plan to install it and use a carpenter’s pencil to draw around the support anchors where they meet the wall. Then draw an X in the shapes you traced to find their centers. This is where you will drill into the wall. It’s a good idea to use a level to ensure that the rail is even before you make your marks.
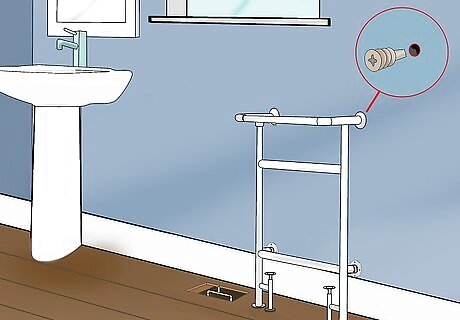
Hang the towel rail by its support anchors. Some support anchors are connected to the rails, so the whole rail can be attached in one piece, or you may need to attach the support anchors to the wall first and then snap or slide the towel rail into place. Make sure the anchors are aligned with the marks you traced on the wall.
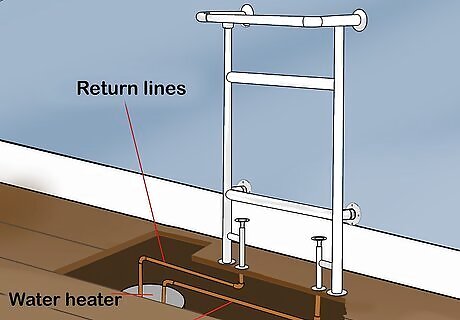
Connect the rail’s supply and return lines with copper pipe. Using the measurements you took of the distance between the existing supply and return lines and the rail’s lines, fit copper pipe between the two sets of lines. You may need to solder the pipes in place, in which case you should use a soldering shield cloth to protect the surfaces behind the pipe when you solder.


Comments
0 comment