views
- Remove loose or blown insulation and install new insulation between wall studs.
- Hang new drywall over the insulation and apply 2-3 coats of paint.
- Install base boards, light fixtures, electrical outlets, and switch plate covers.
Building to Code
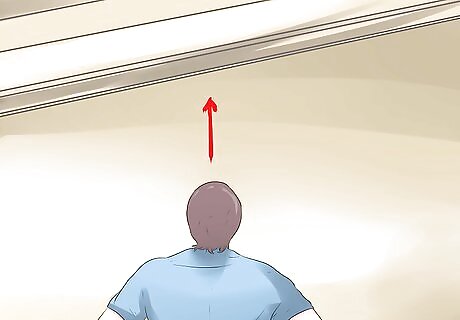
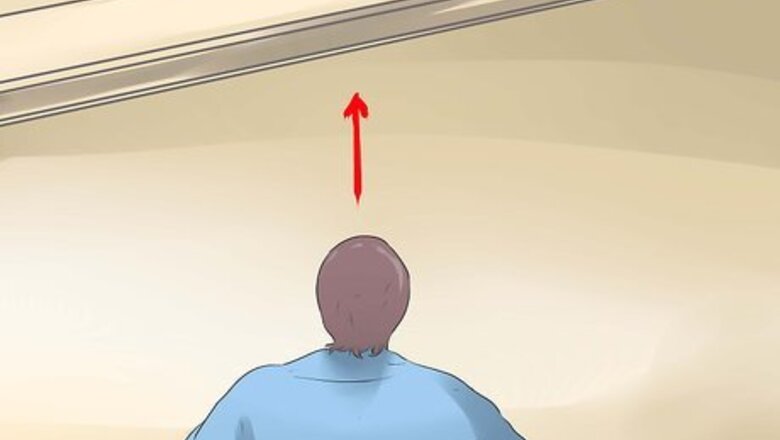
Check the ceiling height. For a finished attic to be to code, it must satisfy the same living requirements of other rooms, sometimes called the "rule of sevens." Any living space in a home needs to have at least 7 feet (2.1 m) of clearance from the floor to the ceiling, and there needs to be at least 70 square feet of space available, at least 7 feet (2.1 m) in each direction. At least 50 percent of the attic space must have 7 foot (2.1 m) clearance. Measure the clearance and estimate the square footage of your attic. If it satisfies this and the following criteria in this section, you're good go get started in finishing the project.
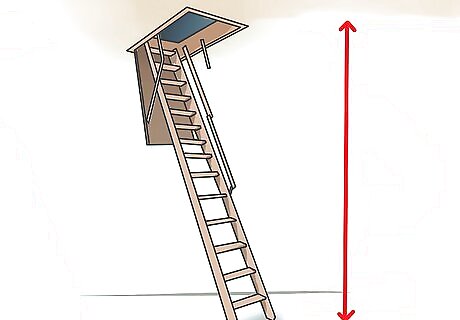
Make sure the attic has a full-size staircase. Building code also requires that the prospective attic living space be accessible by a full-size staircase with at least 6-foot 8-inch clearance above it. Attics only accessible by trapdoor style staircases or ladders aren't technically "finishable."
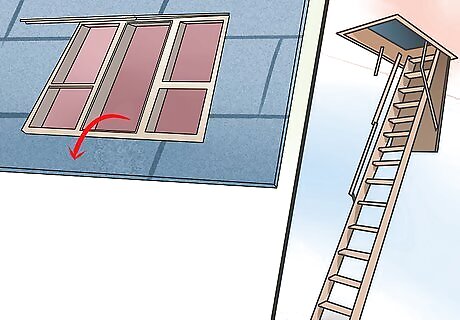
Make certain the attic has two exits. To satisfy fire codes, the attic must have an alternative exist in the event of an emergency. An easily accessible window counts, or some other variety of exit from the attic.
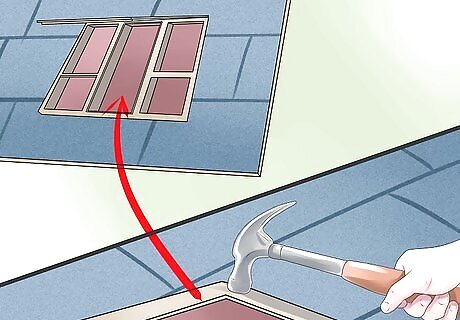
Install a dormer if your attic isn't up to code. If you're committed to finishing your attic, but the measurements just don't add up, you can consult an architect to design an expansion if you're willing to get into a much bigger project.

Get the proper home building permit in your area. To make sure your project will be legal and up to code, you'll need to schedule an inspection at some point when the project is finished and obtain the necessary building permits from the city. Generally, these will be available from the Housing Commission or the City Planning department. While it may seem like an easy-to-skip step, there's the possibility of legal trouble if you try to sell your house later and you've remodeled without obtaining the legal permits necessary to complete the task. Play it safe and get the right paperwork.
Insulating and Wiring
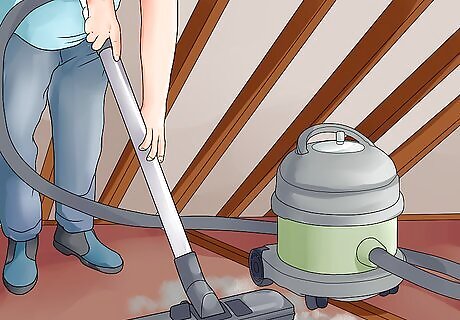
Remove any existing loose or blown insulation in the attic. Use a builder's vacuum to get all of the small pieces cleaned out of the area. You might consider renting a commercial air purifier for the duration of the project to minimize the possibility of inhaling the tiny insulation strands, which can be hazardous.
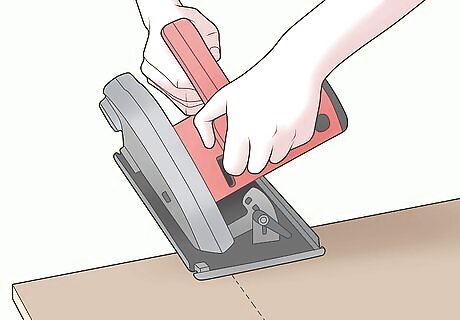
Lay a sub-floor, if necessary. Most attics will need a sub-floor to be laid that you can build on top of. Cut sub-floor panels to the appropriate size and install them over the joist beams. Screw down into joists at 3 foot (0.91 m) (91.44 cm) intervals using wood screws. Depending on your plan, you may want to also add room dividers or supplementary knee walls to your attic space. If there are any internal walls going up, frame them after installing the sub-floor, now that you've got a surface to build upon. If you want flat walls as opposed to the sloped walls you'll get in most attics, it would be appropriate to install a few knee walls.
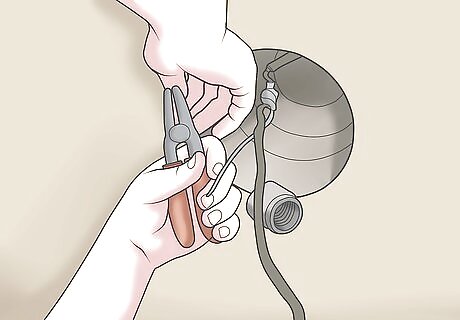
Wire the attic for electricity. Install the electrical wiring across the ceiling to the designated spots where the light fixtures will be hung, leaving an 8 inch (20.32 cm) wire hanging (called a lighting pigtail) to connect the light fixtures. Run the electrical wire to the electrical outlets. As a rule of thumb there should be at least 1 electrical outlet every 10 feet (3.05 m). Unless you have electrical experience, it is a good idea to hire a professional to do the electrical work to ensure that it meets or exceeds current code requirements.
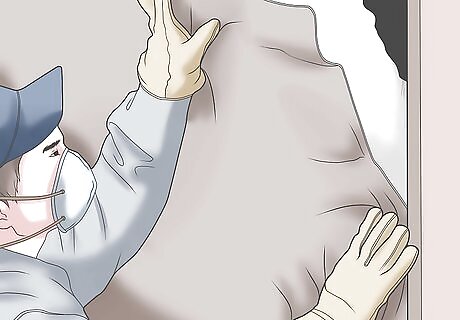
Install new rolled insulation between the wall studs. Cut each strip, or batt, to the exact length of the cavity. Press them in place and staple through the paper to the studs. Install the rolled insulation in the floor by cutting to size, pressing into the space between joists and attaching with wire fasteners. If you need to use 2 or more batts to fill in a cavity, be certain that they butt up against each other firmly.
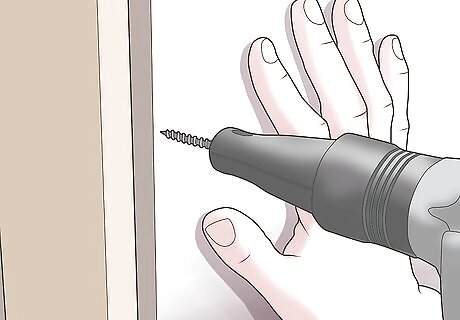
Hang drywall over the wall insulation. Hang drywall in sheet-sized sections of 4 feet (1.2 m) by 8 feet (2.4 m) (121.92 cm by 243.84 cm) with drywall screws at 8 inch (20.32 cm) intervals. Cut smaller drywall pieces with a razor knife to fill in the remaining areas. Apply drywall tape over all the seams, then apply drywall mud over the tape, using a mud blade. Slather it on thick and then scrape the excess off with the edge of the blade. Allow to dry before proceeding.
Finishing the Attic
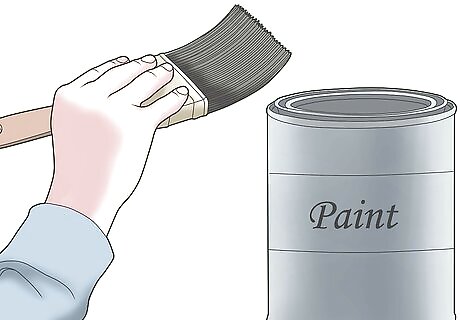
Prime and paint the walls. It may take 2 to 3 coats to cover the new drywall. Before you put up wallpaper or decorate the walls in any other way, it's important to put down a primer coat to create an even surface amenable to your project. Painting the attic room white is a popular choice to create the sense of space in what can seem somewhat cramped of an area. If you're happy giving the walls a frequent scrubbing, consider a nice white shade and color scheme for the room.

Spend extra on the ceiling. Instinctively, eyes will be drawn to the sloped ceiling in most attics, so it's a good idea to plan accordingly and finish it with an attractive texture. Wood panels are popular, as well as bead board. Use varying lengths of wood to produce an interesting an asymmetrical effect to play with the space.
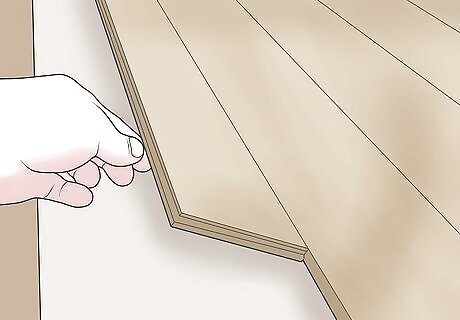
Install the flooring. In attics, carpeting is popular to cut down on the noise of upstairs traffic. If you want to lay hardwood floors, consider putting down some substantial rugs both to cut the noise component and to keep the room feeling comfortable. Make sure the joists can support being walked on. Usually, attic joists can only support the ceiling below it but not someone's weight.
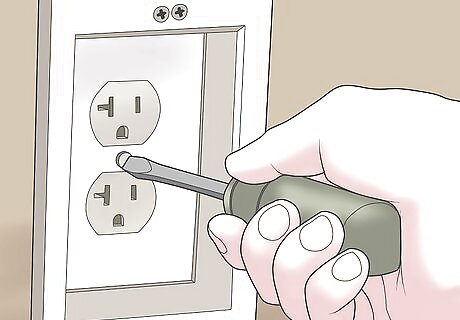
Trim the room and decorate. Install base boards, light fixtures, electrical outlets and switch plate covers. Decorate the room to your taste. Attic space makes for a popular: Bedroom for a teenager Artist studio Office Crash pad Man-cave Band practice space


Comments
0 comment