views
How to Measure for a Cane
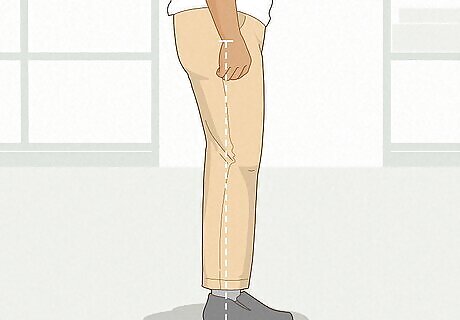
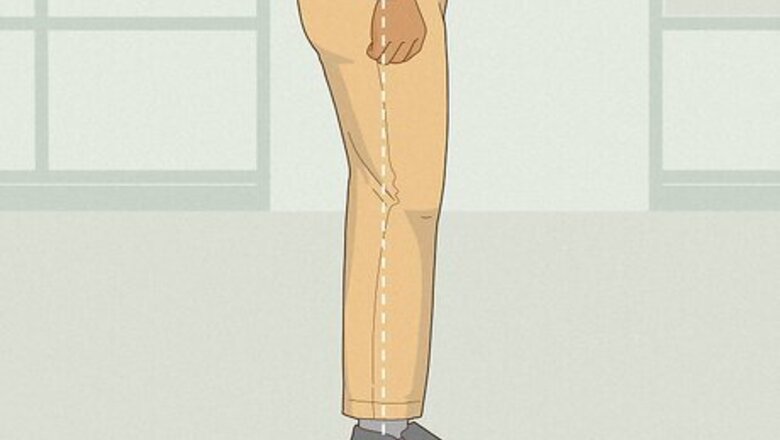
Measure from your wrist to the floor to find your ideal cane height. Typically, an ideal cane matches the distance from your wrist to the floor, with your arm slack and while wearing your everyday walking shoes. Stand up straight and use a measuring tape to find this measurement, or ask a friend to measure it for you. Also, with the cane in hand, check that your elbow bends at a comfortable angle—about 20 degrees or so. Bending your elbow a little more is okay if you're primarily using the cane for balance instead of weight support. If you have a hunch, take your most natural and usual posture as your measurement.
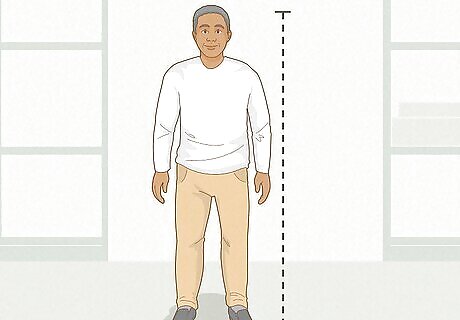
Estimate your needed cane length using your height. If you don't have a tape measure and you're ordering a cane online, estimate the size you might need by using your height as a general guide. The average cane is about 36 in (91 cm) and may loosely fit most people who are 68–71 inches (170–180 cm) tall. The proper cane length changes by about 1 in (2.5 cm) for every 3 in (7.6 cm) of the user’s height above or below this average marker. For example, a person standing 64 to 67 inches tall may buy a 35-inch cane Note that using an improperly sized cane over long periods of time can result in grip problems, imbalance, or even falls. If at all possible, avoid using estimation alone for cane sizing.
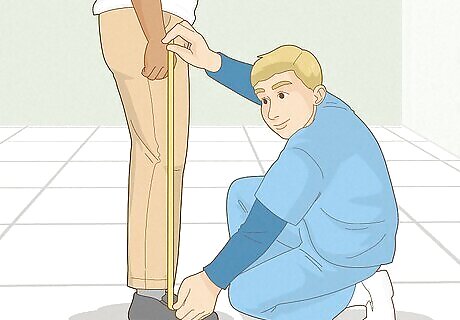
Seek professional assistance if you need additional help. If you find it too difficult to make the appropriate measurements for your walking cane, or if you have special circumstances or certain impairments and aren’t sure a cane is right for you, visit a doctor or physical therapist and ask their opinion. They can help you measure, or recommend alternative mobility solutions. Mobility outlets are also staffed with knowledgeable employees who may be able to help.
How to Measure & Adjust a Cane
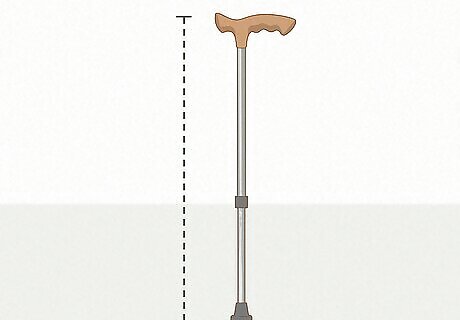
Measure a cane from the top of the handle to the tip. When browsing canes for purchase, it’s essential to measure them to make sure they’re right for you. Use a tape measure to measure from the lowest part of the top of the handle (many dip in the center) to the bottom of the cane’s point or tread. Make sure this measurement matches the distance from your wrist to the floor. You may need to shorten the cane in order to find the best fit.
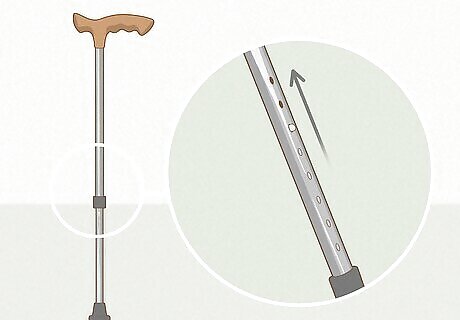
Cut wood canes to size, or manually adjust metal canes. Almost all metal canes are adjustable, either with a press-tab system or a cinch-and-slide system. Wood canes, however, must be shortened to size by sawing them from the bottom up to the appropriate length, making sure the cut is level and flat, then replacing the rubber stopper at the end. Remember to adjust the cut to accommodate the rubber tip! Press-tab canes involve pressing a metal button to “release” the lock, then sliding the cane until the button reemerges from one of the holes along the cane’s length. Cinch-and-slide systems often involve lifting a lever to release the cane, sliding the cane to the appropriate length, then locking the lever back down. There are a number of other metal cane sizing mechanisms, so consult a manual or a professional for help understanding yours.
Choosing Grips, Tread, Tips & More
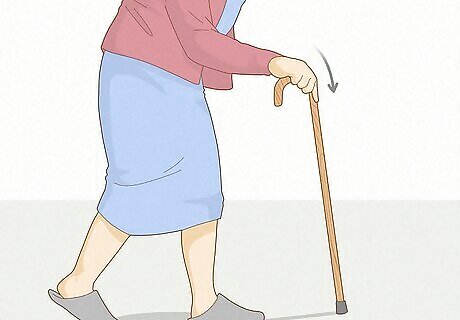
Consider your particular use when choosing a cane length. Canes used for balance and stability ought to be sized exactly, but this isn’t true for all use cases. If you use a cane primarily for sensory assistance, like if you need help feeling the ground beneath you to orient yourself, your cane may be a bit longer to allow for a more comfortable, slackened grip. Or, if you rely wholly on a cane to support your weight, your doctor may prescribe a sturdier, offset cane that may be a bit shorter to allow for leaning. It’s best to consult a professional if you’re unsure of your needs.
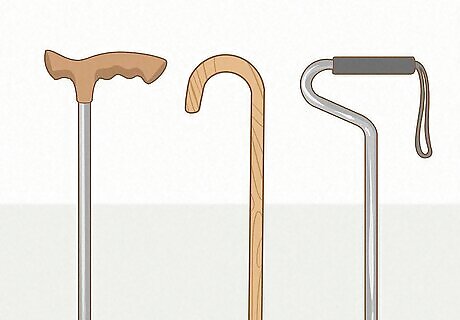
Test multiple grips, and choose a grip that works for you. Canes come with many different types of grips, each suited to a different use case. For example, you might get a cane with a foam handle grip to make resting your weight on it more comfortable, or one with a cuff that fits around your arm if you have trouble gripping a cane with your hand. Try gripping different types of cane handles to see what feels the most comfortable for you, or ask a doctor or physical therapist what type of grip they recommend.
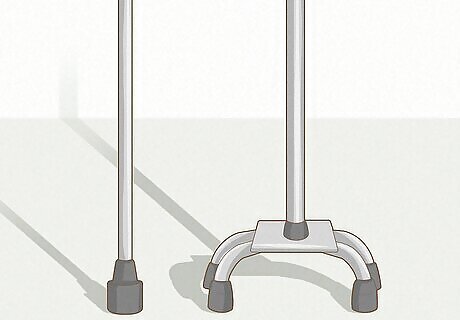
Select your cane’s bottom tread type based on your usage. Most canes have a single tip at the bottom, but many also come with four grips for greater support and balance. Others come with a set of wheels, which may or may not also have grips for keeping them stationary—these are great for people with limited arm mobility, who may not be able to lift a cane. Choose the tread type that best suits your needs. As with the grip, it’s best to test out multiple tread types, or consult a physician for recommendations.
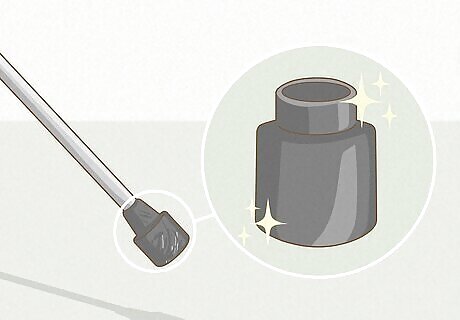
Replace the rubber tip every few months, or when it wears down. Walking canes typically come with rubber or plastic tips on the end, which provide grip, but also affect the height of the cane. When the tips wear down with use, the cane's height will reduce somewhat, so remember to replace the tip when it becomes worn, stiff, or loses its grip. Often, the tip can simply be removed by hand, then a new one fitted over the end of the cane.
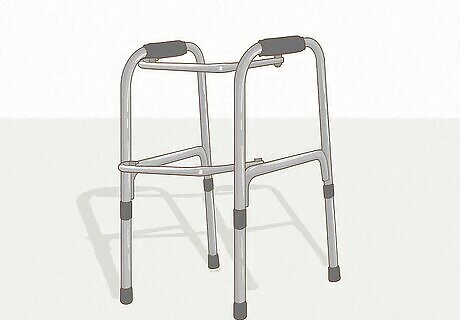
Consider using other mobility devices if you need more support. Many canes aren’t designed to bear the full weight of a person, and may not be enough to provide total mobility. If you have very limited mobility, consider a walker, or even a wheelchair, instead of a cane. These are much easier and cheaper to obtain with a prescription, so ask your healthcare provider if they’re right for you.
Using a Cane
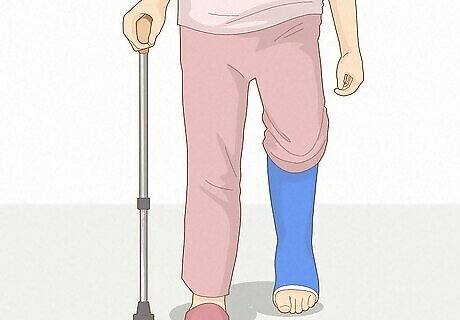
Hold the cane on the opposite side of your impairment. Typically, cane users hold their canes in the hand that’s opposite their impairment. For example, if your left leg is weaker than your right, you’ll hold your cane in your right hand. Your health provider may advise another method, depending on your impairment.
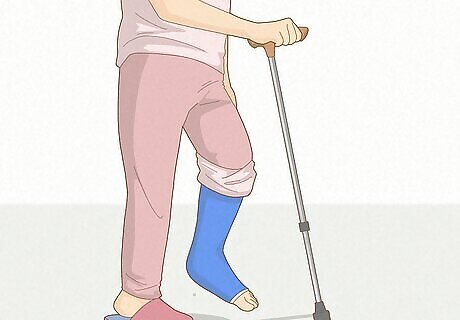
Step with your cane and impaired leg, resting your weight on the cane. Take a comfortable, short stride forward with your impaired leg and your cane, so that they rest at a level distance before you, and you create a sort of tripod shape with your legs and cane. Rest as much weight as you’re confident giving onto your cane, letting your impaired leg act as secondary support.
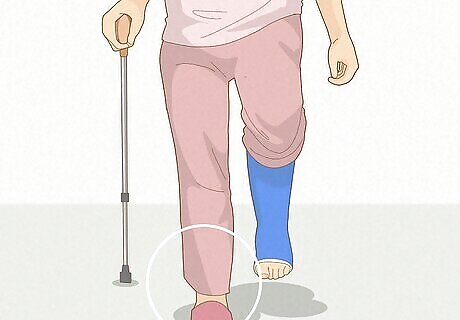
Walk your stronger leg past your cane and impaired leg. With your weight still on your cane, bring your stronger leg forward past the cane and your weaker leg. When it lands, transfer your weight to your stronger leg, then repeat the process to continue walking. Go slow, if needed, and practice in a safe environment with plenty of surrounding support, like in your home next to a countertop you might grip if you become unsteady.
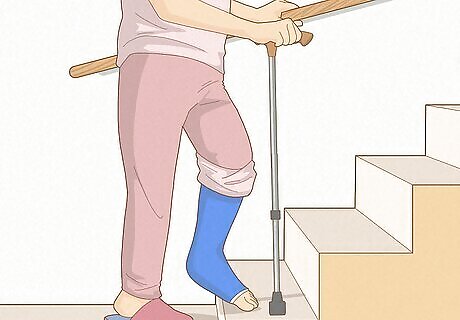
Grip a railing with your free hand when going up and down steps. To navigate stairs and steps with a cane, grip the railing with your free hand, and place your stronger leg on the first step. Then, bring your weaker leg and the cane together onto the same step, or place them on the next step if you’re confident. Stairs are often regulated to require railings. If there are no railings, however, take the steps one at a time. Lead with your stronger leg, then bring your weaker leg and the cane up to the same step, and repeat.


Comments
0 comment