views
- Before you can put your Oculus Quest 2 in Developer Mode, you need to register as a developer account.
- If you have a Windows computer, you need to install the Oculus ABD Drivers in order to install APK files from your computer.
- Some unofficial apps may contain viruses and malware, or may just be uncomfortable to use. Install unknown apps at your own risk.
Registering as a Developer
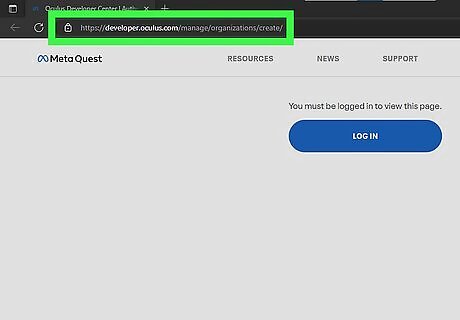
Go to https://developer.oculus.com/manage/organizations/create/ in a web browser. You can use this website to register as a developer account. You need to do this before you can enable Developer Mode on your Oculus Quest 2.
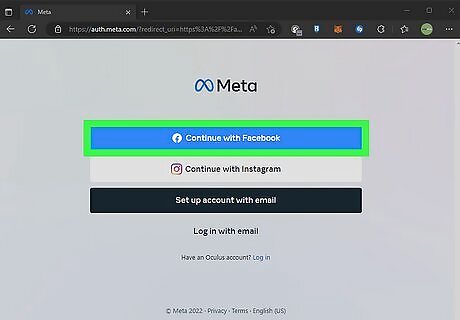
Log in with your Meta account. You can log in using your Facebook, Instagram, or Meta account. Click whichever option you want to use to log in and log in with the account you use on your Oculus Quest 2.
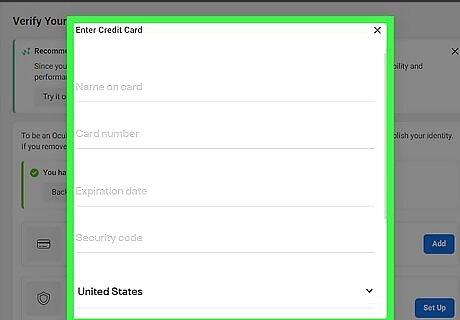
Enter a credit card or phone number (if needed). You'll need to do this in order to verify your account. If you haven't already added a credit card or phone number to your account, click Add next to whichever method you want to use to verify your account. Then enter a credit card number or phone number. Once you enter a phone number, you will need to verify your account using a confirmation code sent to your text messages. Once your account is verified, click Back to Home to return to the main developer page. If you want stay private, try using a Google Voice account for your phone number.
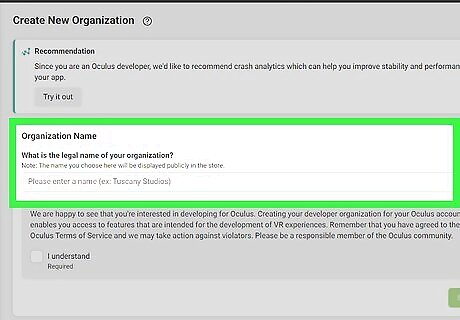
Enter the name of your developer organization. If you are an app developer, enter the name of your company on the line below "What is the legal name of your organization?". If you are not a game developer, enter anything you want.
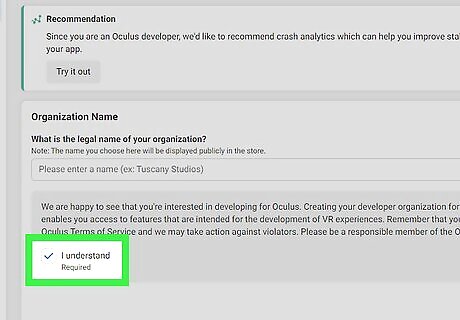
Click the checkbox next to "I Understand" and click Submit. After entering a developer name, click the checkbox below the text box and click the green button that says Submit.
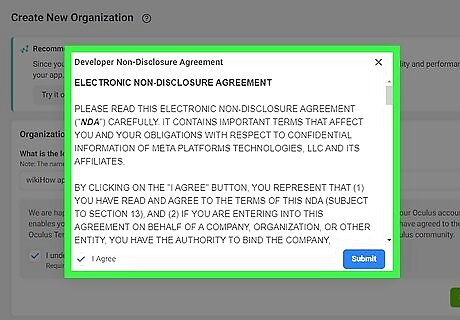
Agree to the Non-disclosure agreement. After submitting your developer name, read through the NDA in the pop-up. Then click the checkbox next to "I agree" in the lower-left corner of the pop-up, and click Submit in the lower-right corner. You are now a registered developer.
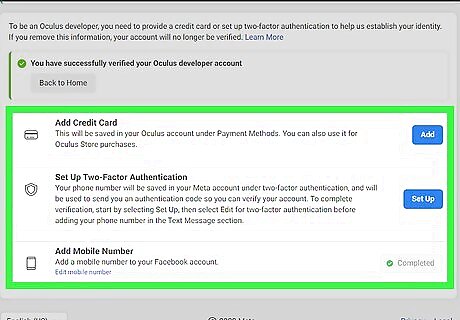
Verify your Account. To do so, go to https://developer.oculus.com/manage/verify/ in a web browser. Log in to your Oculus account if needed. Then either add a credit or debit card or enter the confirmation code you received via text message to confirm your mobile number.
Enabling Developer Mode with the Oculus App
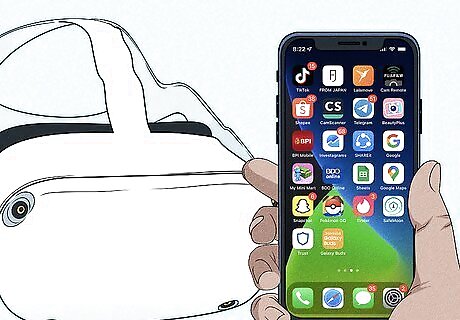
Bring your Oculus headset close to your smartphone. It needs to be close enough that you can connect your phone to your Oculus headset using Bluetooth. Make sure your phone and your headset are close together.
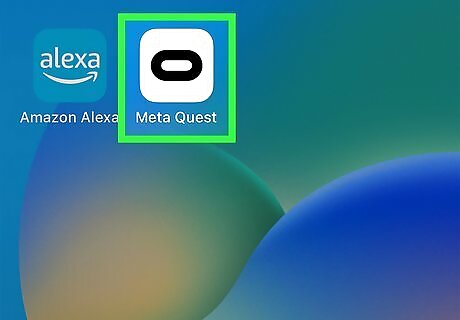
Open the Oculus App on your smartphone. You should already have the Oculus App installed on your smartphone as it is required to set up your Oculus Quest 2. If you do not have the Oculus app installed. If you do not currently have the Oculus app installed on your mobile phone, go ahead and download the Oculus app from the App Store on iPhone, or the Google Play Store on Android. Then sign in with your Oculus account. Additionally, make sure the Oculus App has been updated to the latest version. You can update apps in the App Store on iPhone or the Google Play Store on Android.
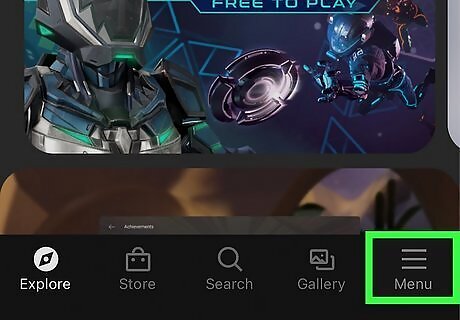
Tap Menu ☰. It's the icon with three horizontal lines in the lower-right corner of the Oculus app. This displays the menu.
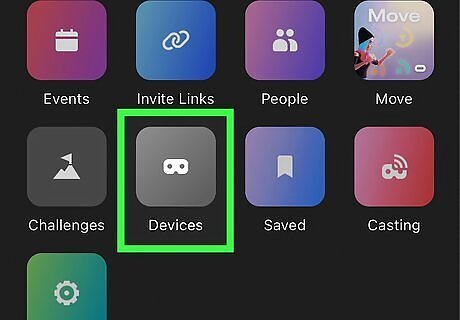
Tap Devices. It's the grey icon with an image that resembles a face mask. Tap the Devices button to connect to your Oculus headset.
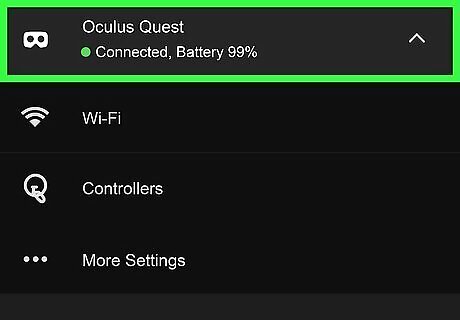
Select your device. If you have more than one Oculus device on your account, tap the drop-down menu at the top and select your device. Then wait until you see a green dot next to "Connected" in the upper-left corner. If it is not connecting to your headset, make sure your phone has Bluetooth turned on and make sure your phone and headset are close together. Also, make sure the headset is powered on.
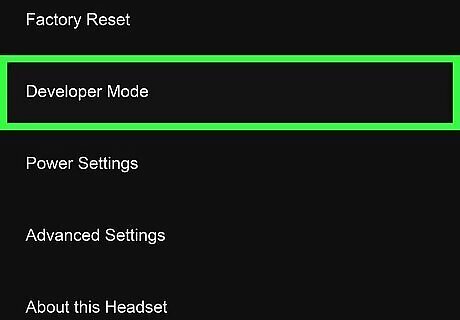
Scroll down and tap Developer Mode. It's next to an icon that resembles a circle with an "i." It's the fourth option below "Headset Settings."
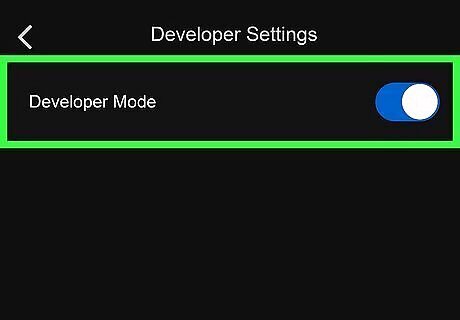
Tap the toggle switch Android 7 Switch On next to "Developer Mode." It's the only option at the top of the Developer Settings menu. This enables Developer Mode on your Oculus headset. With Developer Mode enabled, you can develop your own Oculus apps, side-load unofficial apps using the Side Quest app on your PC, or change the resolution on your device using Ocular Migraine. To find unofficial apps installed on your Oculus Quest, click the Apps icon in the Oculus menu. It has an icon that resembles 9 squares. Then click the drop-down menu in the upper-right corner (the one that says "All" by default). Then select Unknown Sources.
Enabling Developer Mode Using Oculus Developer Hub
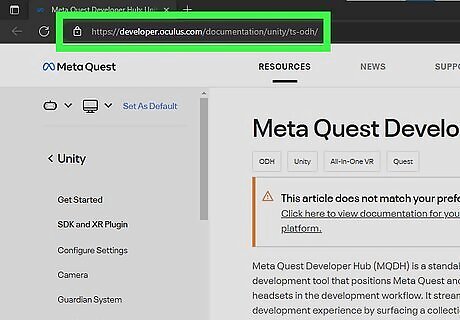
Download and install Oculus Developer Hub. Oculus Developer Hub is an app you can download and install for Windows or macOS that allows you to develop applications for your Oculus Quest 2 and enable Developer Mode. Use the following steps to download and install Oculus Developer Hub on your computer: Go to https://developer.oculus.com/documentation/unity/ts-odh/ in a web browser. Click Windows or macOS below "Install ODH." Click Download on the right side of the screen. Agree to the Terms of Service and click Download. Unzip to the Oculus Developer Hub Setup zip file in your Downloads folder. Open the Oculus Developer Hub Setup file. Follow the instructions to complete the installation.
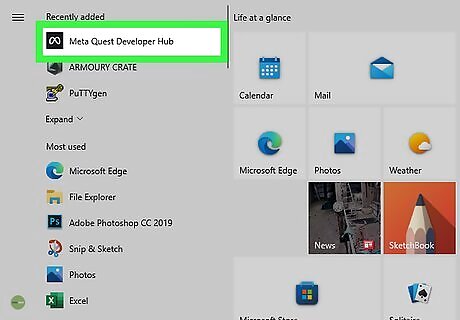
Open the Oculus Developer Hub app and click Continue. The Oculus Developer Hub app has a purple icon with an elongated "o." Open the Oculus Development Hub and click continue in the lower-right corner.
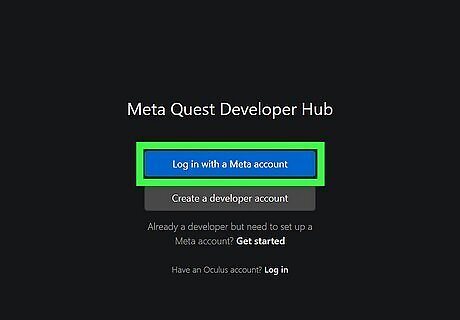
Log in to your Oculus account. To do so, click the option to log in to your Facebook/Meta/Oculus account on the screen. This will redirect you to a website you can use to log in. Log in with the account associated with your Oculus Quest 2headset.
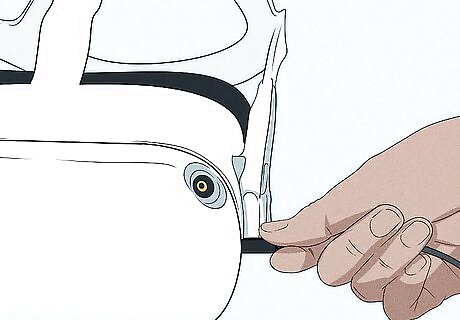
Connect your headset to your computer. Use the USB-C cable that came with your Oculus headset and connect it to your computer.
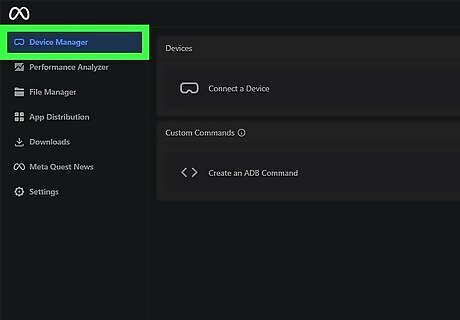
Click Device Manager. It's the first option in the menu to the left.
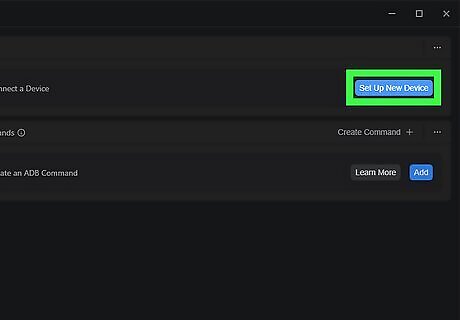
Select Set up New Device. It's in the upper-right corner. Click Set Up New Device in the upper-right corner to display a drop-down menu. Then click Set Up New Device in the drop-down menu. Click Next at the bottom of the pop-up.
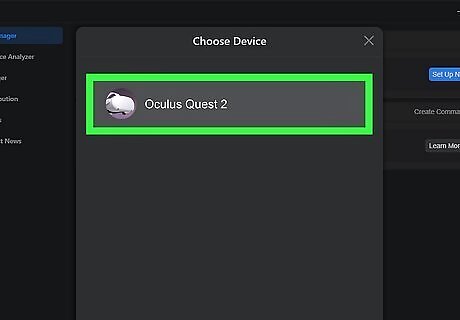
Select your Quest 2 headset. To do so, click Quest 2 in the menu. Then click the serial number that matches your Quest 2 headset and click Next.
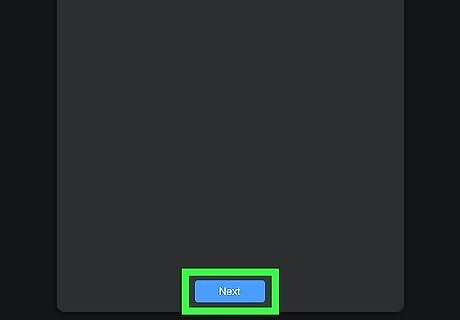
Click Next to sign in with your ODH account. Verify that the email address displayed in the pop-up is the correct account and then click Next at the bottom of the pop-up.
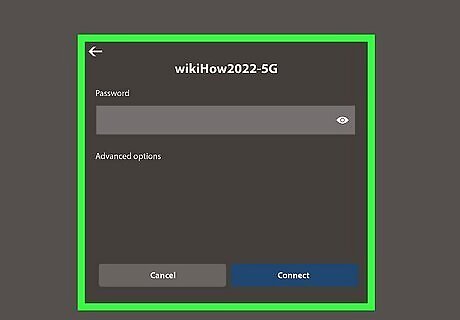
Connect your headset to Wi-Fi. To do so, click your Wi-Fi network and then enter your Wi-Fi password. Then click Connect.
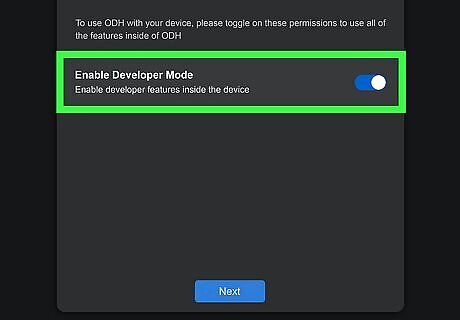
Click the toggle switch Windows Switch On next to "Developer Mode" and click Next. This enables developer mode on your device.
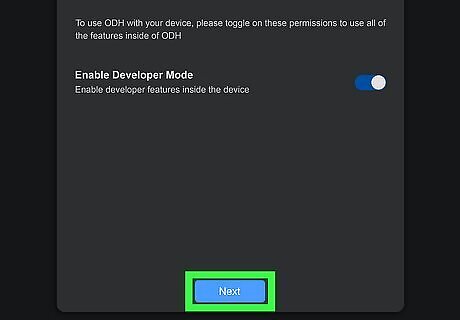
Click Next and then Finish. To finish the setup process, click Next on the page that confirms your device has been set up. Then click Finish. To find unofficial apps installed on your Oculus Quest, click the Apps icon in the Oculus menu. It has an icon that resembles 9 squares. Then click the drop-down menu in the upper-right corner (the one that says "All" by default). Then select Unknown Sources.
Enabling USB Debugging on your Oculus Headset
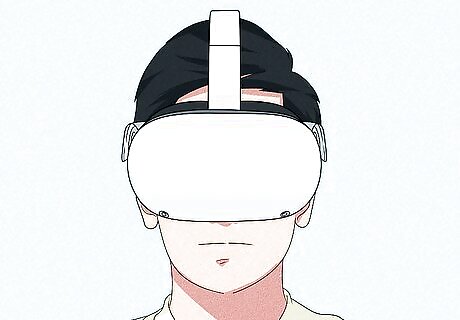
Log in to your Oculus Headset. To do so, put your Oculus headset on and log in to your account. Create a stationary guardian if needed. In order to connect your Oculus headset to a computer and transfer data, you need to enable USB debugging.
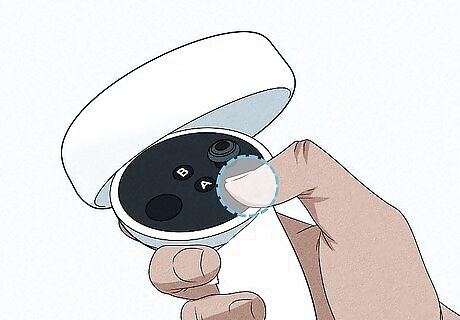
Press the Oculus button. It's the flat button with an elongated "O" no the right controller. This displays the menu bar.
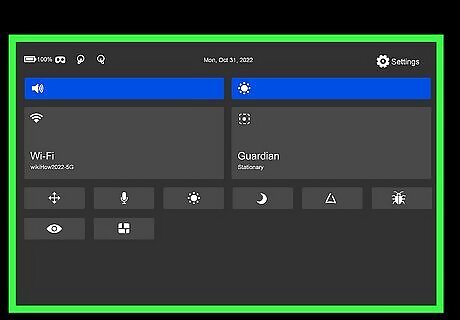
Open the Quick Settings menu. To do so, aim at the clock at the far left side of the menu bar and click the trigger. This opens the Quick Settings menu.
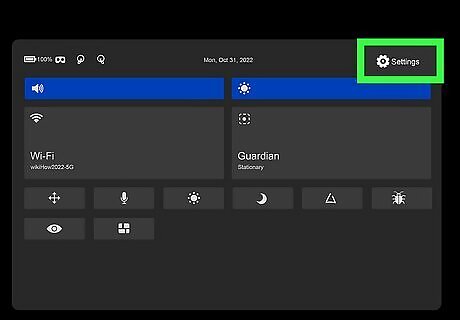
Click Settings Android 7 Settings. It's next to the icon that resembles a gear in the upper-right corner of the Quick Settings menu.
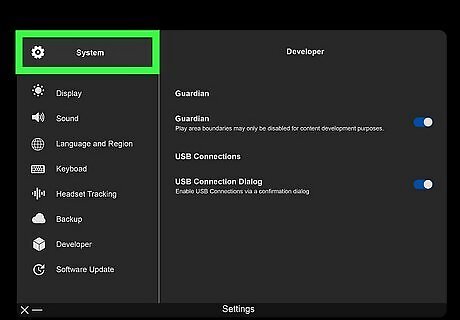
Click System. It's the first option in the Settings menu.
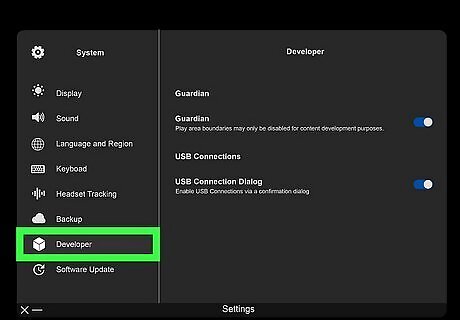
Click Developer. It's in the menu to the left next to an icon that resembles a cube.
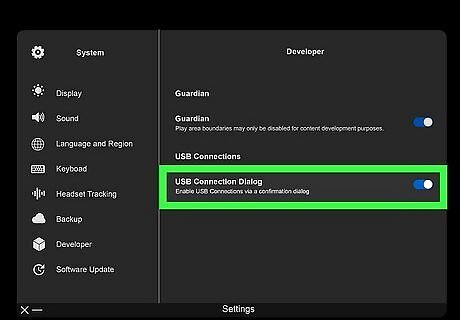
Click the toggle switch Android 7 Switch On next to "USB Connection Dialogue." It's the second option in the Developer menu. This allows your Oculus headset to communicate with your computer via a USB connection.
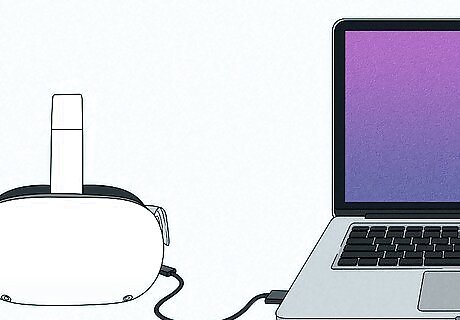
Connect the headset to a computer. Use the USB-C cable that came with your Oculus Quest 2 headset to connect your Oculus headset to the computer you plan on using to side-load or develop apps from.
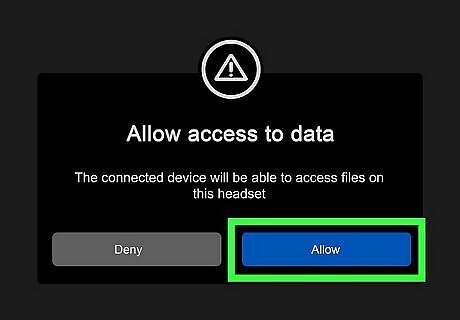
Click Allow on your computer. This allows your computer to access data from your Oculus Quest.
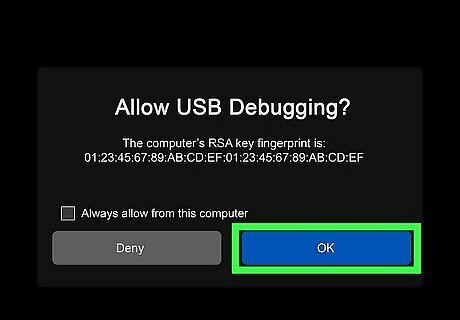
Allow USB Debugging on your Oculus Quest 2 headset. To do so, put your Oculus headset on. When connected to your computer, you should see a pop-up asking if you want to allow USB Debugging. Click Ok to allow USB Debugging. USB debugging mode allows your computer to install apps and make changes to your system using a USB connection. Click the checkbox next to "Always allow from this computer" to avoid having to click this dialogue box every time you connect your Oculus Quest to your computer.
Installing Oculus ADB Drivers (Windows Only)
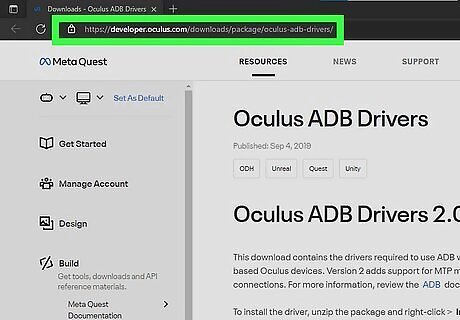
Go to https://developer.oculus.com/downloads/package/oculus-adb-drivers/ in a web browser. This is the website to download and install Oculus ADB drivers for Windows. Since the Oculus Quest is an Android system at it's core, you need the Android Debug Bridge drivers in order to install APK files on your Oculus headset. If you are using a Mac computer, you do not need to install this file.
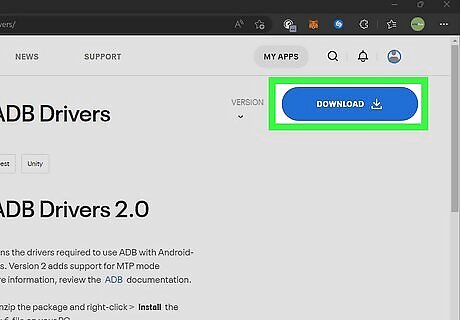
Download the Oculus ABD Driver. To do so, click Download in the upper-right corner. Agree to the Terms and Conditions and click Download.
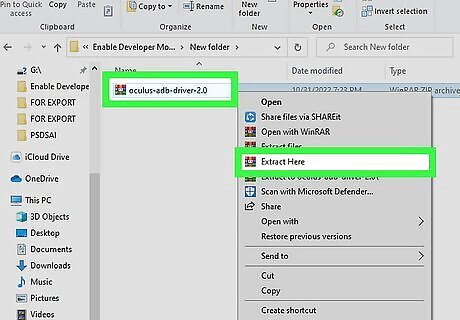
Unzip the downloaded files. Use a program like WinZIP or WinRAR to Unzip the file you just downloaded. This will create a new folder with several files inside.
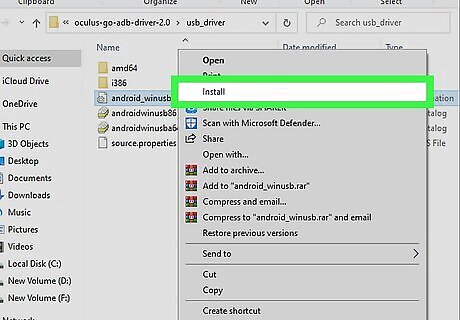
Install the Oculus ABD driver. To do so, open the folder you just extracted from the zip file. Then right-click the "android_winusb.inf" file and click Install. This installs the Oculus ABD driver on your Windows computer.



Comments
0 comment