views
Crocheting the Heel
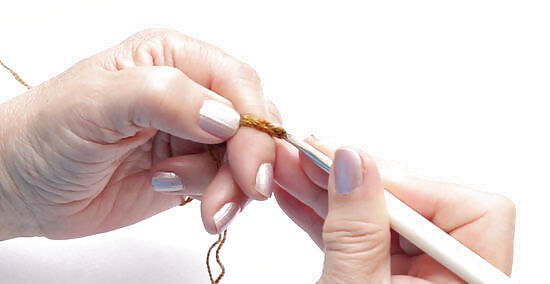
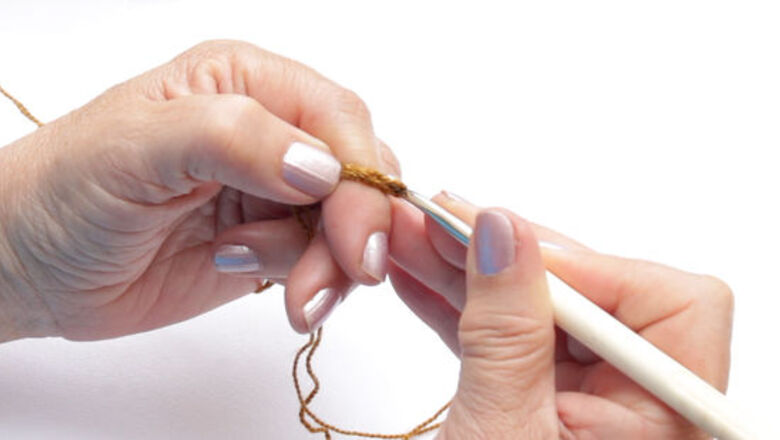
Chain 13 holding two strands of yarn together. To ensure that your slippers are thick and durable, hold two strands of yarn together as you get started. Then, start making your chain. Chain a total of 13 to begin your slippers. Keep in mind that you do NOT want to connect the ends of the chain because this will result in a hole in the bottom of the slipper. You will be working around the chain of 13 as is to create the heel of the slipper.
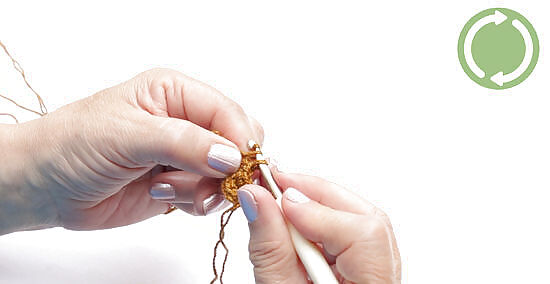
Skip one and single crochet around the chain. Next, skip a stitch and then single crochet once into every chain on one side, and then loop around to the other side of the chain and single crochet to the end. You will be working in a “U” shape around the chain of 13 and you will end up with a total of 24 single crochet stitches when you reach the other side.
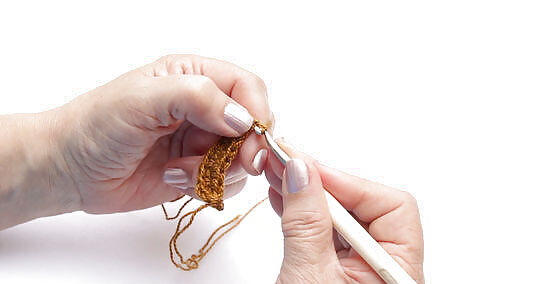
Chain one and single crochet around the “U” shape again. Once you get to the beginning of the chain again, you will need to chain one for the turning chain. This chain will provide slack to begin your new row. Then, double back and single crochet into each of the stitches you just made. In other words, you will be working in the opposite direction of your first round.
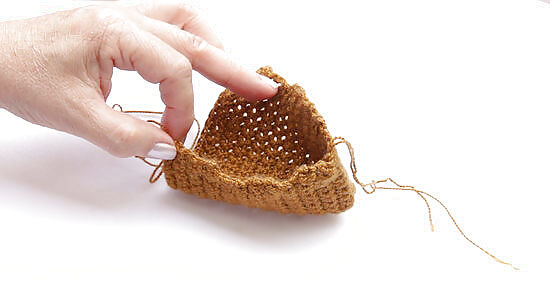
Keep going until your work covers about half of your foot. After you reach the other side of the “U,” repeat the process. Chain one and single crochet around the “U” shape again. Keep chaining one at the beginning of each row and single crocheting back and forth around the “U” shape until your work is large enough to cover your heel and extend to about the middle of your foot (arch area). You will need to work anywhere from 12 to 16 rows depending on the size of your foot.
Crocheting the Toe
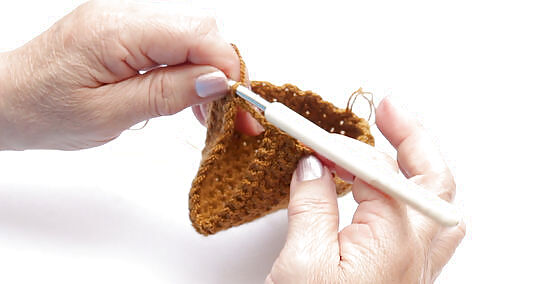
Chain 4 and slipstitch to connect the sides. When your work is large enough to cover about half of your foot (heel to arch), then you can connect the sides (to cover the ankle bone portion of your foot) and then begin working the toe section. To close the gap in the heel portion of the slipper, complete one round of the “U” shape and then chain 4 stitches extending from the top of the “U” shape. Then, slipstitch by inserting the hook into the first stitch on the opposite side of your “U” and yarn over and pull through both stitches on your hook. Depending on the size of your foot, you may want to create a slightly larger or smaller chain. Add or subtract a chain if the connection looks too tight or too loose.
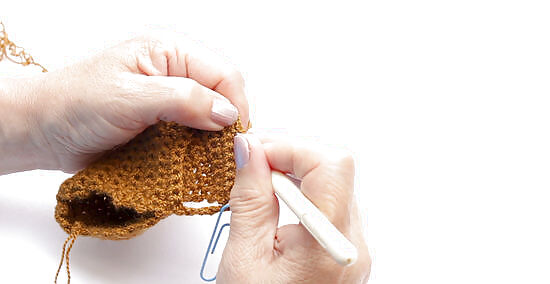
Single crochet in the round. After you have connected the sides with a chain, begin single crocheting. Single crochet one time into every stitch in the round. This includes the stitches from your last row and from the chain you made to cover the ankle bone area. You may want to place a stitch marker to indicate your first stitch in the round. This will help make it easier to keep track of the number of rounds and know where to finish your last round.
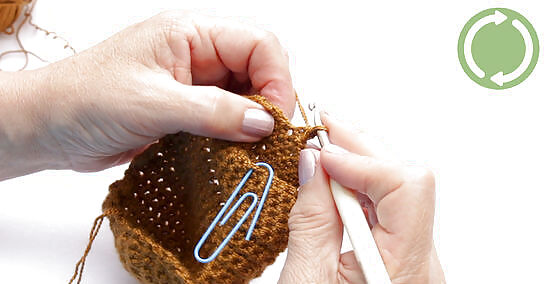
Keep single crocheting until your work covers most of your foot. You will need to single crochet for several rounds to cover the toe portion of your foot. Your big toe should just be peeking out when you have completed enough rounds. Measure the slipper on your foot after each round or two when it looks like you are getting close. You will be working the rounds in spirals, so you do not need to worry about chaining one at the beginning of each round.
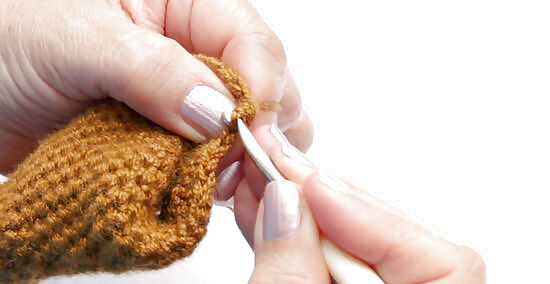
Decrease for the last three rounds. When your slipper is long enough to cover most of your foot, then you can begin to decrease to form the toe closure. You will need to begin single crocheting two together for the next few rounds. You can make the toe area as loose or snug as you like. Try standing while wearing each of the slippers before you completely close them off to ensure that the fit feels good. Your feet will spread out a little bit when you are standing up.
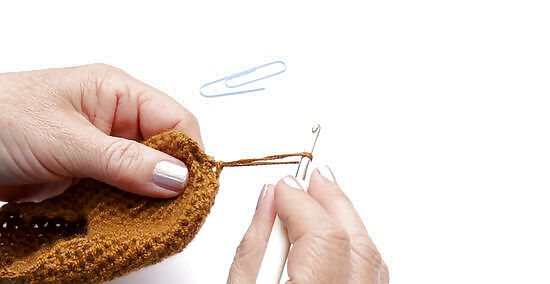
Use a tapestry or yarn needle to finish closing off the toe. When the toe area goes beyond your toes by an inch or two and you are happy with the fit, you can finish closing off the toe using a tapestry or yarn needle. Pull out the loop of your last single crochet stitch and then cut it leaving several inches of yarn extending from the stitch. Then, thread the yarn through the yarn or tapestry needle and begin sewing up the toe. Go over the toe area a couple of times.
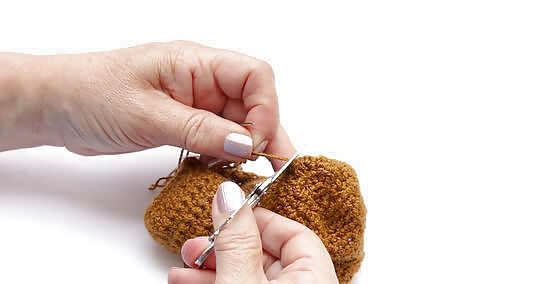
Cut and tie off the yarn. When you finish sewing up the toe, cut the yarn a few inches from the last stitch and then tie the yarn through the stitch to secure the toe. Cut the excess yarn or tuck it into the slipper to hide it.
Embellishing the Slipper
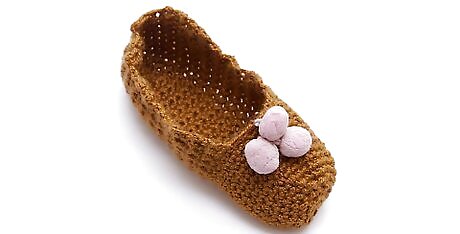
Add a pom pom. Adding a pom pom to the toe area or near the opening of your slippers is a cute, easy way to embellish them. Try making a pom pom in a contrasting or matching color of yarn and then sew in onto the part of the slipper you want to accent.
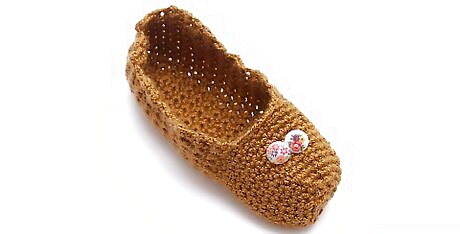
Sew on some buttons. Buttons also make a nice accent to crocheted slippers. You can sew a couple of decorative buttons onto the tops or sides of your slippers. Choose some wooden buttons for a rustic look, or go with some glossy metallic buttons for a more chic look.
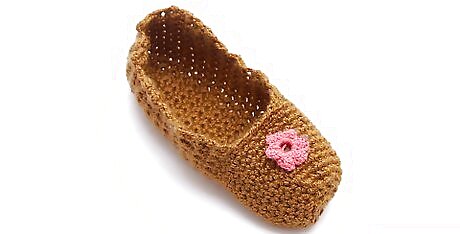
Crochet a flower. Adding a crocheted flower to your slippers is another great way to accent your slippers. You can crochet a simple type of flower, such as a coiled flower, or do something more elaborate, such as a crocheted rose or pansy flowers. Then, simply sew your crocheted flower onto the slippers wherever you like.
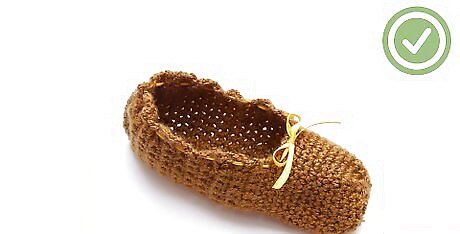
Thread ribbon through the slipper opening. An extra easy way to accent a pair of slippers is to thread some ribbon through the slipper opening. Choose a contrasting or matching color ribbon and thread it through every other stitch around the opening of your slipper. Then, tie the ribbon in a bow where the two ends meet. Do this for both slippers to add an elegant touch.





Comments
0 comment