views
Completing the First Cube
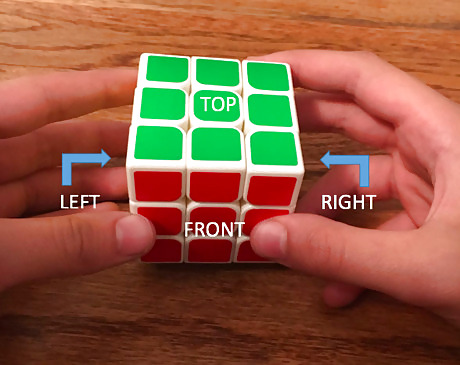
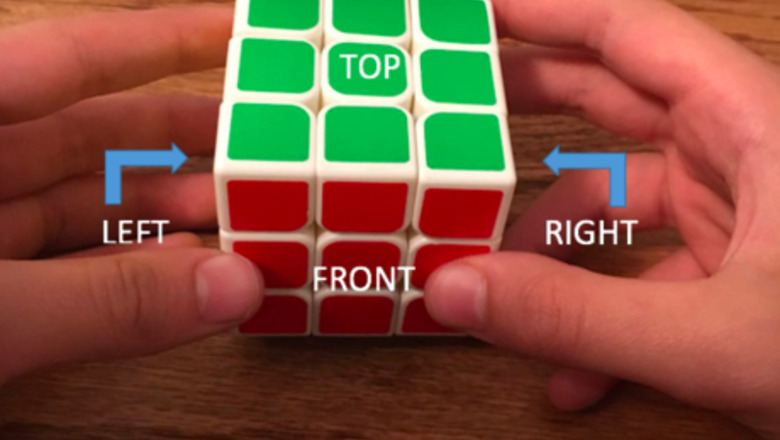
Start with a Solved Rubik's Cube. Make sure all faces have the right color, and then hold the cube with the RED side facing you and the GREEN side on top.
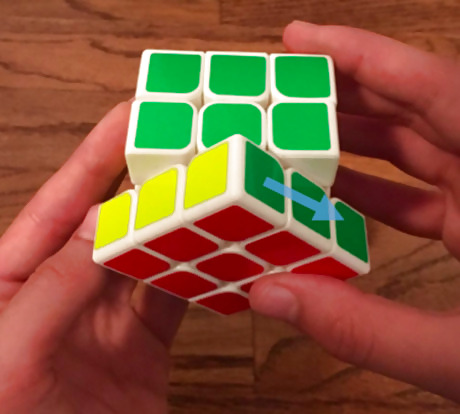
Move the front side once clockwise (left to right). The front side is the RED side facing you.
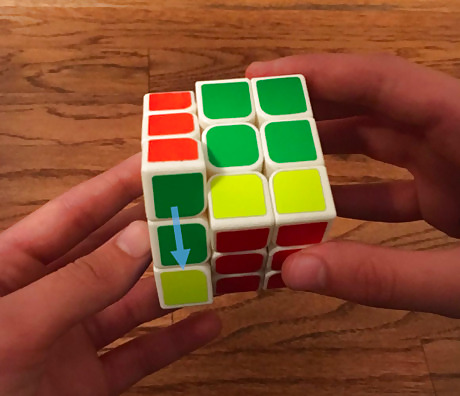
Move the left side once clockwise (towards you). The left side is the YELLOW side with the BLUE vertical line. The color of the center piece on each side indicates the color of that whole face.
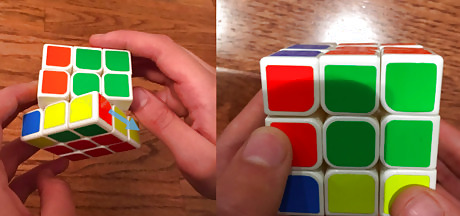
Move the front side once clockwise (left to right). This step is exactly like step two. At this point, you should have formed a 2 by 2 by 3 cube in the back right corner of the cube.
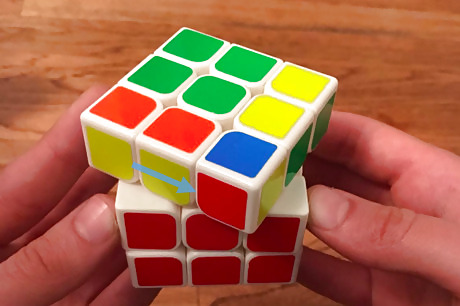
Move the top side once counterclockwise (left to right). The top side is the GREEN side, with the GREEN center piece.
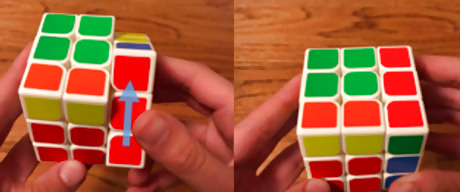
Move the right side once clockwise (away form you). The right side is the WHITE side with the white center piece. Make sure you're still holding the cube with the RED side facing you and the GREEN side on top.
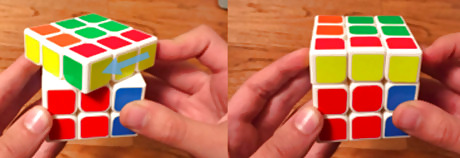
Move the top side once clockwise (right to left). This motion is the opposite of that done in step 5.

Move the front side twice clockwise (left to right). Make sure you move the front side twice in order to end up with a red, green, and white 2 by 2 by 2 cube in the right corner that's facing you.

Move the left side twice clockwise (towards you). At this point, you should have created the first cube, and you should have the two vertical green lines on the top and a red vertical line in the left column of the top face.
Finishing the Full Design
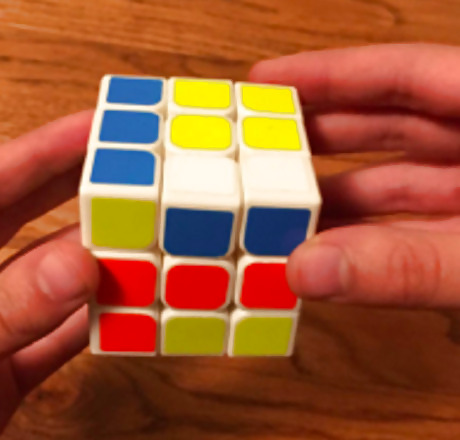
Hold the cube with the ORANGE side facing you and the YELLOW side on top. Keep the cube in this position throughout Part 2.
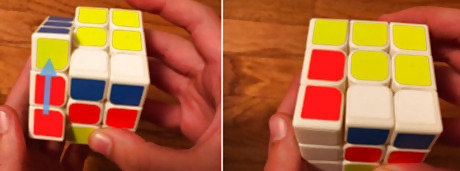
Move the left side once counterclockwise (away from you). The left side is now the GREEN side because you are holding the cube differently.
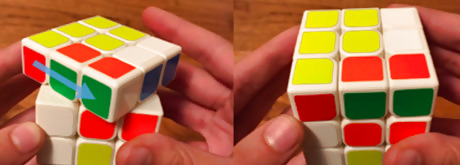
Move the top side once counterclockwise (left to right). Remember to keep holding the cube with the orange side facing you and the yellow side on top as you perform each step.
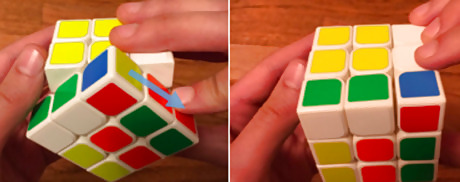
Move the front side once clockwise (left to right). You might feel like you are messing up the order, but it will all start coming together in the next few steps.
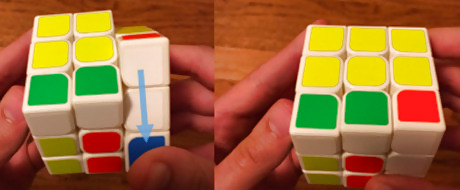
Move the right side once counterclockwise (towards you). The motion you perform for the right side is basically the opposite of what you do for the left side.
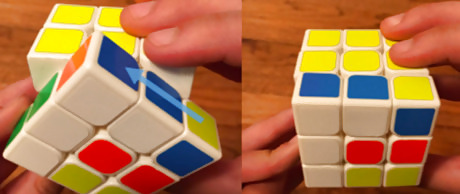
Move the front side once counterclockwise (right to left). Double check your work by comparing your cube's orientation with the one in the images.

Move the top side twice clockwise (right to left). Make sure you perform this motion twice. At this point, you could see that the 2 by 2 by 2 cube yellow, blue, and orange forming in the front right corner.
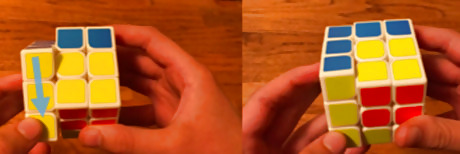
Move the left side once clockwise (towards you). You should now see two 2 by 2 by 2 cubes in two corners.
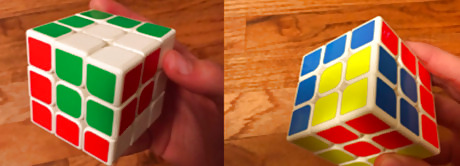
Enjoy your pattern.



Comments
0 comment