views
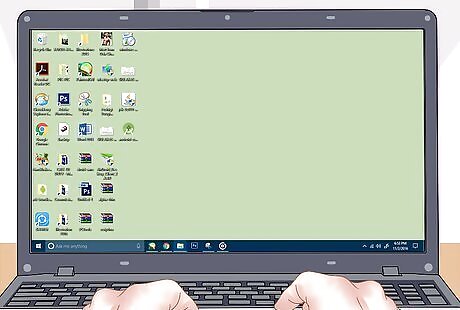
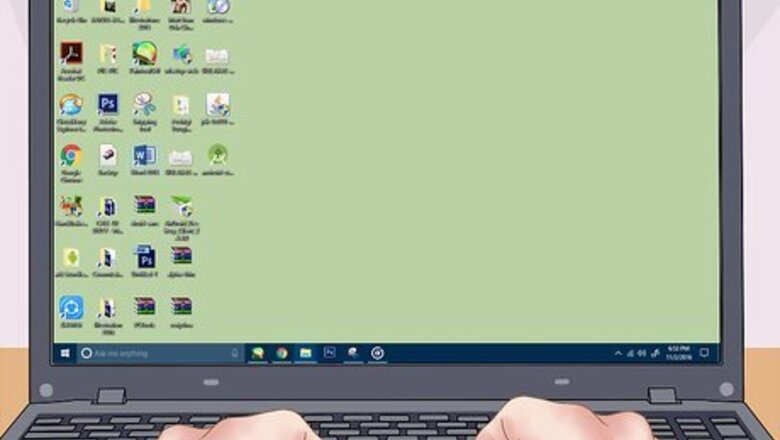
Make sure your PC is on.
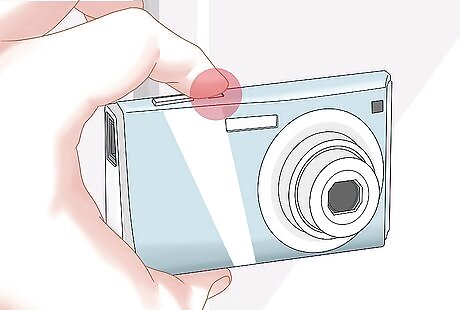
Turn on your camera. Though the difference in models means this step will vary, most cameras allow you to do this from a dial near the top of the camera.
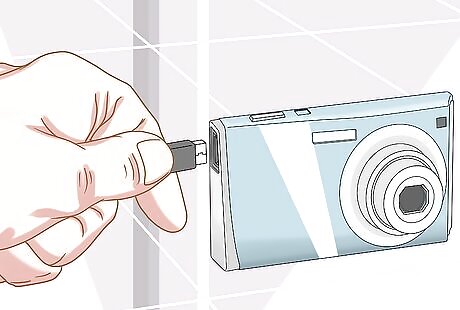
Plug the small end of the camera's cable into your camera. Most camera models have a port shaped like the small end of the cable on their body; this port may be hidden under a plastic flap. The plastic flap will usually say something to the effect of "Video Out".
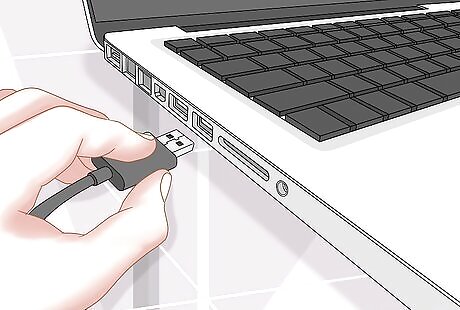
Plug your USB cable into your computer. The USB end is rectangular; it should fit into a port on your computer's side (or CPU for desktop units). Keep in mind that the hollow side of the USB end should be on top.

Wait for your camera's drivers to install. If this is your first time connecting your camera, this may take a few minutes. You should see a pop-up window asking what you want to do with the device once the drivers are installed.
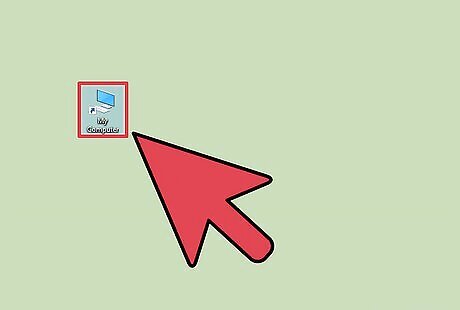
Double-click "My Computer".
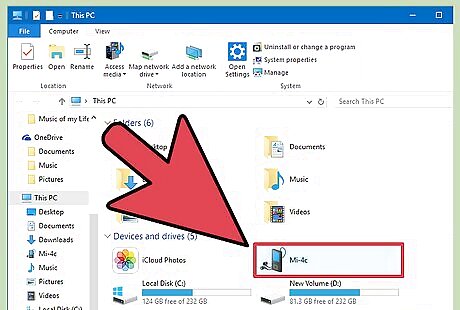
Double-click your camera's name. This should be under the "Devices and Drives" section.
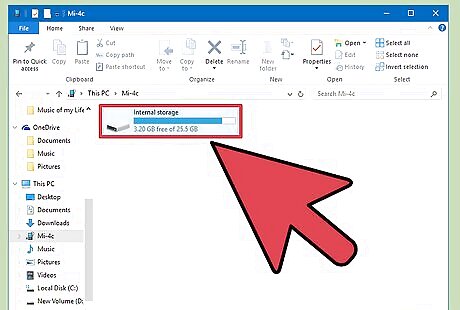
Double-click "SD".
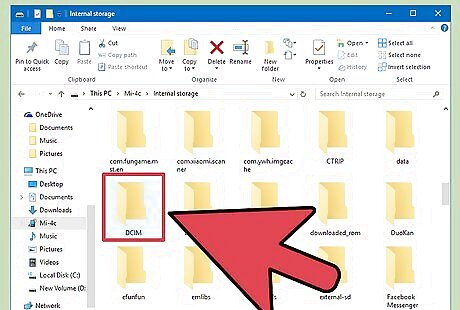
Double-click your camera's storage folder. While this may be named any number of things, most modern cameras have a folder entitled "DCIM". There might be another folder inside of this one named after the camera brand--for example, "100CANON".
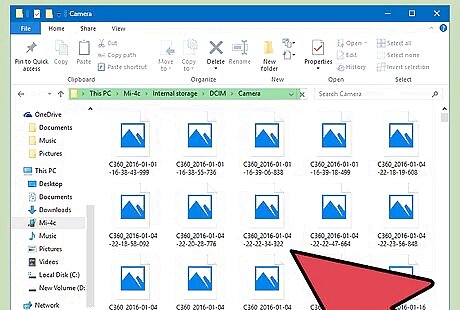
Review your photos. From here, you can do a few things: Delete your photos from your camera's memory card. Copy your photos to a file on your computer. View your photos from within the camera.
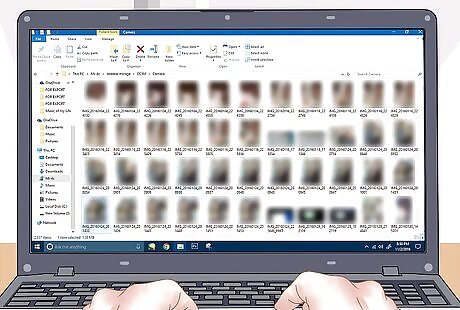
Retrieve your photos as you please. You have successfully connected your camera to a PC!






Comments
0 comment