views
Using a Screen for Smaller Rocks
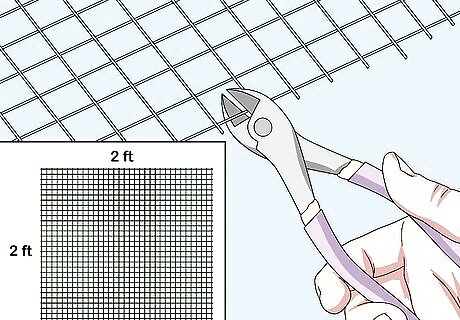
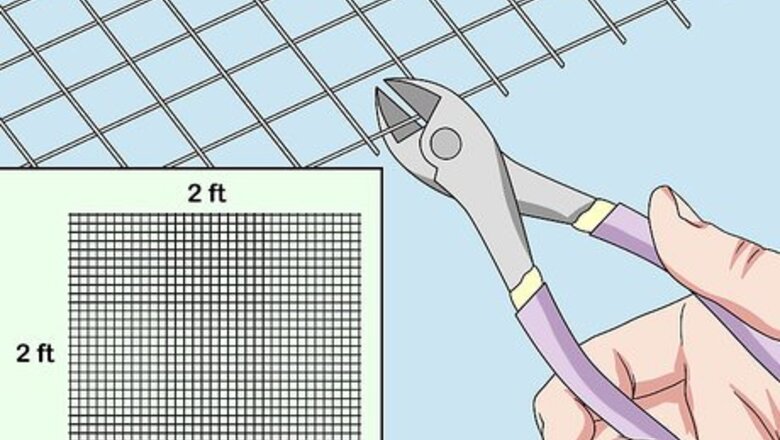
Cut a piece of mesh hardware cloth if you're cleaning a small area. The easiest way to clean dirty landscaping rocks is to sift them through a piece of ⁄2 in (1.3 cm) hardware cloth fencing. This is a type of screen or mesh with ⁄2 in (1.3 cm) holes, so the rocks will stay on top of the screen, but any dirt and small debris will fall through. A piece of screen that's about 2 ft × 2 ft (0.61 m × 0.61 m) piece should be enough for this job. If your rocks are smaller than ⁄2 in (1.3 cm), use ⁄4 in (0.64 cm) screening instead.
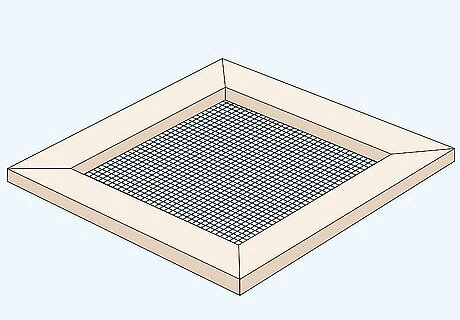
Build a frame from lumber and ⁄2 in (1.3 cm) screening for big jobs. Using 2x4 (5.1 cm × 10.2 cm) lumber—or whatever scrap wood you have on hand—build a rectangular-shaped frame that’s at least 4 sq ft (0.37 m). Then, use heavy-duty staples to attach ⁄2 in (1.3 cm) hardware cloth fencing that’s been cut to the size of the frame. You can make your screen as large or as small as you’d like. About 4 sq ft (0.37 m) is probably the minimum size that would make this project work, but you can build it to be much larger if you want. However, you may need to add extra pieces of wood as supports across the bottom of the frame so the rocks don’t put too much pressure on the screen.
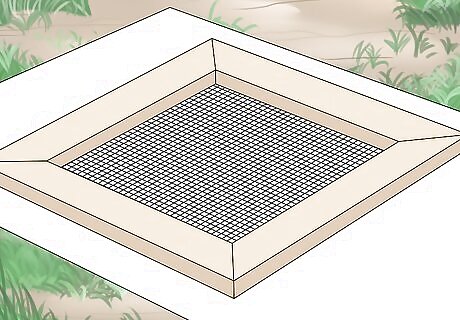
Place a tarp beneath the screen if you’re concerned about cleanup. If you want a way to easily clean up the dirt that you sift out of the rocks, try placing a large tarp on the ground beneath your screen. That way, when you’re finished, you can just lift the tarp and pour the dirt wherever you want to dispose of it. You can also place the screen over a large garbage can, if you’d like.
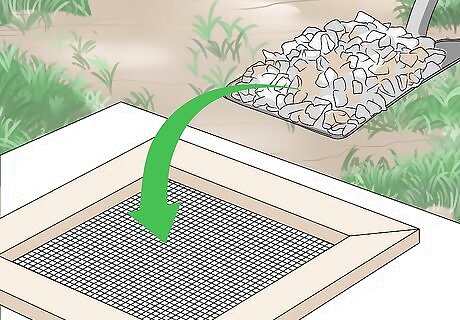
Use a shovel to scoop rocks onto the frame. When you’re ready to start cleaning, start at one side of the area that’s covered by rocks. Use a shovel to gather up some of the rocks, then pour them onto your screen. You can add another scoop of rocks to the first if you’d like, but try not to load much more than that onto the screen, since it can get heavy pretty quickly. Try not to dig the shovel too deeply into the dirt underneath the rocks, since that will just give you a bigger mess to clean up when you’re finished.
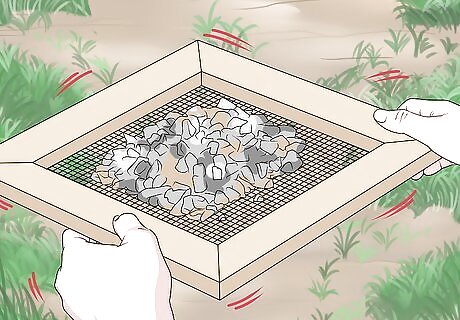
Shake the screen or use a hoe to rake the rocks over the screen. If you’re using a smaller screen, you can just rock it back and forth with your hands to shake out any dirt. However, if you built a larger frame because you need to cover a lot of area, try using a rake to push the rocks across the screen. You should notice dirt and debris gathering under the frame right away. If you see any weeds, twigs, trash, or any other debris that’s too big to fall through the screen, pull it out by hand.
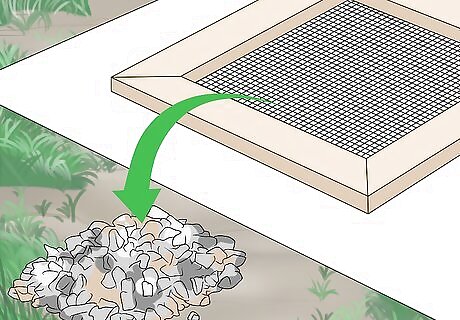
Place the rocks in their own pile or return them to their original spot. There are 2 main approaches to putting the rocks back in place. You can either replace each scoop of rocks as you clean it, or you can set all of the clean rocks aside, then shovel them across your landscaped area after they’re all clean. While replacing the rocks as you clean them is a little faster, you’ll probably end up cleaning some of the same rocks more than once. You can also clear out a small area, then replace the rocks in that spot before moving to a new sections, if you’d like. Experiment to see what feels the most efficient for you.
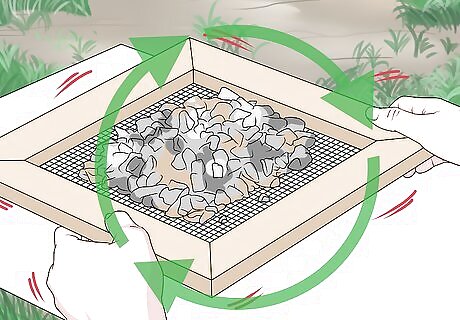
Continue across the entire area of landscaping rocks. Try working in a grid pattern, or go all around the perimeter of the area, then work into the center. You should be able to see which areas you’ve already cleaned, even if you’re putting the rocks back in place as you go, since the rocks won’t look as dirty and the ground will be newly disturbed. If you have too many rocks to do in one day, try to complete a clear section one day, then return the next day to do another section. Continue this until the job is done.
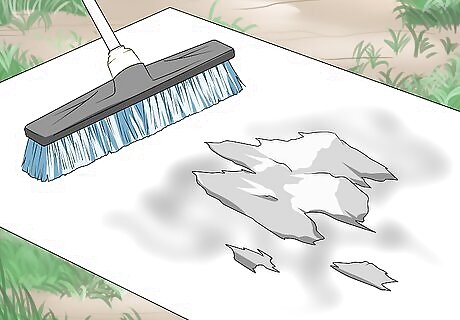
Sweep or scoop up the dirt that accumulated under the screen. Once you’ve finished, or when the dirt is built up enough to interfere with the screen, use a push broom or a shovel to scoop up the dirt, or just lift it up if you put down a tarp. You can then add the dirt to your compost pile or garden, or dispose of it however you wish. If you set all the rocks aside to spread out at the end of the job, you can even pour the dirt back onto the landscaped area, then put the rocks on top of the dirt.
Washing Dirt off of Larger Rocks
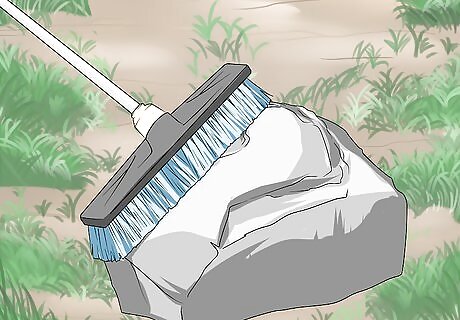
Sweep the rocks with a push broom to loosen any dirt. Before you spray the rocks, it’s a good idea to go over the rocks vigorously with a push broom. Work from one end to the other, scrubbing the surface of each rock. This will help break up any dirt that’s dried on the surface of the rocks, making it easier to clean. Even if the rocks are rounded or creviced on top, rather than being smooth and flat like pavers, try to sweep them off the best you can.
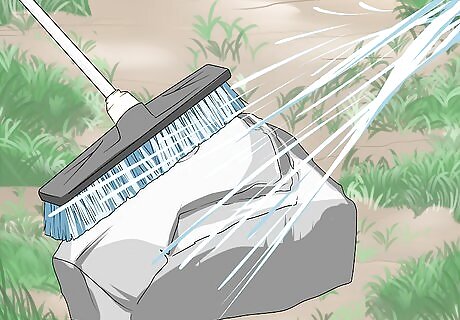
Scrub the rocks with water and a push broom if they aren't very dirty. If your rocks just need a little sprucing up, you may be able to just give them a quick scrub. Wet them with your garden hose, then brush them vigorously with a scrub brush or push broom. When you're finished, rinse them off with clean water. Using a sprayer attachment on your hose may make this job easier. If the rocks are really dirty, you’ll probably need the deeper cleaning power of a pressure washer.
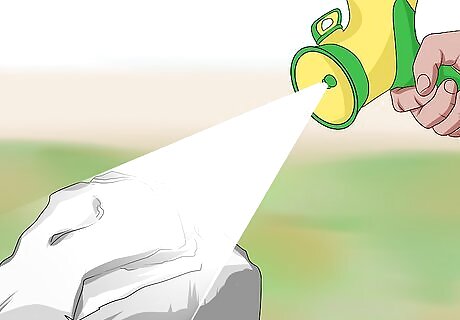
Use a pressure washer to clean the rocks. Stand away from the area you want to clean, and hold the nozzle of the pressure washer at an angle so the water and dirt don’t ricochet toward your face. Using a sweeping motion, work from one end of the rocks to the other. Spray the crevices around the rocks, then all across the surface of each one. This should blast away even the most stubborn dirt. It’s a good idea to wear safety equipment like long-sleeved clothing, long pants, and safety glasses, since the force from a pressure washer can sometimes send debris flying. If you don’t have a pressure washer, you may be able to rent one from a hardware store in your area. Tip: If you live in a dry, dusty area, try this with an air hose instead. Set up the air hose on a windy day and work in the direction the wind is blowing. The dirt and sand should be easily swept away by the wind.
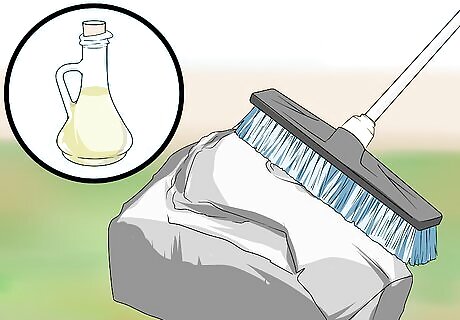
Scrub the stones with vinegar if there’s mold or fungus. If you notice anything green or grey growing on the surface of your rocks, chances are it’s mold or fungus growth. To remove this, saturate the landscaping rocks with white vinegar, then scrub them thoroughly with your push broom. When you’re finished, rinse the rocks with your garden hose. If the mold is really stubborn, mix ⁄4 cup (59 mL) of bleach with 2 US gal (7.6 L) of water, then apply that to the stones. Scrub them well, then rinse them with clean water. It may take 2 applications to fully remove the mold.
Deep Cleaning with Bleach or Vinegar
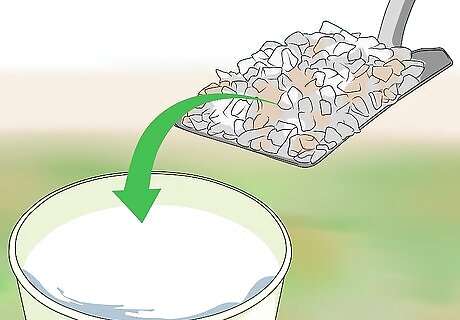
Shovel a section of landscaping rocks into a wheelbarrow or bucket. If your rocks need a deeper clean, scoop up a shovelful and pour the rocks into a sturdy wheelbarrow or a large bucket. Don't overfill the container, since you'll still need to be able to lift it. This is a great trick if you need to clean white landscaping rocks, as it will help restore their color. This is also a good technique if you want to wash smaller rocks that might get blasted away by a pressure washer. If you have a lot of rocks, try only washing the top layer, since the bottom rocks won't be visible anyway.
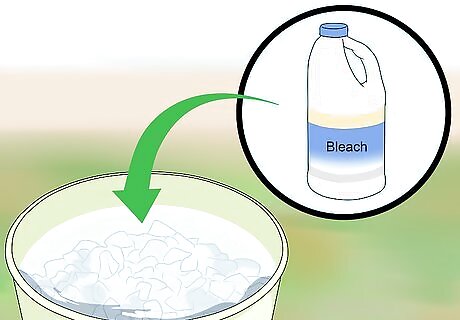
Pour vinegar or bleach water over the rocks. White vinegar is a great option for this, since it's unlikely to damage the rocks but is still powerful enough to break up dirt. If you're cleaning white rocks, though, you might prefer to use a mixture of bleach and water. Mix ⁄4 cup (59 mL) of bleach into every 2 US gal (7.6 L) of water and pour it over the rocks. If you're using bleach, wear heavy-duty rubber gloves before you put your hands into the water. For very dirty rocks, you may want to allow them to soak in the solution for about 20 minutes.
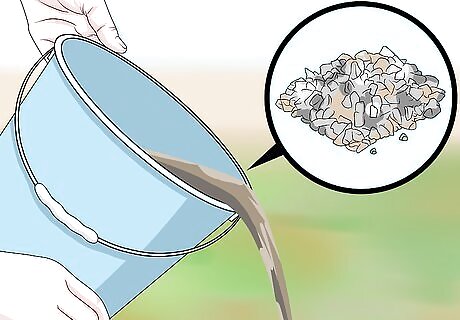
Tip the wheelbarrow and pour off the vinegar or bleach. As you pour off the acidic solution, you'll probably notice dirt and debris coming off with it. Try to keep the rocks in the bottom of the wheelbarrow or bucket as you pour, since you'll still need to rinse them off. Be careful where you pour the vinegar or bleach. Both will kill plants, and bleach is harmful to any pets and insects in the area as well.
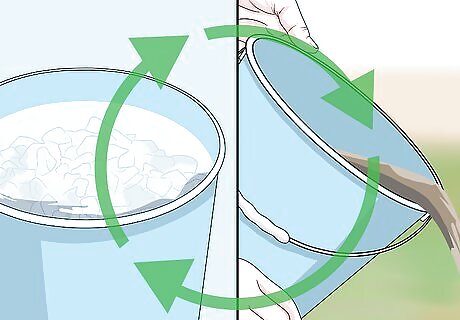
Rinse the rocks several times with clean water. Fill the bucket with clean water, then pour it off and rinse them again. You'll probably need to do this several times in order to get the rocks completely clean. Residue from bleach or vinegar can eat away at the rocks over time. When you're finished, you can return the clean rocks to their original spot!


Comments
0 comment