views
Draining the Water Heater
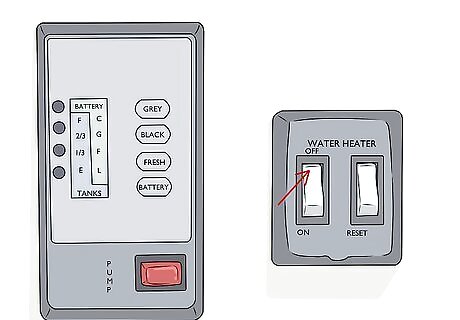
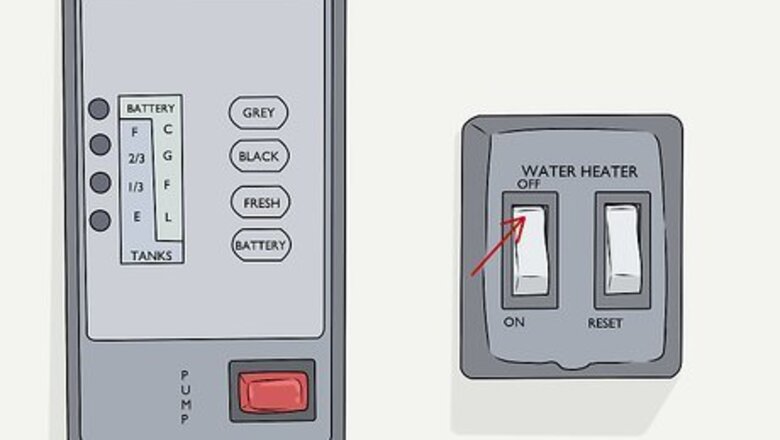
Turn off the water heater the night before you clean it. Locate the electrical switch panel inside your RV and look for the one labeled “Water Heater.” Flip the switch to the Off position so the water inside the tank has time to cool down. Leave the water heater off overnight to ensure you don’t get scalded while you’re cleaning out the tank. Check the water heater compartment, which is usually on the exterior passenger side of the RV, if you’re unable to find the switch inside. Your RV’s water heater may have gas and electric power controlled by separate switches on the panel, so be sure to turn them both off.Variation: If you don’t have time to wait overnight, turn the faucets in your RV to the warmest setting and let them run until the water feels cold to the touch.
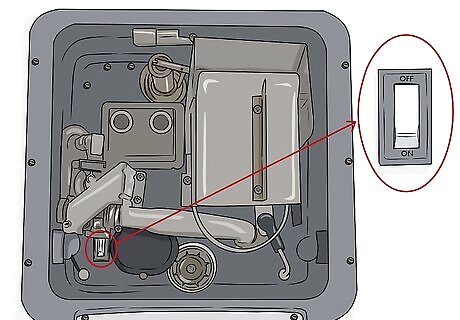
Shut down the water pump or supply line so you don’t fill the tank. If you’re only using the clean water stored in your RV’s tank, locate the pump and turn it to the Off position so it doesn’t keep pulling water into the heater. Otherwise, disconnect the water supply hose outside your RV if you’re connected directly to the input system. Leave the supply hose or pump disconnected throughout the cleaning so the tank doesn’t keep filling up with water. Usually, you can find the water pump behind a wall panel inside your RV. Otherwise, it may be located inside of an exterior compartment.
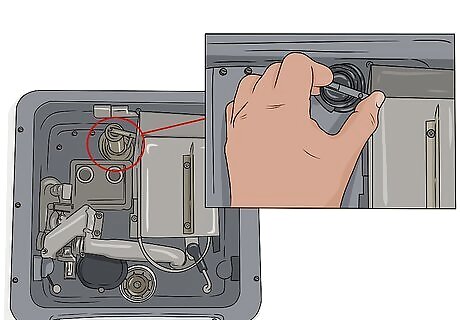
Open the pressure relief valve on the water heater. Locate the water heater compartment on the exterior passenger side of your vehicle, which is usually labeled “Water Heater.” Unlatch the panel and locate the relief valve with a metal handle attached to a spout at the top of the compartment. Pull the valve handle up until it sticks straight out and water begins draining from the spout. If you have a hard time locating the water heater compartment, look at your RV’s manual to find it. Avoid opening the valve if you still have hot water since it will be scalding hot and could seriously burn you.
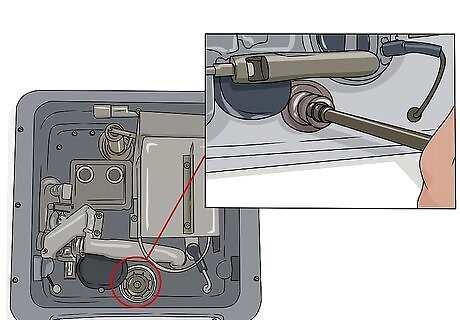
Unscrew the tank’s plug or anode rod with a socket wrench. Locate the spout or port on the bottom of the water heater compartment, which is the plug in an Atwood system or the anode rod in a Suburban system. Turn the plug or anode rod counterclockwise with a socket wrench to loosen it. Unscrew it completely and pull it straight out from the tank. The water will drain out from the port for the plug or anode rod. Don’t unscrew the plug or anode rod if you still have hot water since you could get scalded.
Flushing the System and Replacing the Plug
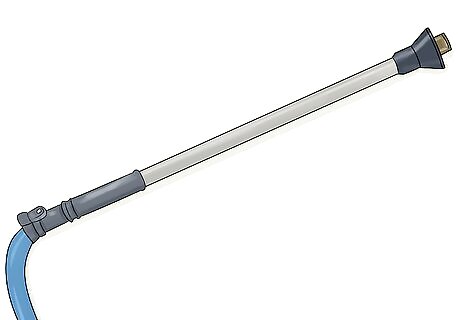
Attach a tank cleaning wand to a garden hose. Tank cleaning wands have a long, high-pressure spout that breaks down scale buildup inside of your water tank. Screw the end of the tank cleaning wand onto the end of a garden hose tightly so it doesn’t leak. Keep the wand in the closed position for now so water doesn’t spray out from the end. You can buy a tank cleaning wand online or from an outdoor specialty store.
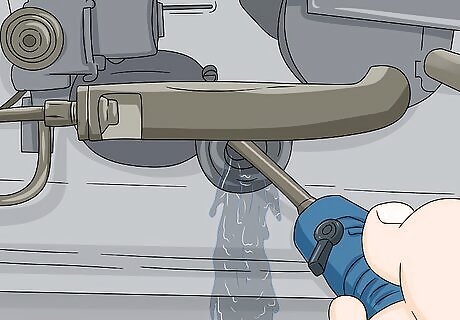
Spray the inside of the tank with the cleaning wand. Push the end of the wand into the port at the bottom of the water heater tank and turn on your hose. Press down on the wand’s handle to shoot the water inside the tank. Rotate the wand around the tank so it sprays each wall of the tank. Continue spraying the inside of the heater until you don’t see any more residue coming out from the port. If you don’t see any residue coming out of the tank when you first start spraying, then you may not have any buildup inside your tank.
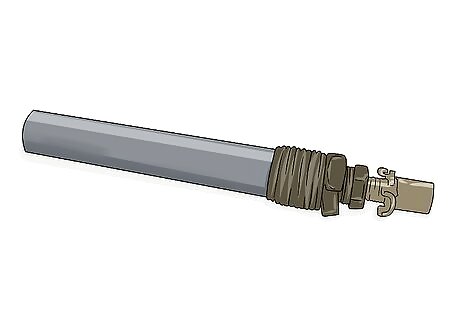
Get a new anode rod if your water heater uses one. Check the old anode rod to see if it has scale buildup. If it doesn’t, then you can reuse the same rod until the next time you clean the tank. Otherwise, get an anode rod that matches the make and model of your RV so it fits inside of the heater properly. Anode rods filter out the sediment in your water to help keep your hot water clean. You can buy them online or from specialty RV stores.Variation: If your water heater system only has a plug, you can reuse the same one unless the old one got bent or damaged.
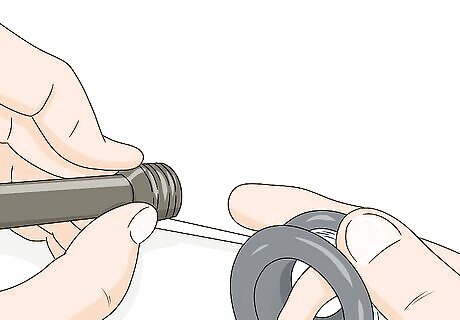
Wrap Teflon tape around the threadings on the plug or anode rod. Press the end of the Teflon tape onto the threadings and tightly wind it clockwise. Cover all of the threadings with 2–3 layers of the Teflon tape before cutting the piece off. Press the loose end down firmly so it stays in place. Teflon tape helps prevent leaks in the water heater, and you can find it in the plumbing section of your local hardware store. Avoid wrapping the Teflon tape counterclockwise since it could come loose when you screw the plug or anode rod back into the port.
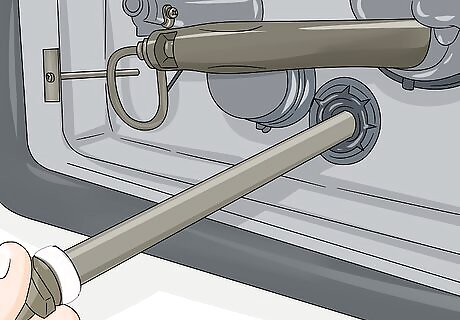
Screw the plug or anode rod back onto the water heater. Push the plug or anode rod back into the port and turn it clockwise to tighten. Continue screwing the plug or rod in until it’s hand-tight. Then, use your socket wrench to turn it by another quarter turn so it properly seals the tank and doesn’t cause any leaks. Avoid over-tightening the plug or rod since you could damage it and make it more difficult to remove later on.
Soaking the Tank with Vinegar
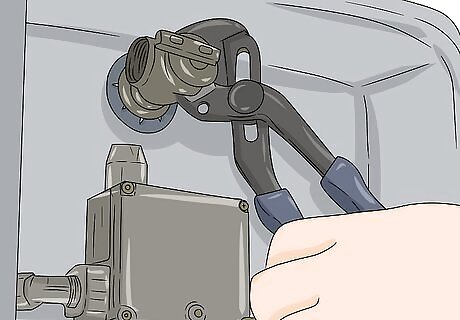
Unscrew the pressure relief valve from the water heater. Grip the nut behind the pressure relief valve with a pair of pliers and turn it counterclockwise until it’s loose. Keep rotating it by hand until you can easily pull it out from the port so you can access the top of the water heater.
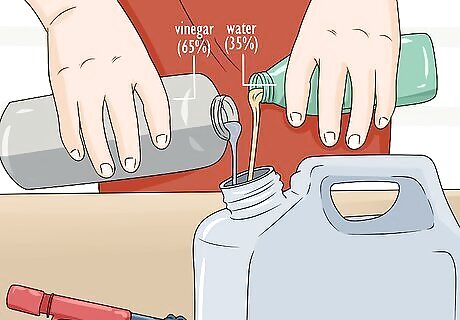
Mix a solution that’s 65% vinegar and 35% water solution. Combine distilled white vinegar and water in a larger container with a spout, such as a new gas can, and mix them together. Make enough of the cleaning solution so you’re able to fill the entire water heater to remove the most residue from inside the tank. If you don’t know the size of your hot water tank, check the RV’s manual. Otherwise, you may be able to look up the make and model of your RV online to find the information. Typically, RV water heaters are between 5–10 gallons (19–38 L). You don’t need to soak the tank with a vinegar solution if you didn’t notice residue coming out from the tank when you flushed out the system.
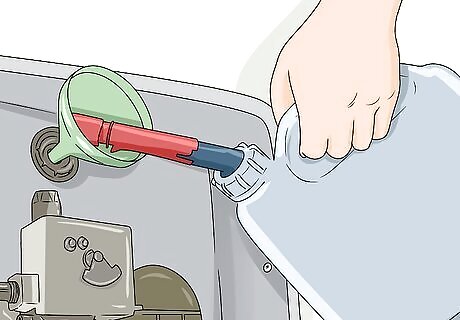
Pour the vinegar solution into the relief valve hole with a funnel. Place a funnel inside of the valve hole so you’re able to transfer the vinegar solution more easily. Slowly dump the vinegar solution into the funnel, making sure it doesn’t overflow or spill over the side. Continue filling the tank until you run out of solution and remove the funnel. Ask a helper to hold the funnel in place or help lift the gas can so you’re less likely to spill.
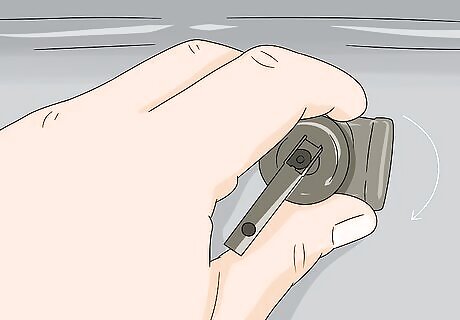
Reattach and close the pressure relief valve. Align the pressure release valve with the port and screw it in clockwise by hand. When you can’t turn it anymore, use your wrench to tighten it by a quarter turn at a time. Keep screwing the valve in until the spout points down. Press the valve handle down so it’s flat. If you don’t have the spout pointing down, the valve may not drain properly if pressure builds up inside the water heater. Be careful not to overtighten the valve since you could damage it.
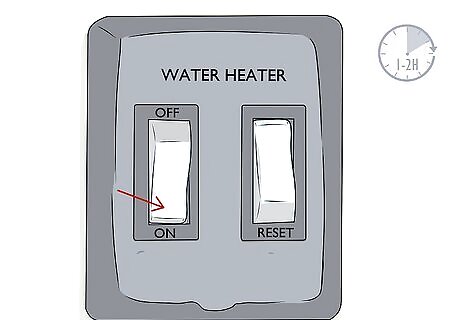
Turn on the water heater for 1–2 hours to heat it up. Go inside your RV and locate the power switch for the water heater. Turn it back to the On position so it heats up the vinegar solution inside the tank. Leave the power on for about 1–2 hours so it has a chance to heat up completely so it removes the most scale buildup from the system. When you’re finished, flip the switch back to the Off position. Avoid turning on the water supply or pump, or else the vinegar solution may travel through the rest of your pipes and not clean the tank as effectively. If your water heater also has a switch for gas power on the electrical panel, turn it on as well.
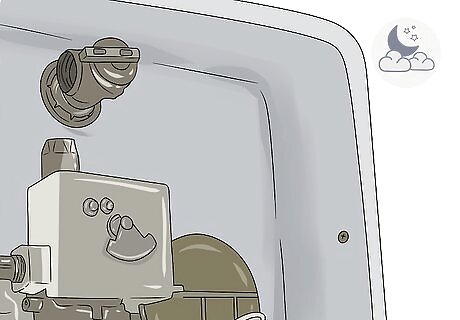
Leave the vinegar to cool in the hot water tank overnight. Allow the vinegar solution to soak in the water heater so it can break down more residue that’s stuck inside. Avoid using any of your fixtures or draining the tank while the solution is still hot, or else you could burn yourself. Wait until the next day or until the water heater cools completely before moving on.
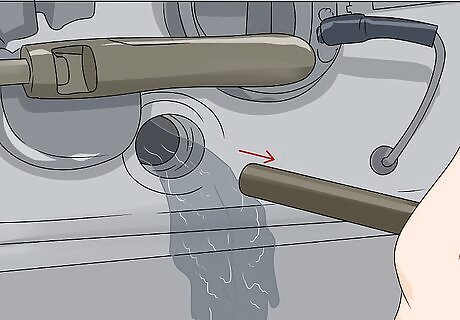
Remove the plug or anode rod to drain the vinegar from the tank. Loosen the plug or anode rod with your socket wrench by turning it counterclockwise. Then continue unscrewing it by hand so the solution comes out of the tank. Let it drain completely and wipe any residue off that comes out with the solution. If residue gets caught in the port while it’s draining, try poking it with a stir stick or pulling it out by hand.
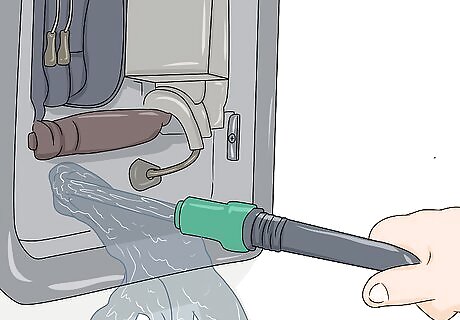
Flush the system with the tank cleaning wand before reattaching the plug. Put the tank cleaning wand on the end of your hose and feed it back into the tank. Turn on the water and spray the sides of the tank to break apart the loosened residue and clean the vinegar out from your system. Keep spraying the inside until the water runs out clear before screwing the plug or anode rod back into place. You do not have to reapply the Teflon tape on the plug or anode rod.Warning: If you don’t rinse out the tank after soaking it with vinegar, then your hot water may smell or taste like vinegar.
Turning the System Back On
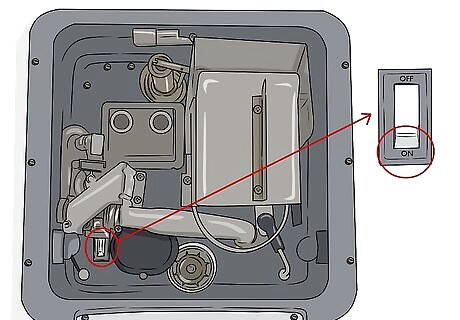
Reconnect the water pump or water supply. If you’re using your RV’s clean water system, locate your pump and turn on the power switch again. If you’re connected directly to an exterior water supply, turn on the hose so water can flow through the pipes in your RV.
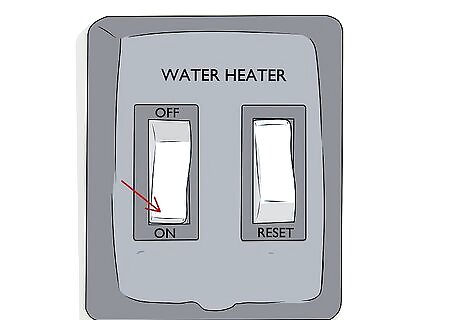
Flip on the water heater switches. Go back inside your RV and find the switches for your water heater. Turn on the main power switch as well as the gas switch if your water heater has one. Allow the water heater to warm up completely so it functions properly. If the switches aren’t inside your RV, they may be in the water heater compartment outside.
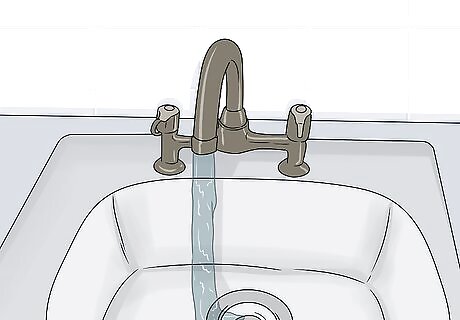
Turn a faucet on to hot water inside your RV until it runs clear. Choose a sink or tub faucets and turn it to the hottest setting so water starts flowing through it again. Keep the faucet on until the water looks clear to ensure there isn’t any residue left inside the tank or your pipes. It’s normal for the faucet to sputter when you first turn it on.




Comments
0 comment