views
Checking the Cell
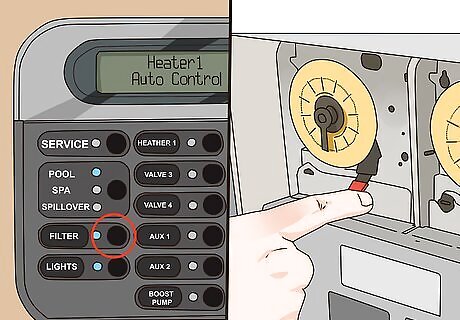
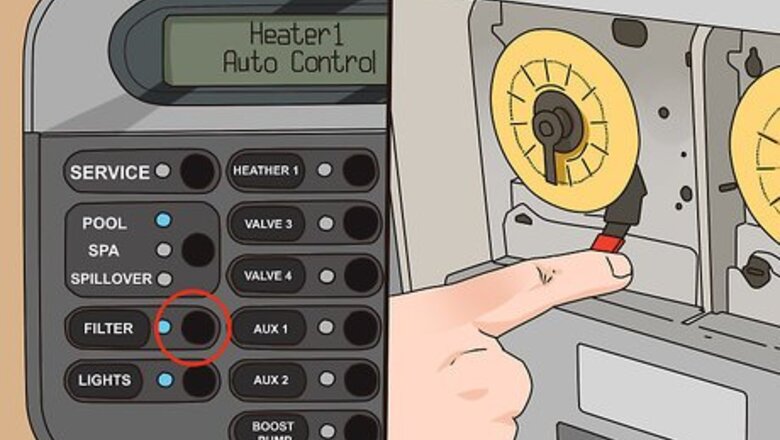
Turn the power off. Before you start messing with the cell, the power needs to be off for safety's sake. Don't try to unscrew the unit while it is still on. Most filtration systems have an easy access switch to turn the power off. On some units, simply press the button next to "filter" on the control panel. On other units, turn it off at the on/off switch or the time clock. In addition, flip the breaker for the control panel or turn off the control panel. Then, unplug the salt cell, as well.
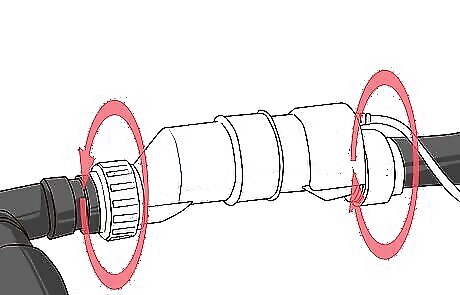
Remove the salt cell. Once you have the power off, take the salt cell out to inspect it more closely. You'll be looking at the metal plates inside the unit. You should be able to inspect them fairly easily to see if they need cleaning. Unscrew both sides of the salt cell to remove it. It should have large screw-in unions on both ends. The unions will be the same size as the pipe. As you unscrew, be careful, as water will leak out.
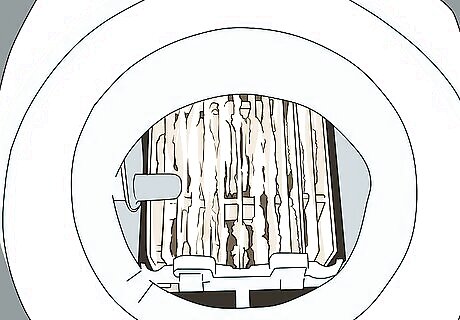
Look for deposits. The cell only needs cleaning if it has mineral deposits on its filters. The mineral deposits will look white, dry, and flaky, like a tub faucet or shower head gets at times. These deposits reduce the unit's efficiency, so you need to remove them. If your filter doesn't have deposits, put it back, and check it in a month or so. Tip the salt cell up to look inside at the metal plates. Check for mineral deposits.
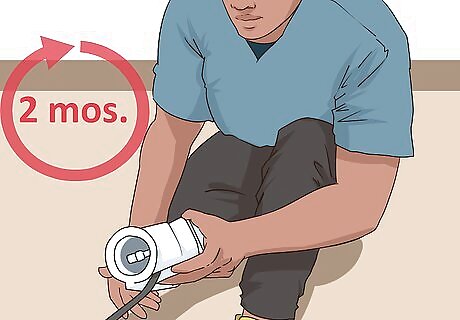
Check the cell regularly. Most salt cells will need cleaning at least twice a year. Some may need it as often as every two months. It mostly depends on how hard your water is, as that's what causes buildups. Check on it every two months to see if it needs cleaning until you figure out how often yours will need to be cleaned. If you have a newer salt system, the cell may not even need cleaning out, as these systems have built-in ways of keeping deposits from building up. Watch for the signal. Some systems have an automatic monitor to remind you when to check your salt cell.
Using Physical Methods to Clean the Salt Cell
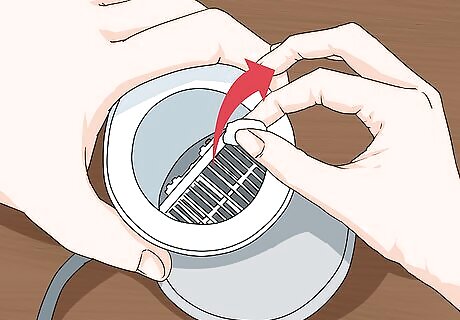
Pull out any large debris. If you notice large debris in the filter, pull it out with your hand, though only do so if it's easily reachable. Anything small should be taken care of by the hose and the chemical solution used to clean the salt cell.
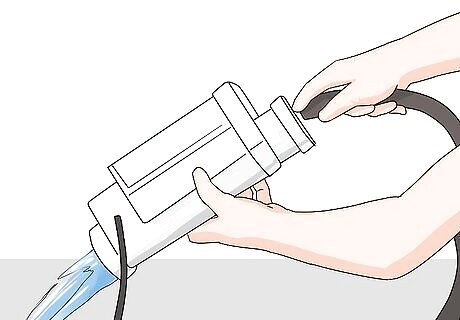
Try a hose first. You can start cleaning the salt cell with a standard garden hose. Point it in one end of the unit, letting the water go through it and flow out the other end. This process should help remove random bits that have gotten caught in there, as well as some of the mineral deposits. Don't get the end of the plug wet, as that part is not waterproof.
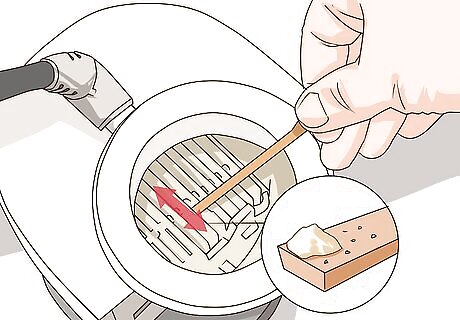
Scrape off the deposits. Another option for working on the deposits is to use a plastic or wooden tool. Scrape at the deposits gently to try to remove them. Don't use metal, as that will damage the filters. You may be able to remove most of the mineral deposits this way.
Cleaning the Cell Chemically

Practice safety measures. When using chemicals, protect yourself. Put on latex gloves, as well as goggles to protect your eyes. In addition, only clean the cell where there's plenty of ventilation, as the acid can produce fumes. Coveralls also wouldn't hurt. At the very least, cover your arms and legs.
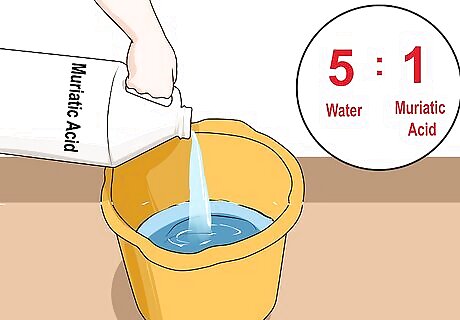
Mix the muratic acid. You use muratic acid to clean the deposits off the filters in the salt cell. However, you must dilute it because straight muratic acid is too strong. Pour water in a clean bucket that's easy to pour from. Add muratic acid to the bucket. Start with five parts water to one part acid. Never add water to acid. Always add the acid to the water. While occasional cleaning of a cell is acceptable it’s best to only do so when required. While the acid does remove any Scale it also damages the plates inside of the cell itself thus reducing the life.
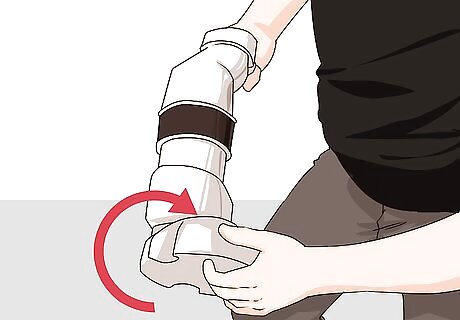
Cap the cell. The easiest way for the solution to reach the filters is to simply pour it into the cell. To do that, screw the cell into the cleaning stand, which caps off one end. The stand goes on the end where the cord is. Stand it up on that end.
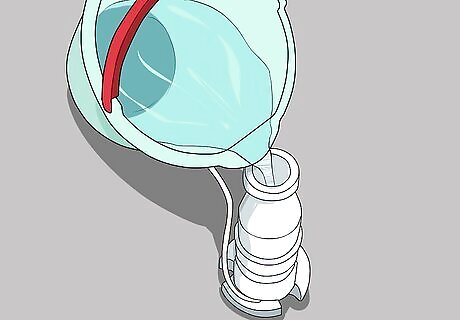
Pour the solution in. Using the bucket, carefully add the solution to the salt cell, making sure not to spill it on yourself. It should cover the filters inside, coming most of the way up the inside of the cell. Leave the solution to soak for 10 to 15 minutes.

Wait for the foaming to end. The mixture will foam up inside the cell. That is a good sign, as it means it's working on the mineral deposits. Once the mixture has stopped foaming, that usually means it's clean, though sometimes you may need to go through the process again. For the moment, pour the solution back into the bucket.
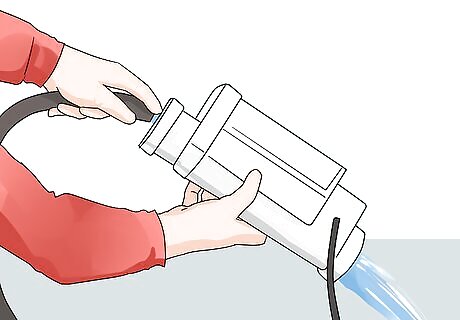
Clean out the salt cell with water. Once the deposits are gone, use the garden hose again. Thoroughly rinse out the inside of the cell, as chlorine and muratic acid shouldn't mix. Once you're sure it's thoroughly cleaned out, the process is done.
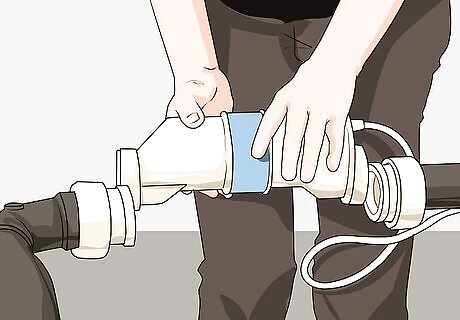
Replace the salt cell. Put the salt cell back into position; it doesn't matter which direction it goes on most units. Screw the unions back in place. Plug the unit back into the wall, and clear the inspection light on the control panel by holding down the up arrow or pressing down the diagnostic button for three seconds.
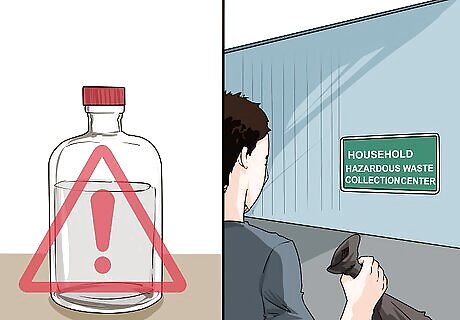
Store or dispose of the excess acid. You can keep the water-acid mixture in a clean bottle, though you should get rid of it by the time it suggests on the original bottle of acid. To dispose of it, look for hazardous waste disposal collection centers in your area, as that's the best way to get rid of it.


Comments
0 comment