views
Plugging a Charger Directly into the Scooter
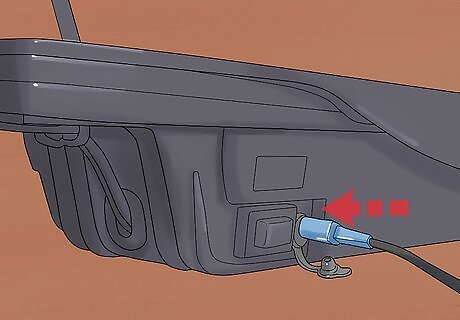
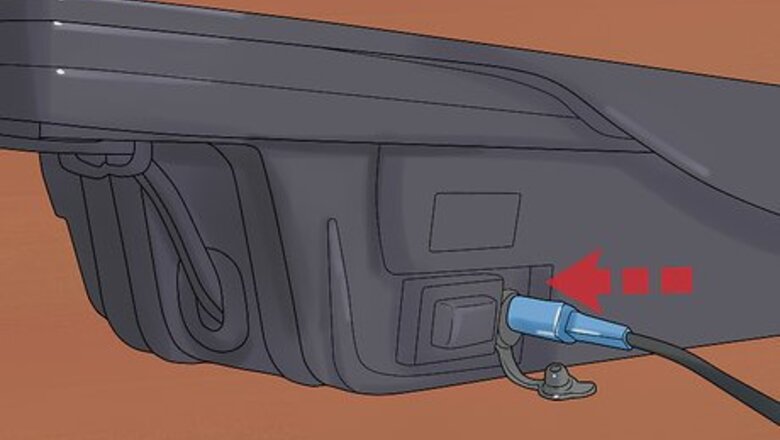
Locate the charging terminal on your scooter and plug in the charger. The charging port is typically located in the scooter base. Once you locate it, plug in the charger firmly until it is connected. Always use the correct charger for your scooter, as the voltage and even the plugs can vary.
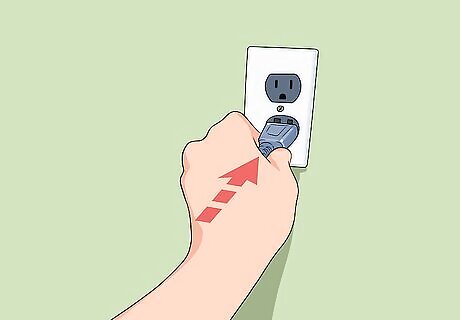
Plug the other end of the charger into a standard wall outlet. Once the charger is securely plugged into the scooter's terminal, plug it into a standard outlet. The light on the charger should come on, indicating that the current is running to the battery.
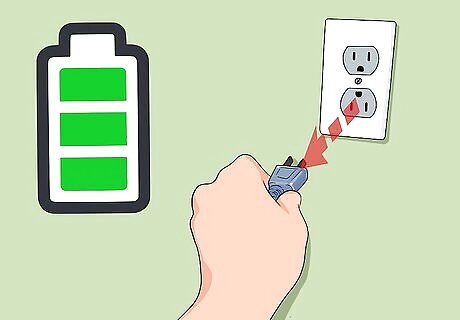
Unplug the charger from the wall outlet and scooter when the battery is full. Once your scooter has been charged, unplug the charger from the wall outlet and then from the scooter. If you leave the charger plugged in for too long, it can damage its ability to charge your scooter. Refer to your user manual to see how long the scooter should charge.
Charging a Removable Battery
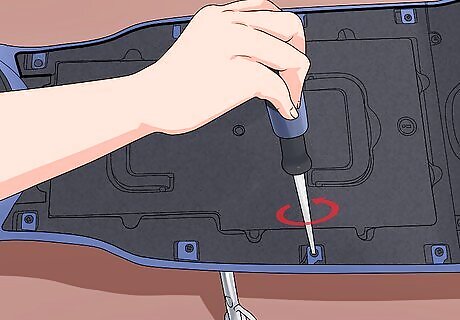
Locate the battery bay and use a screwdriver to remove the panel. Many electric scooters will have batteries that need to be removed in order to charge them. Generally, removable batteries will be located in or under the scooter bed, and you may need a screwdriver to remove any screws that secure the protective panel. After the panel is removed and you can access the battery bay, remove the battery. Some removable batteries have cables that end in plastic connectors. Remove them by clicking them and sliding them out of the terminal and the whole battery will slide out.
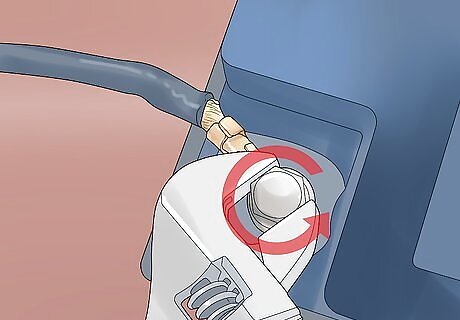
Detach any battery wires that are screwed onto the scooter terminal. Larger scooters may have battery cables that are screwed onto the scooter terminal with nuts. Use a wrench or screwdriver to loosen these cables, beginning with the red cable first. Once the cables are loosened and the nuts are removed, the battery can be easily lifted out. Always make sure your scooter is turned off before accessing battery cables! Try to avoid touching the metal ends of the cables with your bare hands.
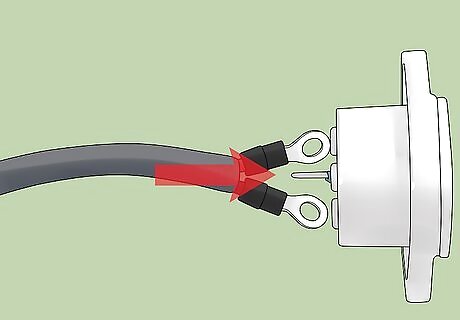
Plug plastic cable terminals into a corresponding plug-in charger. If the scooter's battery terminals are covered in plastic connectors, simply plug them into your charger until you hear a click. You may have one plastic terminal that houses both wires, or two cables with two plastic ends. If you have two cables, plug the red cable into the positive terminal on your charger and the black cable into the negative terminal. Do not try to force the fit, as the plastic connectors can break.
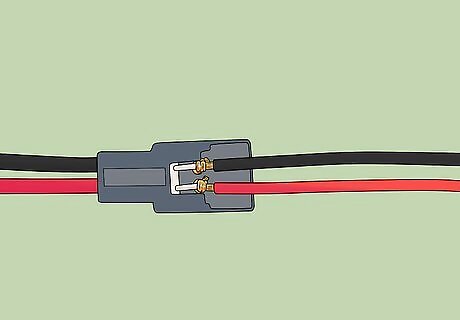
Connect a two-pronged charger to battery cables with exposed wires. A two-pronged charger will have two cables ending in metal ports, posts, or clamps designed to make an electrical current connection with the exposed battery wires. Attach the red cable of your battery to the red cable of the charger and the black battery cable to the black charger cable. Make sure your connection is secure and that no debris gets in between the connection points.
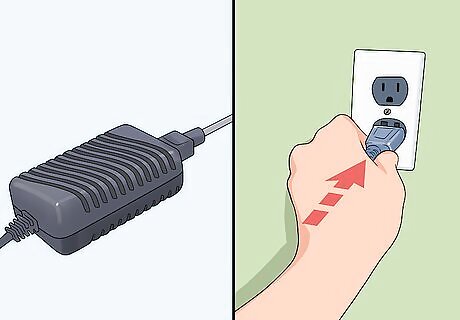
Plug the charger into a standard electrical outlet. The charger for your electric scooter will have a plug that fits into an electrical outlet. Plug the charger into a standard outlet that isn't wet, dirty or damaged. Make sure that you are using the correct voltage charger for the scooter so you don't damage your battery. Your scooter may have a specific outlet it fits into. Make sure the outlet you plan to use will accept your scooter battery charger.
Making Your Battery Last
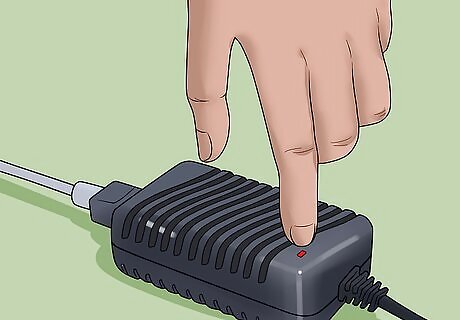
Look to see if the charging light is on while the battery is plugged in. When the scooter and outlet are both correctly hooked up to the charger, an indicator light will come on to show you that the scooter is charging. This light is usually red and may be flashing. When the scooter is fully charged, the light will turn green.
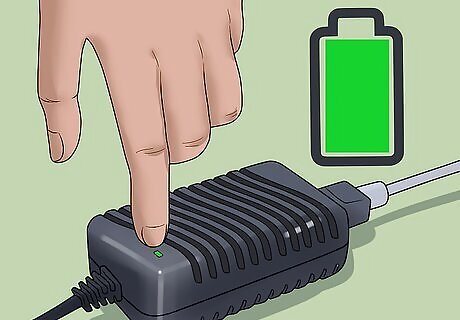
Let the battery charge until the indicator light turns green. It can take anywhere from 3 to 12 hours to fully charge an electric scooter's battery, depending on the type of scooter you have. A green light indicates that the battery is fully charged. Don't charge your battery for too long or you can damage it. All scooters take at least a few hours to fully charge. Check the owner's manual for the recommended number of charging hours.
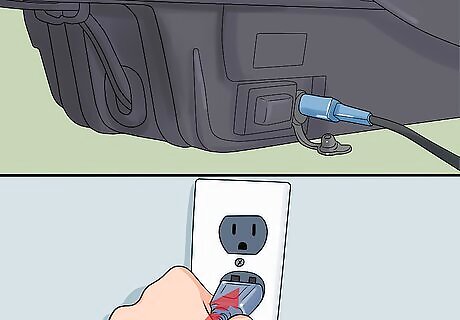
Charge the battery before it dies to make it last longer. Most modern electric scooters have an LED light that will tell you how much charge is in the battery. A green light means a full charge, an orange or yellow light means a partial charge, and a red light signifies that the scooter has very little juice left and needs to be charged right away. Don't wait until your scooter is nearly out of power to charge it as this will diminish the lifespan of the battery. If the indicator is yellow, you should plan to charge the battery soon. Your scooter may have different color displays. Check the owner's manual for information regarding your battery light display.
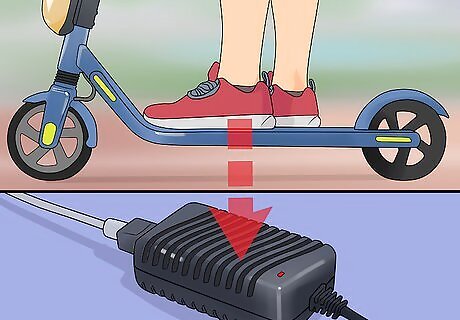
Plug in your scooter after every ride for best results. Unlike some other batteries, scooter batteries don't need to be fully drained before you charge them. In fact, they need to be charged every time you ride your scooter to keep the battery chemicals working well. If you use your scooter every day, charge it every day and after each use. If you use your scooter periodically, you will still need to charge it after your last ride and check the battery levels before your next ride. A good option for everyday users is to charge the battery overnight.
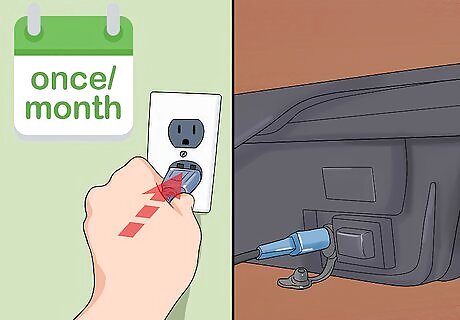
Charge the battery once a month if you store your scooter. It's important to maintain your battery even if you don't plan to use your scooter for a while. If you're storing your scooter for a few months, fully charge the battery once every month to preserve its lifespan and keep it functioning for your next ride. Your owner's manual will tell you how long your scooter's battery should typically last, and how far you can ride before the battery runs out.
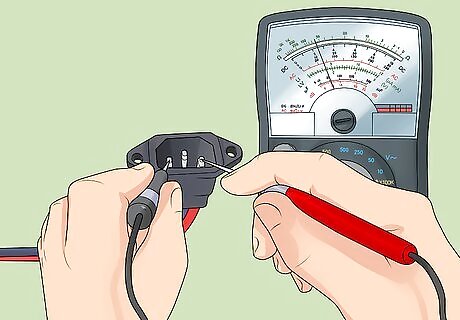
Use a voltmeter to check the battery's voltage if it isn't holding a charge. If your scooter doesn't come with an LED indicator, or if the battery doesn't seem to accept a charge, you can check it using a voltmeter. Most chargers won't charge damaged or defective batteries, so a voltmeter can help you determine whether yours is in good health. Touch the black test lead to the negative end of the battery, and then the red test lead to the positive end. Make sure your battery is plugged in and on while testing. Scooters can have different voltage requirements, so you will need to use the correct kind of voltmeter and know what the maximum charge is in volts. Never touch the metal parts of the voltmeter probes.



Comments
0 comment