
Click 'Start' and go to type "run" in the search bar. This will take you to the program that is needed to run change the default numlock.
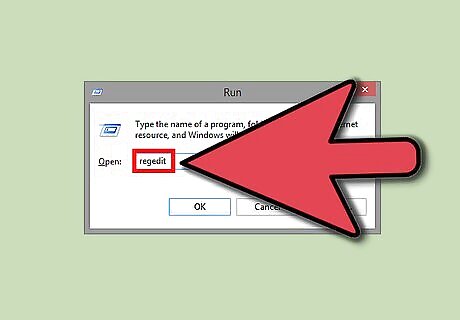
Type in 'regedit' (without quotes). Hit 'enter' or click 'OK.'
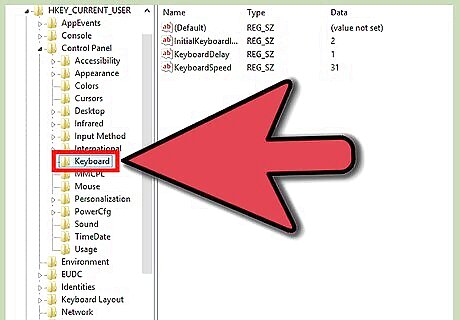
Look for the keyboard. There are two methods to complete this step. Method 2 is strongly recommended. Now click 'Edit' and then 'Find' (or hit Ctrl F) and type in 'InitialKeyboardIndicators'. Or you can click the ' ' on HKEY_CURRENT_USER , then the ' ' on 'Control Panel', then click keyboard. (If using the first method in this step, after you have searched, make sure leads you to the same place as the second method. The second method is recommended.)
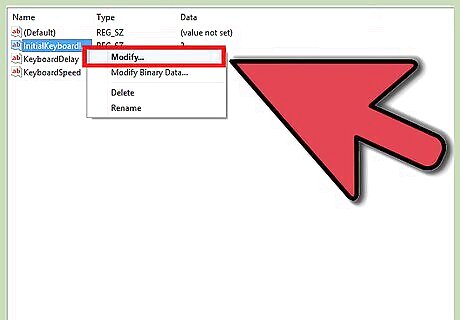
Right-click 'InitialKeyboardIndicators'. Then click 'Modify'. To turn NumLock on at startup, type in '2' (no quotes) and to turn Numlock off at startup, type in '0'.
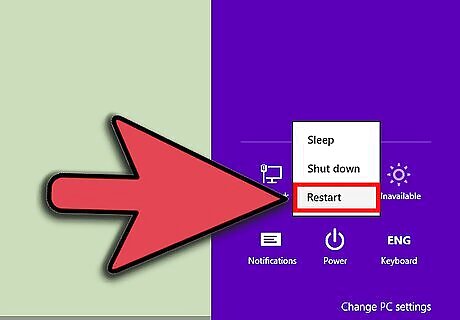
Restart the computer. Previous step might not work because some computers will not override the BIOS. If it doesn't work then restart your computer.
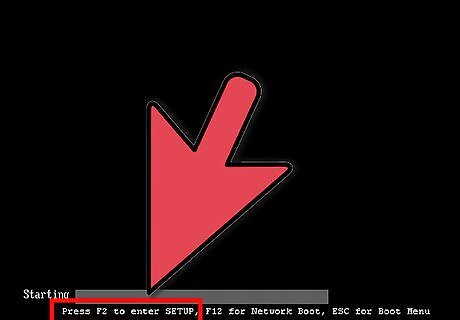
Enter the BIOS. As your computer starts up press 'F2' on the keyboard. (you might have to press a different button, look at the top of your screen for 'Setup' the second you cut your computer on. The button beside setup is the one you need to push.)
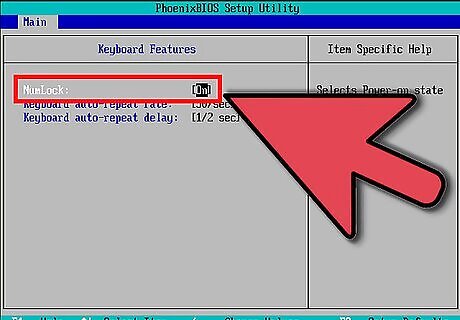
Scroll down through the BIOS menu until you see 'Keyboard NumLock'. Highlight this item and change the Numlock setting to what you want (usually by pressing the spacebar).
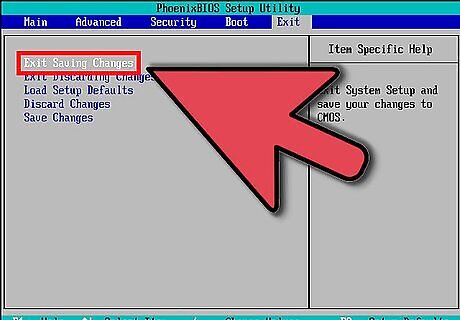
Now exit saving changes (In some bios you can just press 'Esc') and save changes.


Comments
0 comment