views
- Add User Code: Press the program button the number of times that matches the code position you want to fill, enter the code, and press the lock button.
- Delete User Code: Press the program button the number of times that matches the old code position, enter a new code, and press the lock button.
- Delete User Code on touchscreen: Press the program, checkmark, and lock buttons. Enter the code twice, followed by the lock button both times.
Adding a User Code
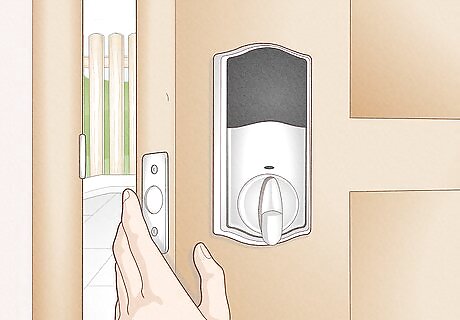
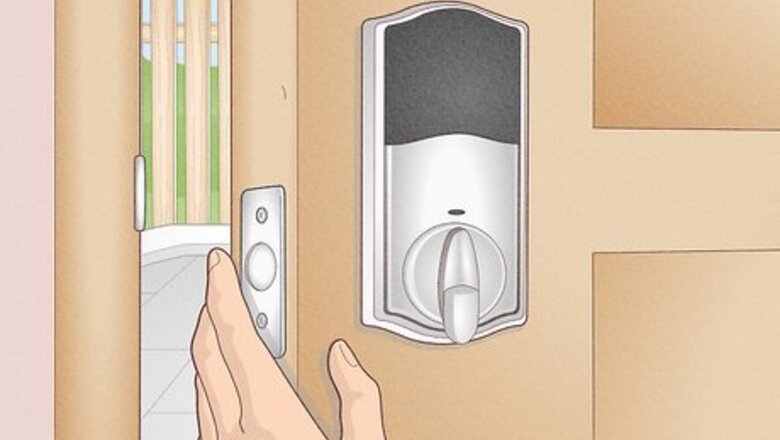
Open and unlock your door. Always keep your door open when programming a keyless lock. That way, you won’t be locked out if something goes wrong and the door won’t unlock. Make sure to have your physical key on you too, just in case.
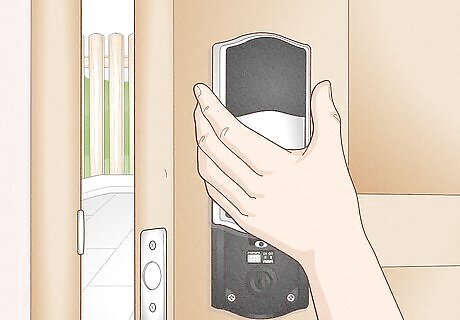
Slide the battery cover off the interior side of the lock. Depending on the model, there may be 2 or 3 security screws around the edges of the cover holding it in place. Use a screwdriver for normal screws or the allen wrench your lock came with for hex screws.
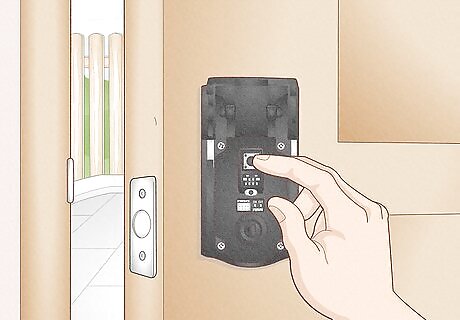
Press the program button the number of times that matches the code position. For example, if you want to program User Code 2, press the program button twice. Many Kwikset locks hold 4 User Codes, but some hold as many as 30 at once. The program button is a small black button in the battery compartment of the lock. Depending on the model, you may need a paperclip or another long, thin object to press the program button if it’s recessed. On touchscreen models, hold the program button until the green check mark symbol lights up, then press the check mark.
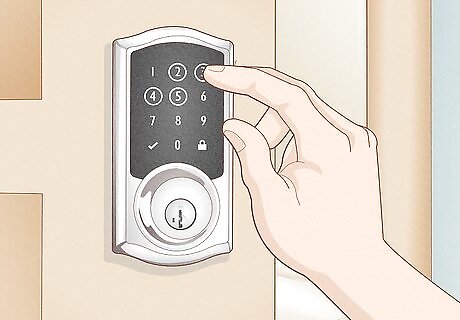
Enter the new User Code you want to program. Depending on your model, the code must be between 4 and 8 digits. Choose a code you’ll remember easily and write it down or store it somewhere safe. Some locks have buttons with 2 digits on them. Press the button once to get either number. For example, press the “3 4” button once to enter either 3 or 4. Button models usually require User Codes between 4 and 8 digits. Some touchscreen models can have codes up to 10 digits.
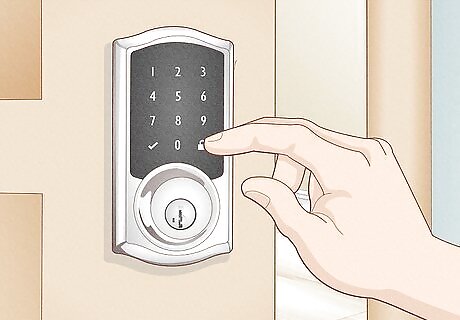
Press the lock button once. The lock button is located on the exterior side of the lock on both touchscreen and traditional models. The lock will beep to confirm the entry was successful. On touchscreen models, the green checkmark will light up.
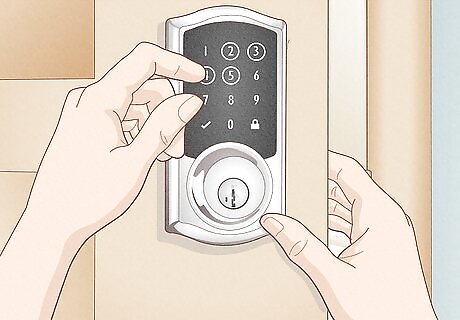
Test the new User Code with the door open to make sure it’s working. If the code doesn’t work, double check that it’s not a duplicate of another programmed code. Check your user guide to confirm you entered an appropriate number of digits for your model. Replace the battery cover once you’ve finished programming.
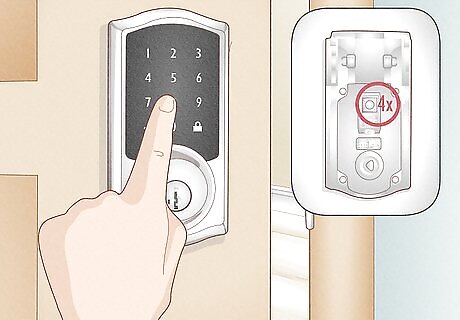
Program a new code over an existing code to delete it. For example, if you want to delete the User Code in position 4, press the program button 4 times and then enter the new code in that spot. The old code will be overridden and deleted, and the new code will take its place.
Deleting a User Code on Touchscreen
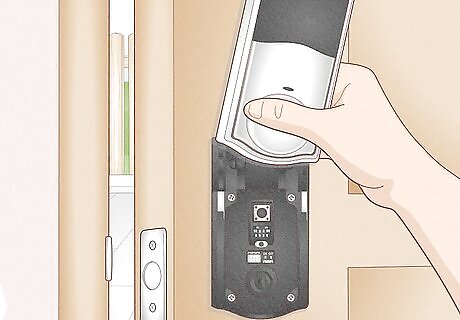
Take off the battery cover from the interior side of the lock. Unscrew the security screws around the edge, or simply slide it off if you left the screws out for easy access. Depending on the model, you may need a regular screwdriver or an allen wrench.
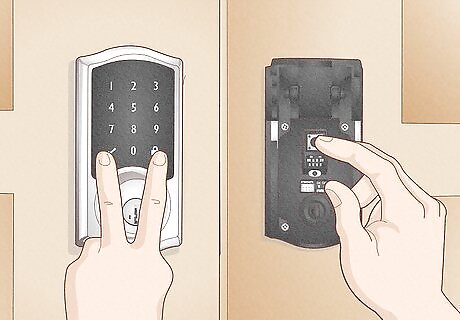
Press the program button, then the checkmark and lock buttons. The program button is a small black button located inside the battery compartment. Hold the program button until a green check mark appears, then press both the checkmark and the lock button.
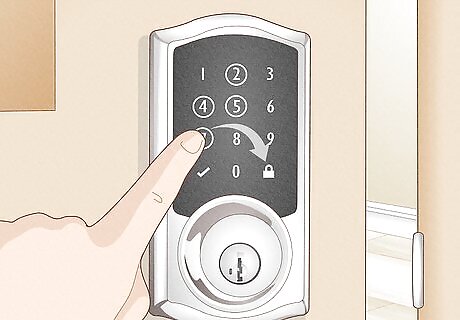
Enter the code you want to delete, press the lock button, and repeat. After you enter the code and press the lock button the first time, enter the code again to confirm. Press the lock button a second time to delete the code.
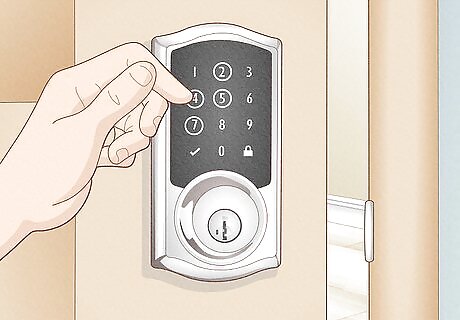
Test the code to check that it no longer works. Make sure the door remains open while you confirm you programmed the lock correctly. If the code still works, repeat this process and make sure you’re entering the exact same code both times.
Deleting All Codes with a Factory Reset
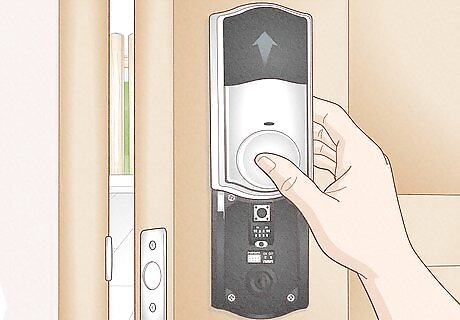
Remove the battery cover from the interior side of the lock. Depending on the model, unscrew the security screws around the edges of the cover or just slide it off. You may need a regular screwdriver or an allen wrench, depending on the type of screw.
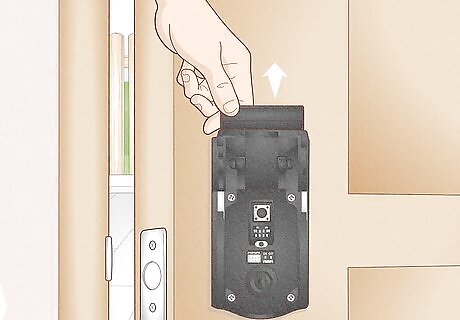
Remove the battery pack. The battery pack is a small plastic container containing 4 AA batteries in most models. Simply slide it up and out of the battery compartment.
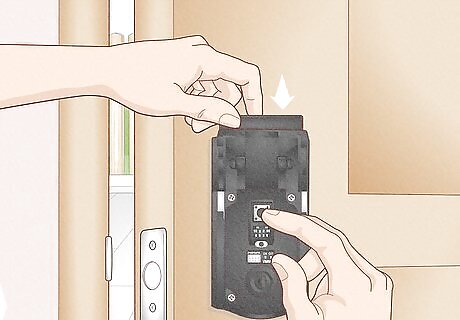
Press and hold the program button while you reinsert the battery pack. Continue holding the program button for 30 seconds. When time is up, the LED status light will begin flashing red.
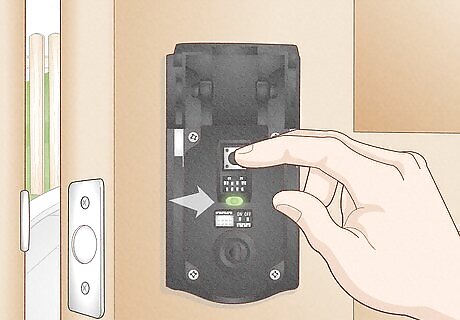
Press the program button again. The LED status light will flash green and the lock will beep once. This indicates that the reset is complete and all User Codes have been deleted. One some models, the light will flash red and green several times. Depending on the model, the lock will automatically begin the handing process to determine which way the deadbolt goes. Replace the battery cover once you’ve finished programming.
Programming a Mastercode
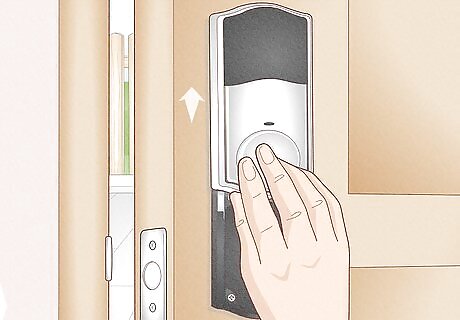
Remove the battery cover from the back side of the lock. Depending on your model, there may be 2 or 3 security screws around the edges of the cover. You’ll need a regular screwdriver or an allen wrench, depending on the type of screw. Programming Mastercodes allow you to add and delete User Codes without having to remove the battery cover and access the physical program button.
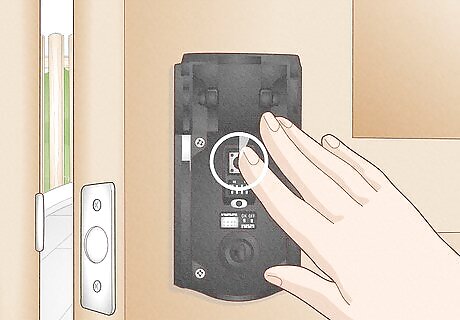
Press and hold the program button. The program button is a small black button located near the battery pack. Hold the button down for at least 5 seconds until the keypad flashes green.
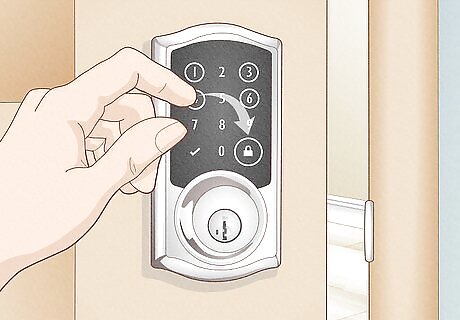
Enter your custom Mastercode, then press the lock button. Most models (traditional and touchscreen) require the Mastercode to be between 4 and 8 digits. For security purposes, do not choose a code that is also in use as a User Code. The Programming Mastercode will not unlock the door. It only lets you manage your User Codes without needing to access the physical program button. Mastercodes are not automatically enabled and are optional to use. If you find you don’t like or want it, you can disable it later.
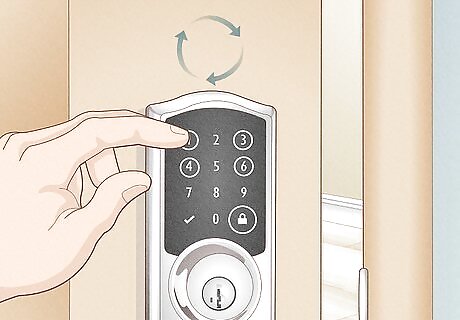
Re-enter your custom Mastercode, then press the lock button again. You’ve now successfully enabled a Mastercode and can use it to manage User Codes. If you see a red flash (or “X” symbol on touchscreens), the programming was not successful. Try again and make sure to enter the same code both times.
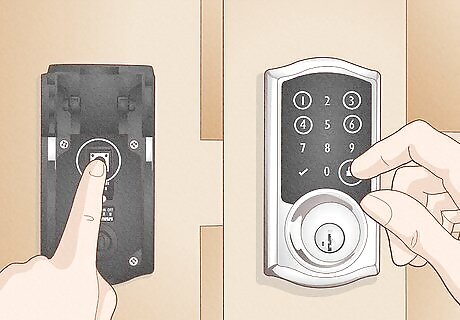
Disable the Mastercode (optional). Press and hold the program button until the keypad turns green. Press the lock button, enter the Mastercode, then press the lock button again. Enter the Mastercode a second time to confirm, then press the lock button a third time to disable. Disable the Mastercode and choose a new one when somebody learns what it is to keep your home secure.




Comments
0 comment