views
Preparing the Potatoes
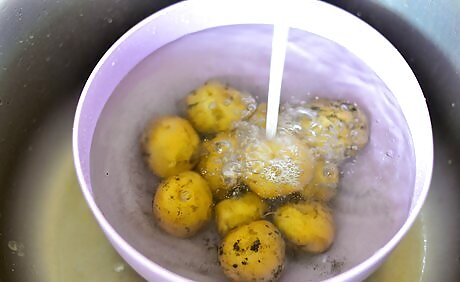
Wash any excess dirt from the potatoes. If the potatoes are particularly dirty, use a stiff-bristled brush to help you scrub off the soil. This process is important as the bacteria from the dirt can be harmful to your health. Don’t worry about removing any ingrained dirt as this will come off when you peel the potatoes.
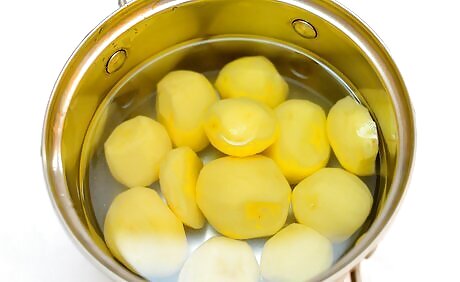
Peel the skin off the potatoes. Even though there are beneficial nutrients under the skin, it is important to peel the potatoes as the bacteria on the skin can become more harmful during the canning process. Dispose of the skin in the trash or compost it.
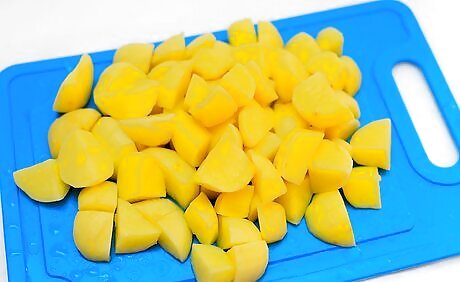
Use a sharp knife to cube the potatoes. As long as the pieces are smaller than 2 inches (5.1 cm), their exact size doesn’t matter too much. Consider what you will be using them for. If you're unsure, cut the potatoes into 2 in (5.1 cm) cubes. If you plan to use the potatoes for a soup, consider cutting them into smaller pieces. If you want to use them to make mashed potatoes, larger pieces will work fine. Place your potatoes in a pot of water as you cut them. This helps to stop them from discoloring. Canned potatoes can be used for anything you would use cooked potatoes for.
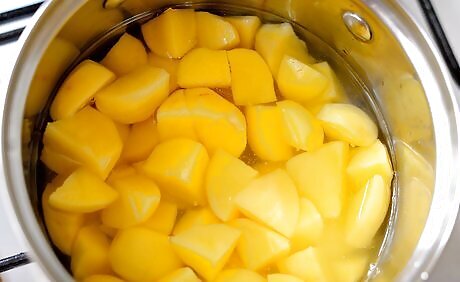
Boil the potatoes for 2-10 minutes, or until they are hot throughout. Cover the potatoes with hot water and place them onto a burner set to medium heat. If you have large chunks of potatoes, cook them for about 10 minutes. If you diced the potatoes finely, you will only need to cook them for about 2 minutes. Put a lid on the pot to help the water boil faster. Cut a potato chunk in half and check that it is hot in the center before removing the pot from the heat and draining out the water.
Filling the Jars
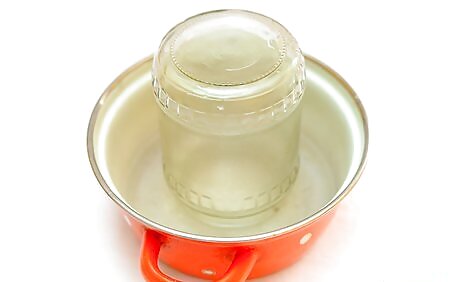
Place the empty jars in a pot of water and bring it to a boil, then remove it from heat. Place your jars in a large pot with about 3 inches (7.6 cm) of hot water. Place the pot on a stovetop burner, set it to high heat, and leave it to boil. Once the water is boiling, remove the pot from the heat. This sanitizes the jars and gets them ready for the heat of the pressure cooker.
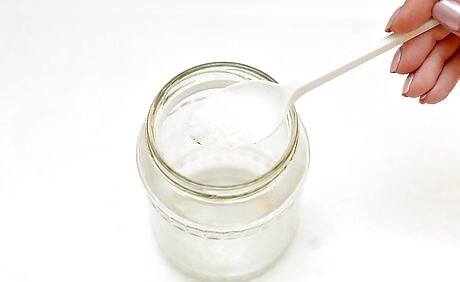
Add 1 tsp (5.7 grams) of salt into each 1 quart (0.95 L) jar. Salt helps to preserve the texture of the potatoes and increases the flavor. If you have a smaller jar, decrease the amount of salt you add. For example, use ½ tsp (3.85 grams) for a 0.5 quart (470mL) jar. Pour the salt into the bottom of the jar. If you need to avoid salt for health reasons, you can skip this step, although the potatoes won't be as flavorsome.
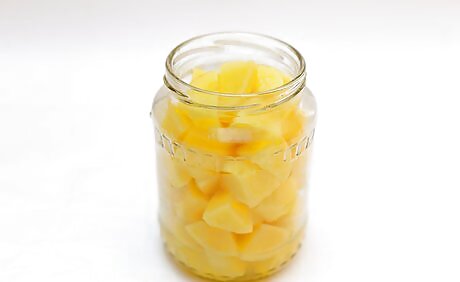
Pack each jar tightly with potatoes. Gently push the potatoes down to create more room in the jar. Leave 1 inch (2.5 cm) of headspace at the top of the jar to give room for the potatoes to expand. Use tongs or a tea towel to handle hot jars.
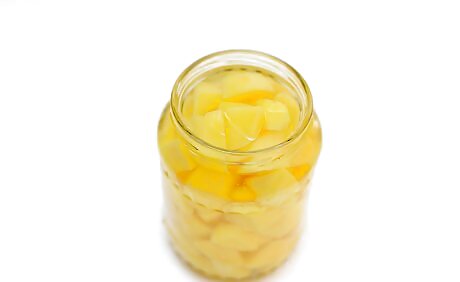
Cover the potatoes with fresh boiling water. Leave about 0.75 inches (1.9 cm) of headspace above the water. Push down any potatoes that are sticking up above the water. Use fresh water as the water you boiled the potatoes in contains too much starch.
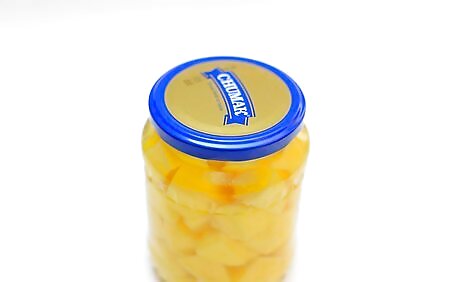
Place the lids and rims onto the jars. Wipe any excess water from the rims of the jars with a paper towel to help the lids seal properly onto the jars. Screw the rims tightly on top of each lid. Make sure that the lids and rims are clean before you put them onto the jars. If they are dirty, wash them in hot, soapy water, then rinse them thoroughly.
Pressure-Cooking the Jars of Potatoes
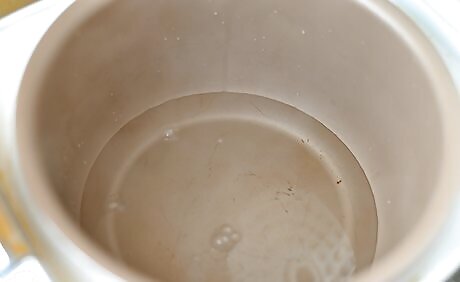
Fill the pressure canner with 3 qt (2.8 L) of water and set it to warm. Place the water into the bottom of the canner. Set the temperature to warm. If the water starts boiling, turn it down. Check the instructions on the side of your canner to verify that this is an appropriate amount of water for your canner, as it may vary between brands.
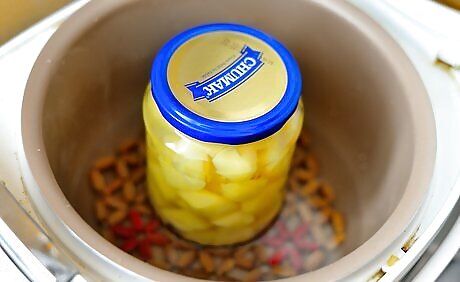
Place the packed jars onto the pressure canner rack. It is important to use the rack as the jars shouldn’t touch the bottom of the canner. Spread the jars out on the rack. Make that sure that they aren’t touching each other as the steam needs to be able to travel between the jars to cook the potatoes. Use tongs to move the jars around on the rack.
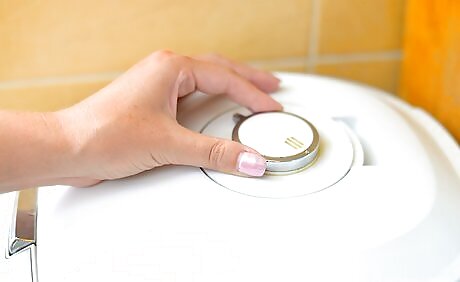
Heat the jars for the time suggested on the side of your pressure canner. It is important for your safety, and the proper canning of the potatoes, to follow the unique instructions on your cooker as most brands have different settings. Most canners will require 35-40 minutes of cooking time.
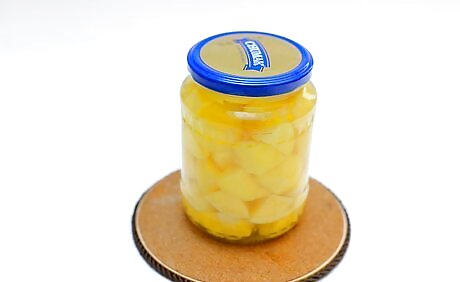
Remove the cans and allow them to cool overnight. After the time specified on the pressure canner, carefully remove the cans using tongs. Place the cans on a heat-proof surface, such as a wooden chopping board, to cool.
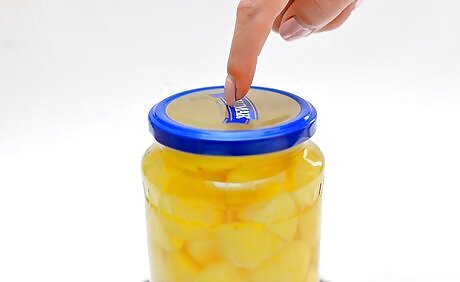
Check that the tops of the lids don’t bounce back when pressed. Once the cans have cooled, press down on the top of each lid. If the lid pops back up, it shows that the jar did not seal correctly. Place any unsealed jars into the fridge and eat the potatoes within 2 days. The jars that have sealed correctly can be stored for up to 12 months in a kitchen cupboard.



Comments
0 comment