
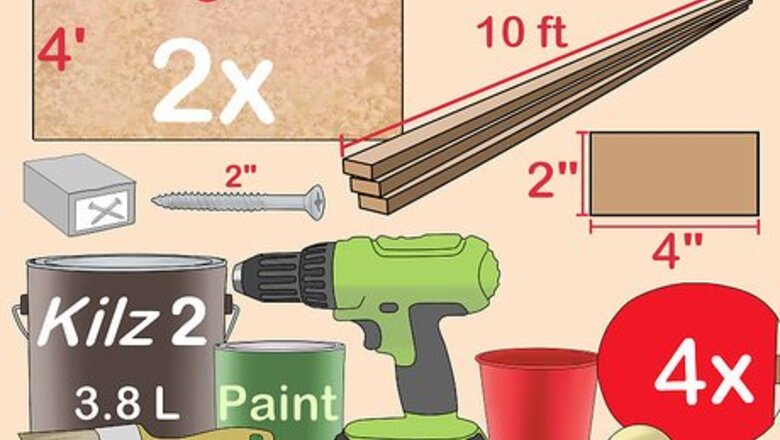
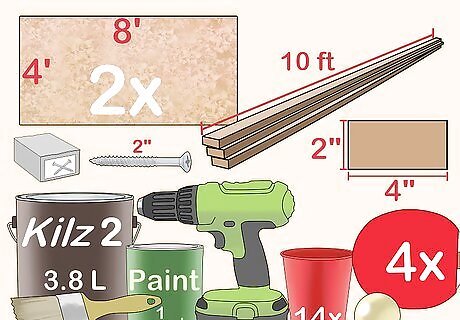
Obtain your materials, listed below. You may already have some.
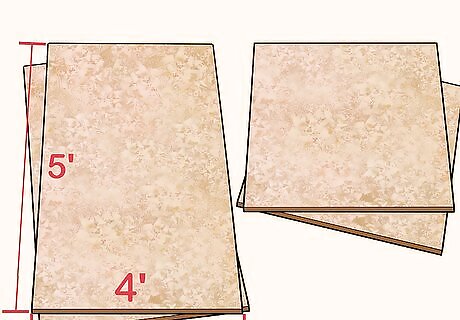
Cut each sheet of plywood into a 5'x4' section. You will have two pieces left
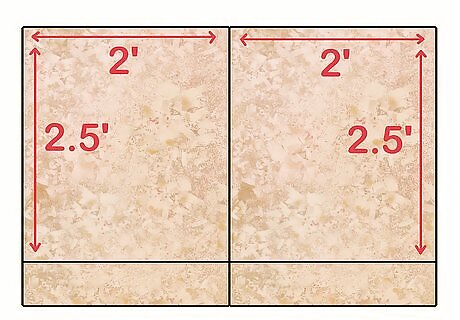
With each of the leftover pieces, cut them into 2 2.5'x2' sections. You now have 2 5'x4' sections, and 2 2.5'x2' sections. Your final table will be 5'x10'.
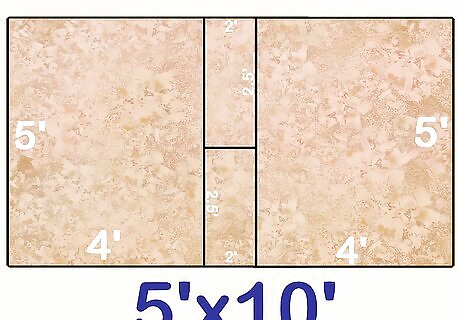
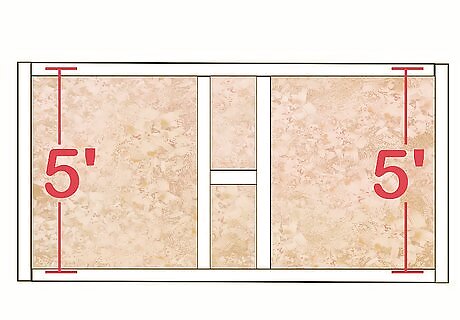
The larger sections will go at the ends of the table, where the cups go and where the players stand. The smaller sections go in the middle, around the divider
On the underside of the table, use 2 of the 2x4s to join and support the side edges of the table, and use the leftover plywood to join/support the middle seams.
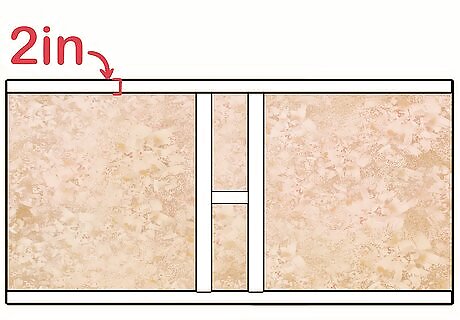
Cut the last 2x4 in half (into two 5' sections) and use each section to line the back edges of the table, just like you did for the side edges.
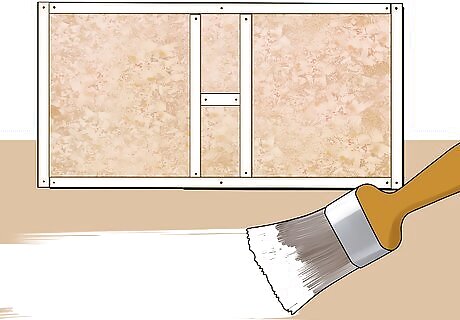
Once the table is screwed together fully, you will want to seal it with your latex primer. Don't be shy, and use several coats to prevent spilled beer and humidity from ruining your table. Be especially thorough around the edges of the plywood, which are especially absorbent. It is recommended to seal the whole thing (top, bottom, sides, even the 2x4s) for optimal lifespan.
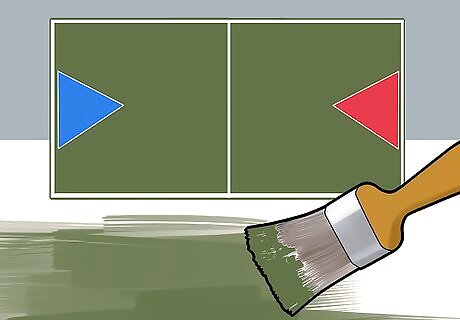
Using roughly 1 US-quart (946 ml) of your choice of paint (make sure it is compatible with your primer), color/decorate your table. This step is optional but is the most fun part of the job. Some people make some pretty intricate paintings on their tables.
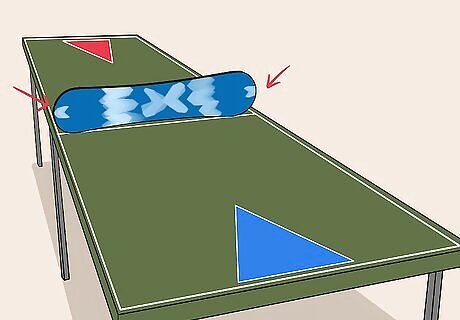
You will need to find something (anything) to use as your divider: 2x4, 4x4, broom, stick, person, ski, etc. The more random the better. Absolutely DO NOT pay for your divider.


Comments
0 comment