views
Gripping the Ball to Seam Bowl
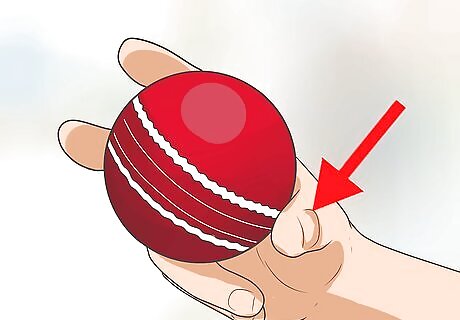
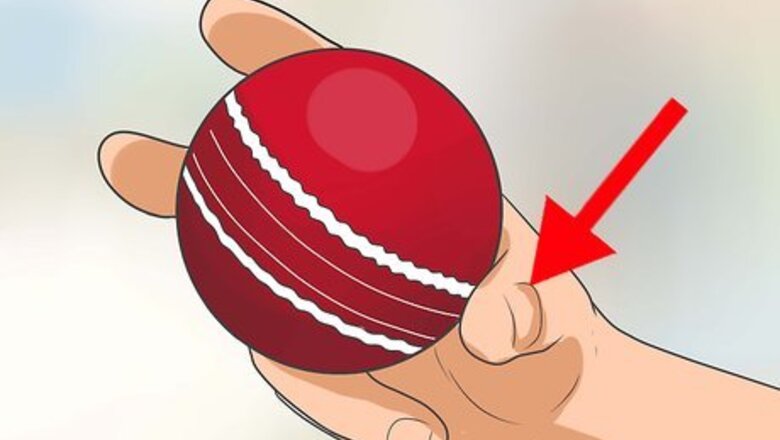
Place your thumb on the seam of the ball. A worn cricket ball will have a rough side and a smooth side, separated by a seam. Depending on velocity and rotation, this difference in surface texture will cause the ball to "swing" through the air from one side to the other. If bowled at velocities over 70 miles (110 km)-per-hour, the ball will swing toward the smooth side of the ball. If bowled below 70 miles (110 km)-per-hour, the ball will swing toward the rough side of the ball.
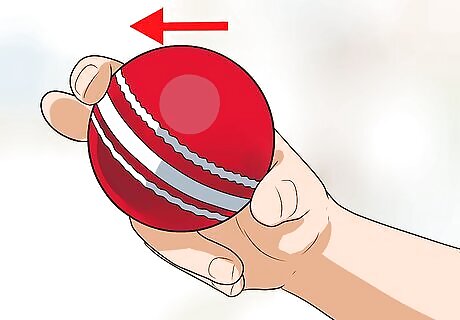
Place your index finger on the seam, opposite your thumb. Bowled with this grip, the seam will force the ball to bounce in a certain direction. When bowled from the right hand, the ball will bounce to the bowlers left. To the right, when thrown from the left hand. Cricket balls that are new may have very little difference between the smooth and rough sides. This makes them less prone to "swing" through the air when bowled.
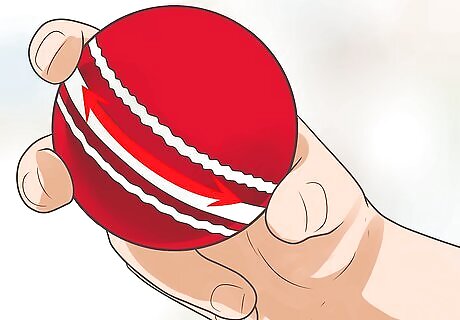
Hold the ball so that the seam is parallel to your index finger. When bowled from the right hand, the ball will strike the ground on the left side of the seam and will bounce away from a right-handed batter's "off side."
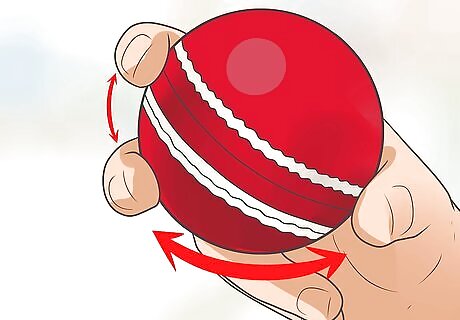
Place your middle finger to the right of the seam, approximately a quarter of the way down the ball. If you keep your middle finger closer to your index finger you will be able to bowl with more velocity, however, it will be more difficult to bowl with control. Depending on your release, you may benefit from a different middle finger position. Experiment to see what your prefer.
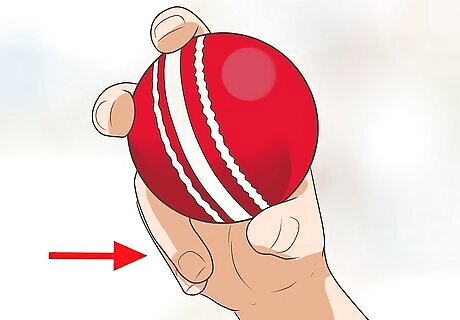
Wrap your ring finger and pinky into a loose fist. When you do so, there should be very little, if any, contact between the ball and these fingers. To throw a leg cutter, place your middle finger on the seam and allow your index finger to rest on the right side of the ball. This slight variation in angle will cause the ball to hit the ground on the opposite side of the seam, forcing it to bounce the other direction (toward the "off side" of a right-handed batter).
Bowling and Releasing the Ball
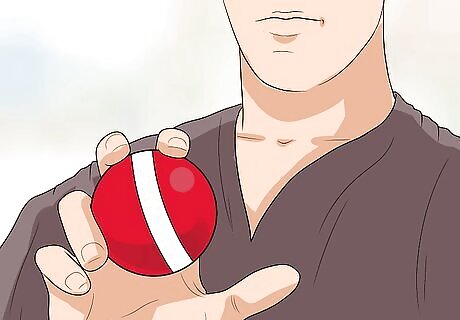
Carry the cricket ball close to your chin. Bend your elbow and be sure to extend it away from the body while you make your "run-up." You should resemble a waiter or waitress carrying a platter of food.
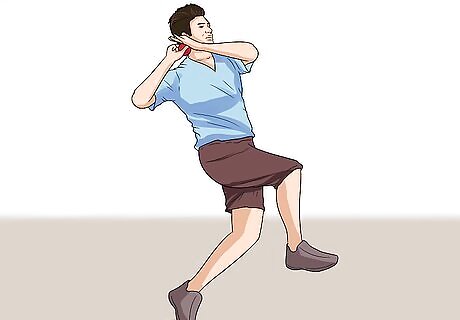
Coil your body and lean back. As you make your approach, turn from the waist so that your bowling shoulder is behind you. Be sure to keep your weight back once your twist your body. You will generate more energy and velocity the better you can learn to shift your weight. If you shift too early it will affect the speed of your "run-up."
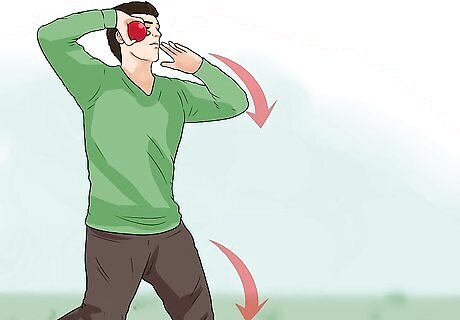
Drop your elbow as you plant your bowling leg. Once you begin to drop your elbow, allow your bowling arm to fall to your side. Your weight should still be shifted and your body should still be coiled.
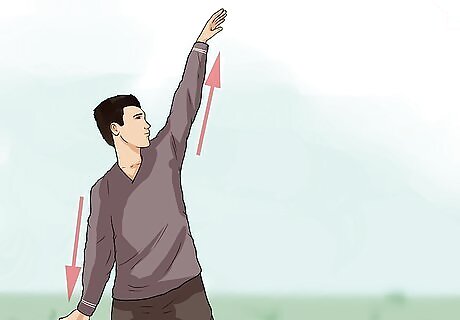
Straighten your elbow and arm. When you plant your lead foot, straighten your elbow and allow your hand to swing down toward the ground. This will straighten your bowling arm. Make sure you plant your lead foot so that it points toward the batter.
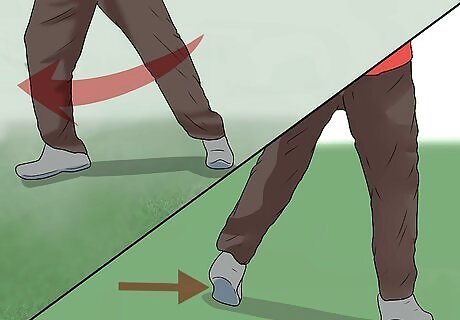
Shift your weight to the lead leg. Allow your body to uncoil as you shift your weight forward to your lead foot.
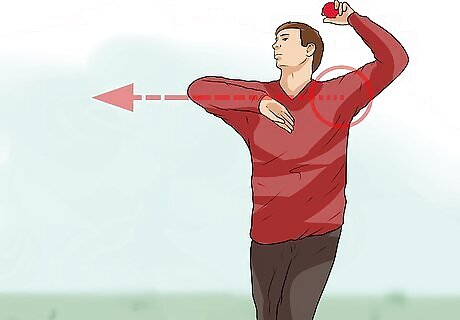
Thrust your bowling shoulder forward. When you plant your lead foot, imagine that your body is a whip and begin to thrust your shoulder forward as soon as you feel your momentum begin to carry you. Shifting your weight properly will generate momentum.
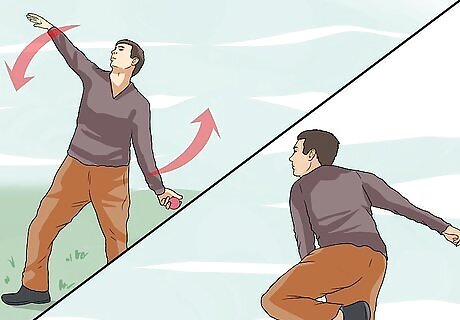
Swing your arm like a windmill. Keeping your elbow straight, rotate your arm behind you and swing it over-the-top toward the batter. Throws are illegal in cricket. If you bend your arm and lead with the elbow it will count as a throw. The shoulder must be the body part through which power is generated. Umpires will call a "no ball" when a player throws or "chucks."
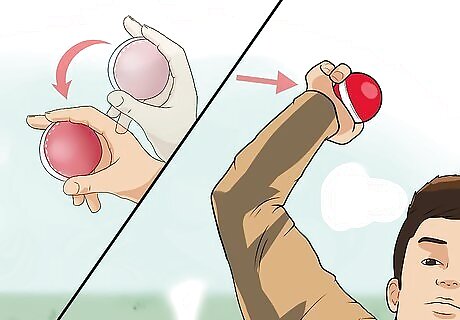
Snap your wrist forward just before you release the ball. This will not only add a little more velocity to the bowl, but will also create the proper angle of release. Snapping your wrist also prevents you from releasing the ball too late, which is often times the result of a player compensating for an improper angle of release. Overtime, a late release can result in excessive stress and/or injury to the bowling shoulder.
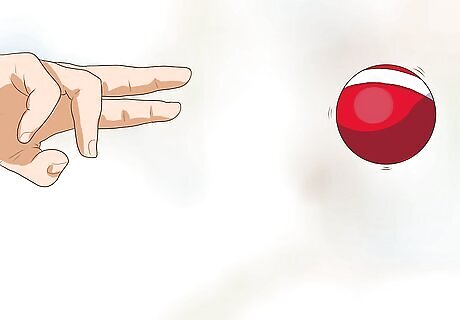
Release the ball. When your hand reaches the peak of your delivery arc, release the ball and allow it to roll off the tips of your index and middle fingers. Remember to keep your arm straight so that you do not suffer any elbow injuries, or illegally "throw" the ball. Because of its weight, a cricket ball can cause injury to the elbow if it is "thrown" or bowled incorrectly.
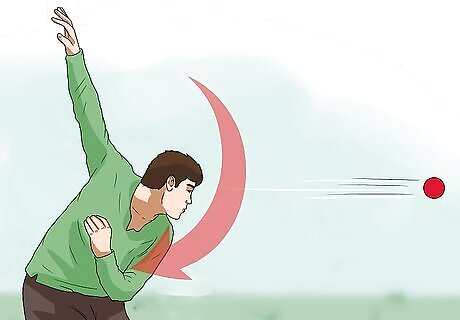
Follow through properly. After your release the ball, fold your bowling arm into your chest and relax your elbow.
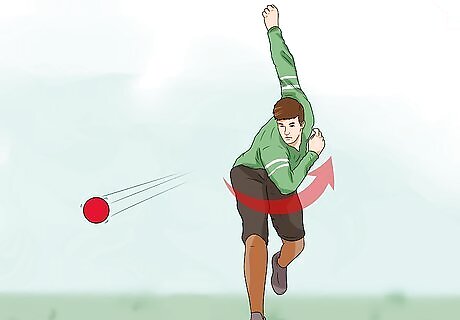
Bend your elbow. As you bend your elbow, relax your forearm and hand, allowing your arm to wrap around your waist or stomach.




Comments
0 comment