
X
Research source
Knowing how to glaze is a valuable skill for furniture-makers — not only does it allow you to recreate an "antique" look in new furniture, but it also gives you a great deal of fine control of the final color and appearance of the wood. Best of all, glazing is much more beginner-friendly than other wood-coloring processes (like staining, etc.), making it a good project for novice woodworkers and children.
Doing Prep Work
Make sure your furniture has already received a base coat. By definition, glazing is done after a piece of wood already has at least one layer of finish on it. If the furniture you want to glaze does not already have a finish, apply one and allow it to dry completely before beginning. See our articles on staining and finishing wood for step-by-step instructions for processes that should take place before any glazing is performed. If your furniture is finished with shellac, don't use glazes containing asphaltum, as they can sometimes be hard to remove.
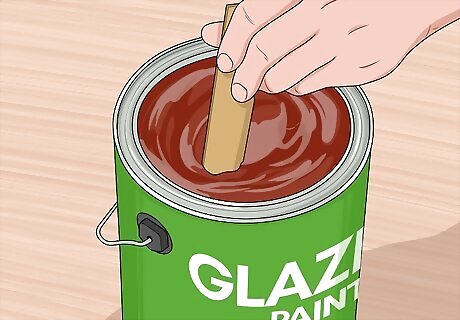
Buy glaze or mix it yourself. As a very general rule, glazes are simply colored pigments suspended in a clear oil- or water-based medium. There is no single, "definitive" glaze — a huge variety of options are available. You can find commercial glaze at most hardware stores and paint shops (Sherwin-Williams, etc.) for reasonably cheap. However, it's not hard to fine-tune your glaze by mixing various commercial projects as well. For instance, to get a gorgeous dark chocolate-colored wood glaze, simply combine: Four parts clear mixing glaze Two parts dark brown or mocha glaze One part dark grey or asphaltum glaze You can also combine clear mixing glaze (sometimes called "glaze base") with ordinary paints to make your own custom shades. Finally, many oil-based paints can be used as glazes when mixed with a little thinner or penetrol.
Mask your furniture and protect the surrounding area. Use masking tape, newspaper, and other masking tools to expose only the part of the wood you would like to glaze. In general, glazes are quite easy to remove compared to paints, stains, and other finishes used for wood. However, you still want to avoid unnecessary cleanup work when possible, so good masking is still important (especially if you're working around non-wood substances that stain easily, like upholstery, etc.) In addition, you'll want to lay a heavy drop cloth beneath your work area to protect against accidental drips and spills.
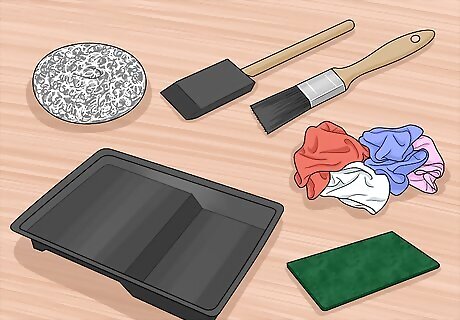
Gather your tools. Compared to other wood finishes, applying glaze is usually a low-stress affair. There isn't one "right" way to do it — for instance, an experienced woodworker may have her own unique techniques that use unconventional tools. However, for a standard glazing job, the following tools will be very helpful: One application brush (either foam or bristled is fine) One blending brush (soft-bristled; clean and dry) Pan or tray to hold the glaze Paper towels or cotton rags Steel wool (oil-based glazes) Nylon abrasive pad (water-based glazes)
Applying the Glaze

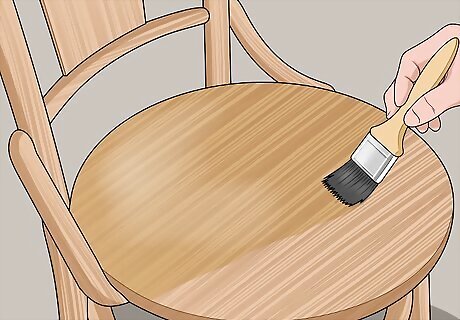
Optionally, test the glaze on a piece of scrap wood. Before you paint the glaze on the wood itself, it can be a wise idea to test it on a piece of wood that you have lying around, especially if it's similar to the wood you're using for your project. Glazes (like almost all pigments) can look a little different in liquid form than they do when painted onto a surface, so taking the time to test it can save you the headache of cleaning it off of your project later if it's not quite right. In a pinch, you can always test the glaze on part of the project that's not easily-visible (like a small area on a rear corner.)
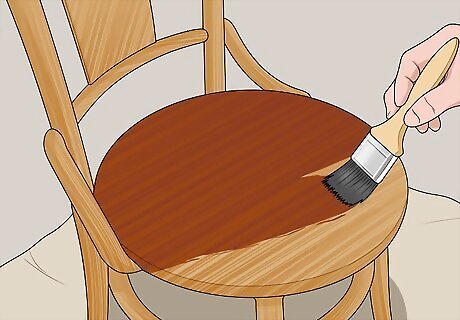
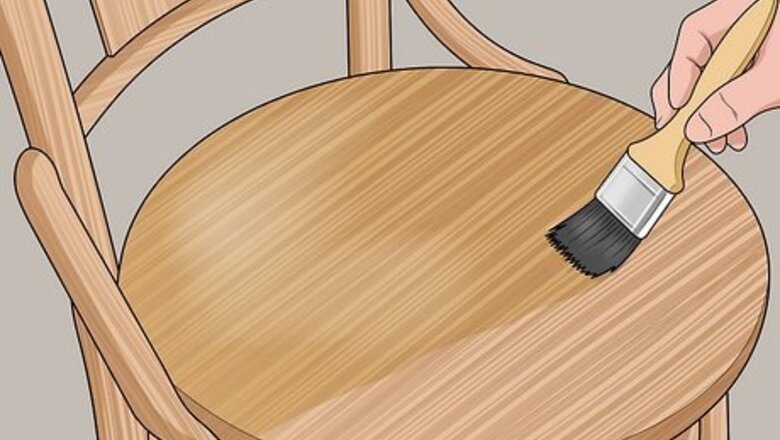
Paint the glaze generously over the wood. When you're ready, dip your applicator brush in the glaze and spread it over the finished surface of the wood. Be sure to get plenty of glaze in any corners or cracks in the wood. You don't have to worry about applying to thickly (unless this causes it to drip or run) — you'll be removing most of it soon anyway. Most glazes take a reasonably long time to start drying compared to other wood finishes — usually, you will have about 10 to 20 minutes, which is plenty of time to glaze and work reasonable-sized sections of wood. Still, you'll want to keep this rough time limit in mind. If the glaze dries before you can work with it, you'll need to use a little paint thinner to get it liquid again.
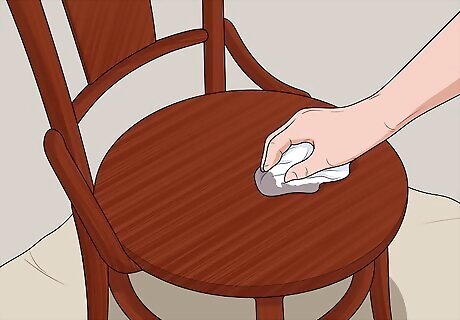
Wipe most of the glaze off. Glaze is applied in a very thin, translucent layer — it's not meant to act like an opaque paint. To get this effect, use paper towels or rags to wipe off most of the glaze after you've applied a generous layer over the wood surface. As long as you get the majority of the glaze off, you don't have to be perfect — in the next step you'll work with the glaze remaining on the wood to get the effect you want. Leave a little extra glaze around any corners, cracks, embellishments, or "tight spaces" on your wood. Most glazing styles deliberately keep these areas darker to highlight the features of the wood. Be sure to place the dirty paper towels or rags someplace they won't drip or get your surroundings dirty. Having a plastic garbage bag handy is a good idea.
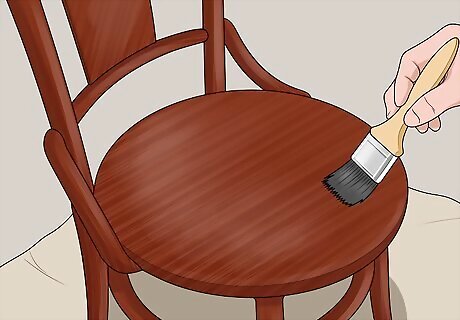
Blend with the dry brush for the desired visual effect. Now's your chance to leave your own personal mark on the wood. Use your second brush (which should ideally be soft-bristled, clean, and dry) to push the remaining glaze around, distributing the areas of dark (more glaze) and light (less glaze) as you wish. Use the towels or rags to dry the blending brush when it gets too wet. There's no "right" way to do this and different woodworkers will often prefer using different techniques to get different final products. Below are a few suggestions that should leave you with a rich, distinguished-looking piece of wood: Leave the glaze the thinnest at the center of flat surfaces. Leave slightly more around the edges. This gives a subtle "cameo" or "sunburst" effect. Let the glaze accumulate thickest around sharp corners, edges, cracks, and embellishments. This highlights these features by bringing out their contrast. Push the glaze away from the "high points" on emblems, embellishments, carvings, and so on to give them a warm "shine."
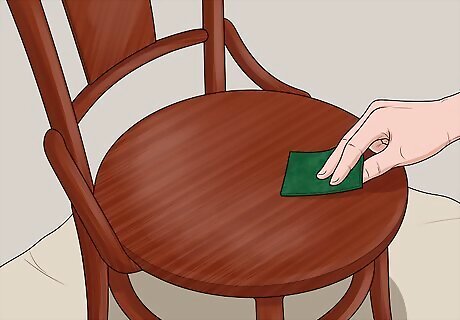
Use abrasives to produce a grain. Though it's certainly not required, you can custom-modify the texture of your wood with mild abrasives during the glazing process. Use steel wool for oil-based glazes and nylon abrasive pads for water-based glazes. Wipe gently with the abrasive to remove the glaze more gradually than you would with a paper towel or rag. This will also produce a slightly rough, "grainy" effect in the glaze which can enhance the character of the wood once it dries. Whether or not to use this "grain" effect depends on the project you're working on and the impression you want to create with the finished product. For example, while a rough grain can look great on a rich wooden desk, you'll probably want to keep your glaze smooth if you're working over a white-painted chest of drawers.

Remove any work you're not happy with before it dries. If you don't like the way your glazing job is turning out, don't worry, as it's fairly easy to "undo" your work. Wet a clean paper towel or rag with mineral spirits (for oil-based glazes) or water (for water-based glazes) and rub gently to remove the glaze. Dry off the fresh spot and start again at your leisure, being sure to use the same glaze mix so that your colors match. As noted above, while individual glazes vary in their drying time, you'll usually have about 10-20 minutes before the glaze starts to dry. Try to remove the glaze before it dries — it's a lot harder to get off afterward.
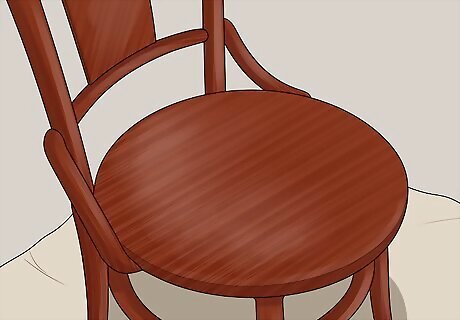
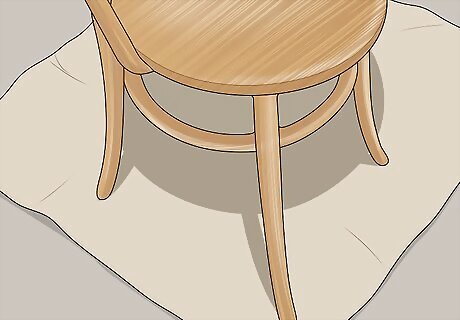
When you're satisfied, let your glaze dry. When you're finally happy with the way your glaze job looks, set your wood in a place where drips and spills are unlikely and allow it to dry. Give it a generous time window for drying — you want it to be completely dry before you start working on it again. Waiting overnight is long enough for most glazes. If you notice small drips or mistakes after your glaze dries, it's usually possible to carefully scrape them off with a razor or craft knife.

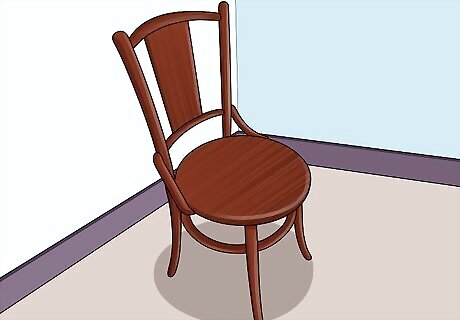
Seal the glaze. Glaze isn't meant to be the top coat on a piece of wood — it's too thin and vulnerable to wear and tear to offer much protection. Once you're sure that the glaze is 100% dry, seal the glaze with at least one coat of a stronger, more protective finish. Multiple sealant layers are generally recommended. The vast majority of finishes should work well with nearly all glazes. However, you'll want to be extra-sure that you've given you glaze plenty of sealant if you intend to use a topcoat with a different base than your glaze (e.g., if you're using a water-based topcoat and you previously used an oil-based glaze.)
Finished.


Comments
0 comment