views
X
Research source
Checking Neck Relief
Tune your guitar to pitch.
You don't have to take off the strings to adjust your truss rod. In fact, you need them on and tuned to the correct pitch to make sure you get the relief correct. If you adjust a truss rod without the strings on, your adjustment will be off when you put the strings back on. Your strings exert pressure on the neck of your guitar that will gradually cause it to bow more. Even if your neck relief was good for you when you first bought your guitar, it can change over time.
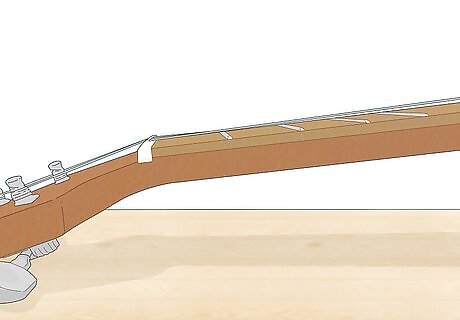
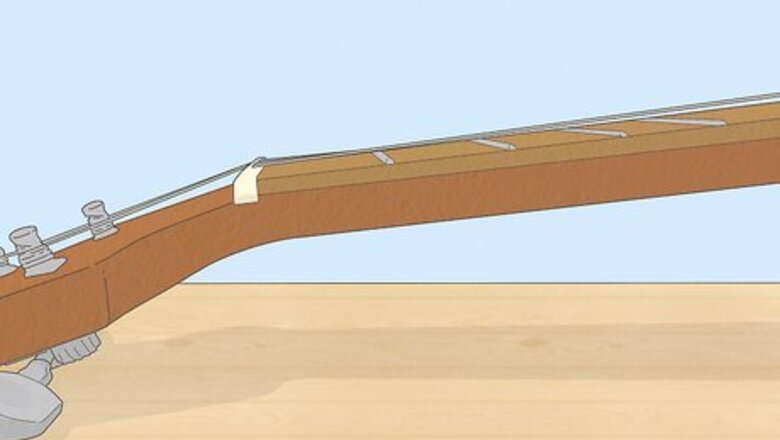
Sight the neck to determine if it's straight. Lay your guitar flat on a table or sit and hold it with the base of your guitar resting on your foot. Then, close one eye and peer down the neck of your guitar from the headstock. You'll be able to see if it's bowed outward or inward. This will give you some idea of where to start with adjusting the relief. Don't worry if you haven't done this before and you don't know exactly what you're looking for. Sighting the neck simply gives you a general idea of the condition of the neck of your guitar and its overall straightness.
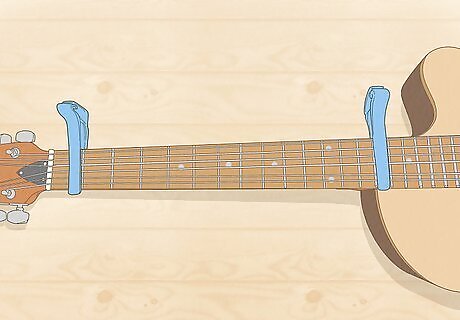
Attach capos to the 1st and 15th frets. Using 2 capos to clamp the strings eliminates the issue of added string height from the nut (at the top) and the bridge (at the bottom). This allows you to use your strings as a straight edge, which makes it less complicated to measure your neck relief. If you have a shorter scale guitar, you might not be able to get a capo on the 15th fret. Place your second capo on the fret closest to the body of the guitar where you can fit a capo. If you don't have 2 capos, you can also fret the low E string at the 1st and 15th frets to get the same result. However, you'll likely need another set of hands to take the measurement.
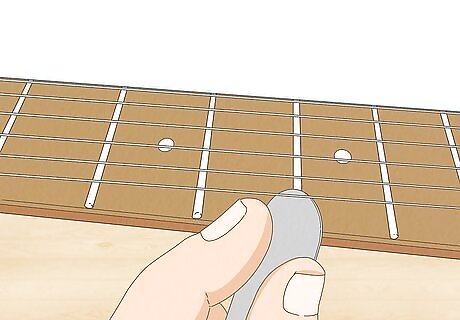
Measure the gap between the string and the 7th fret. Use your feeler gauges to determine the gap between the 6th string of your guitar and the 7th fret. Feeler gauges are thin strips of metal, each marked with a particular width. Start with the one where you want your relief to be (use 0.007 inches (0.18 mm) if you're not sure). If it fits snugly between the string and the top of the fret, your relief is just fine. If the feeler gauge encounters resistance or won't fit at all between the string and the top of the fret, you likely need to increase your neck relief. On the other hand, if there's still space between the string and the top of the fret after you insert the feeler gauge, you need to decrease your relief.
Correcting Neck Relief
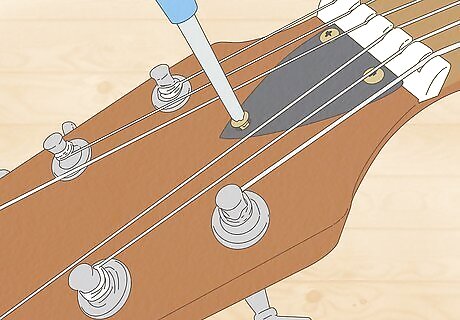
Remove the truss rod cover if necessary. Generally, you can access your truss rod in the headstock of your guitar. Some guitars have a small plate that screws in over top to cover the access point. If your guitar has one of these covers, remove it to get to the truss rod. With some acoustic guitars, you can only adjust the truss rod through the soundhole. If you don't see a cover or a notch for the truss rod in the headstock, look through the soundhole towards the neck to spot the truss rod.
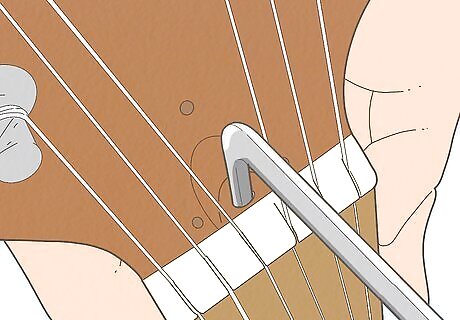
Fit the appropriate hex key to turn your truss rod. If you have a new guitar, it likely came with a truss rod key. Unfortunately, if you bought your guitar used, this tool might be missing. Check the case and see if you've got one. If not, look at the top of the truss rod and try to figure out what size tool you need. Truss rod keys aren't standard. If you have a key for the truss rod of another guitar, it might not fit — even if the guitars come from the same manufacturer. Make sure the tool you're using fits snugly and doesn't slip. Otherwise, you could strip your truss rod.
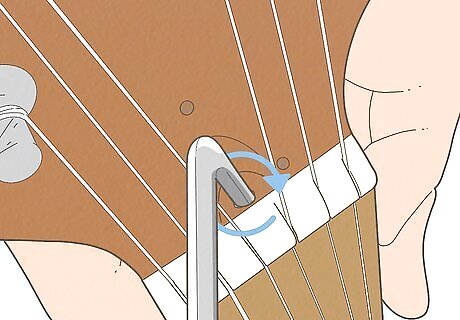
Turn the truss rod no more than 1/8 of a turn. A tiny adjustment can make a huge difference when you're adjusting a truss rod. Give it a slight turn to the left to loosen it a little so it'll be easier to turn. Then turn it 1/8 of a turn clockwise if you want to decrease the relief, or counter-clockwise if you want to increase the relief. It can be hard to guess how much of a turn you're giving the truss rod if you don't have a lot of experience making these kinds of minute adjustments. It might be easier for you to think of 1/8 as half of a quarter turn.
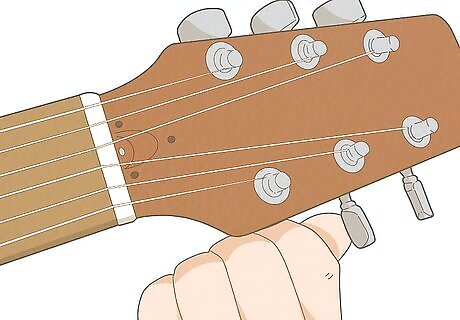
Retune your guitar and check the relief. It's possible that your adjustments have caused your guitar to fall out of tune. Check to make sure, then clamp your strings down at the 1st and 15th fret (or whichever higher fret you used before) and check the relief with your feeler gauge. If you find that you've gone too far, you'll have to adjust the truss rod back in the other direction. It's also worth taking a little time to play your guitar and see how it feels. Neck relief is a personal thing. If it feels right for you to play, you may not need to make any further adjustments, even if the measurement isn't exactly what you thought you wanted. It's completely up to you.
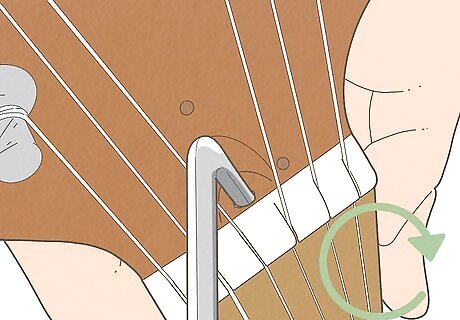
Adjust the truss rod another 1/8 turn or less if necessary. You don't want to turn your truss rod more than a 1/4 turn at a time. However, if your measurements showed that you still don't have the relief that you want, you still have room to make a second adjustment to get it closer to right. Go slow and don't force it — you could damage your guitar. A tiny adjustment is all it takes. These adjustments can take some time to get right, so don't beat yourself up if you didn't get it right on the first try — especially if you've never adjusted a truss rod before.
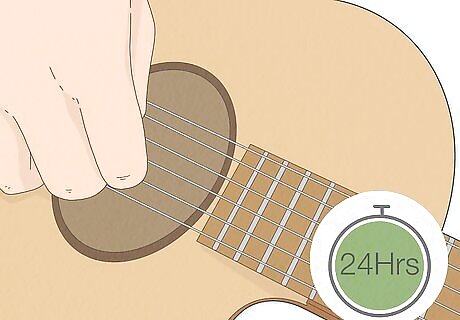
Check your relief again after 24 hours. The neck of your guitar takes time to settle, so you might not get the full effect when you check it immediately after adjusting the truss rod. Leave it alone for a day, then check the relief again and make another adjustment if necessary. Avoid moving your guitar during this period. Changes in temperature and humidity can impact the truss rod adjustment you've made.


Comments
0 comment