views
Adding AutoText to the Gallery
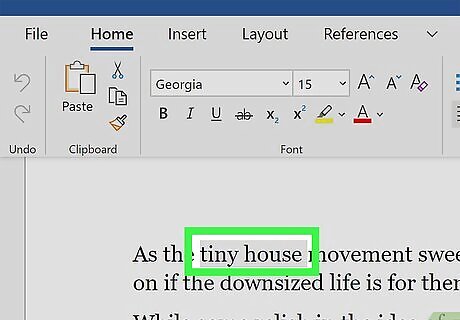
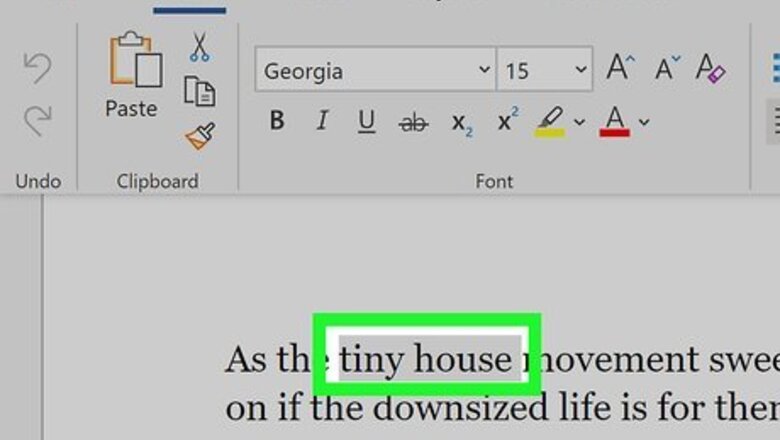
Highlight the content that you want to make an AutoText entry. This can be text-only or text and photos. If you're using Microsoft Word 2010 or earlier, you'll need to add the AutoText Gallery to the Quick Access Toolbar. Here's how: Click the Office button in the upper left corner of the Word window and select Word Options. Click Customize. Select All Commands in the left dropdown selection box. Scroll down to the "AutoText entry" and double-click to move it to the right pane. Click OK to close the options window.
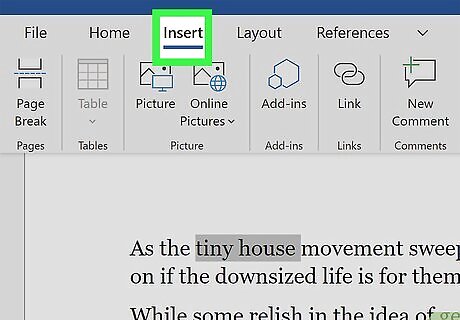
Click the Insert tab. It's at the top of Word.
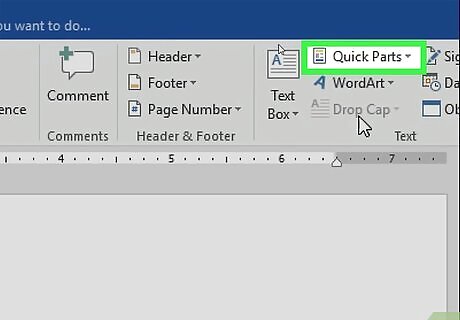
Click the Quick Parts menu. It's in the toolbar that runs along the top of the screen. A menu will expand.
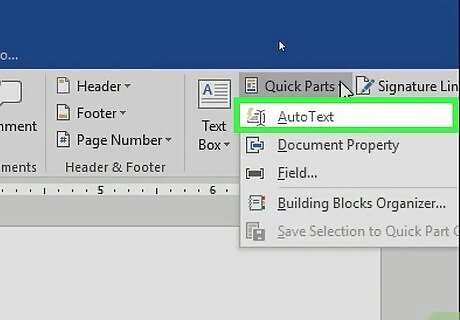
Click the AutoText menu. This opens your AutoText Gallery, which is where you'll find your AutoText in the future.
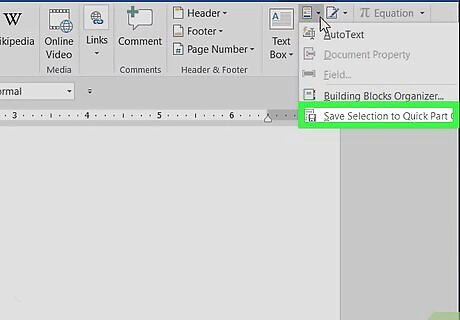
Click Save Selection to AutoText Gallery. It's at the bottom of the list. This opens a form.
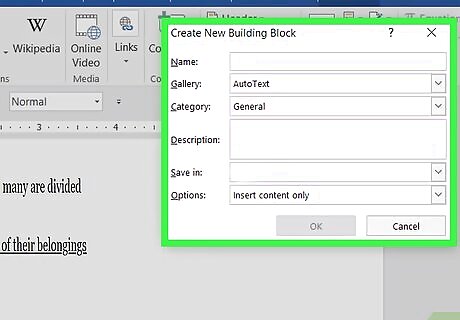
Fill out your AutoText preferences and click OK. You can give the AutoText snippet a name, description, and other information to make it easy to identify when inserting text. This saves the selected snippet to your AutoText Gallery for later use.
Inserting AutoText into a Document
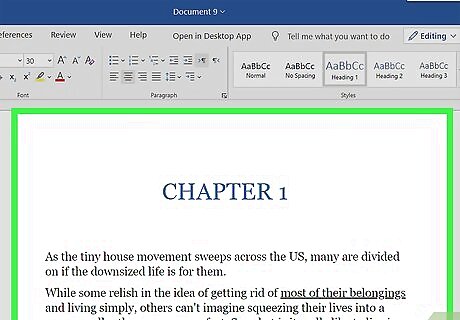
Open the document in which you want to insert AutoText. It can be any document; not just the one you used to create the AutoText.
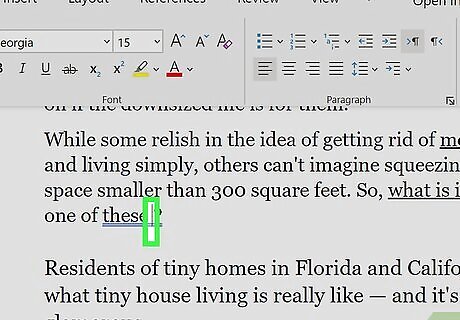
Click the location where you want to insert AutoText. This places the cursor at the location.
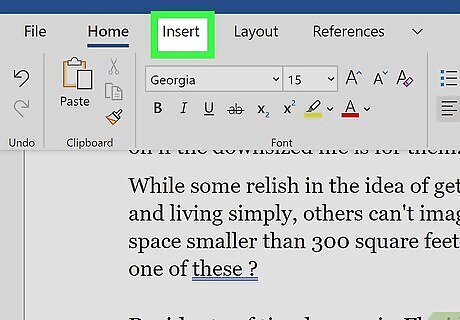
Click the Insert tab. It's at the top of Word.
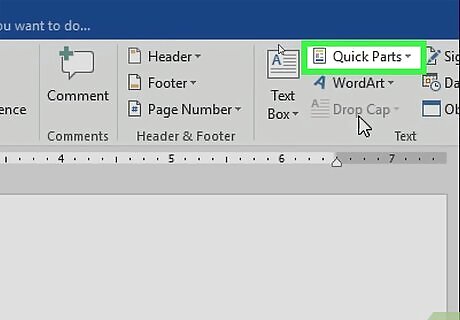
Click Quick Parts. It's in the toolbar that runs along the top of the screen. A menu will expand.
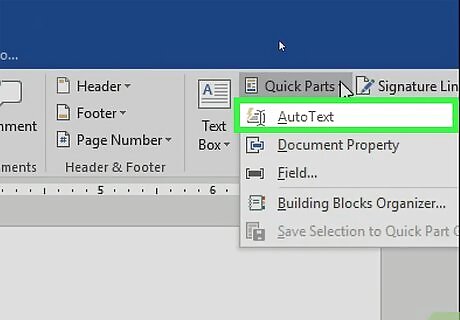
Select AutoText on the menu. This opens the AutoText Gallery.
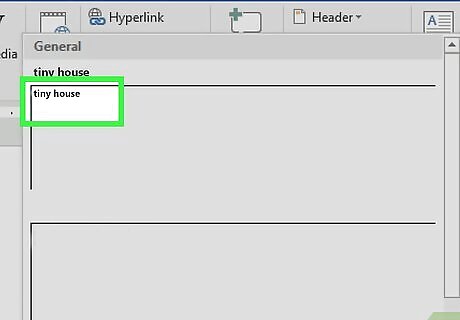
Click the AutoText you'd like to insert. This inserts the AutoText selection where you placed the cursor.









Comments
0 comment