views
Saving the Palette

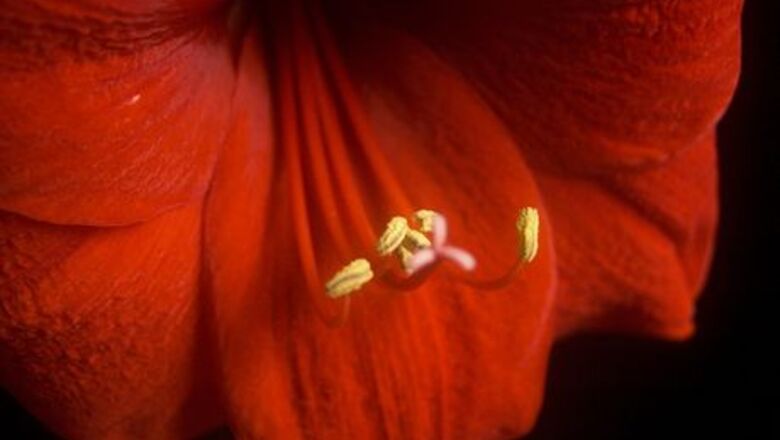
Decide on the color palette that you want. It really doesn't matter what you are going to draw. It could be a car, but you want the palette from a particular image. Say, for instance, the colors of a red amaryllis. Find a photo of the amaryllis in whatever color palette that you want.
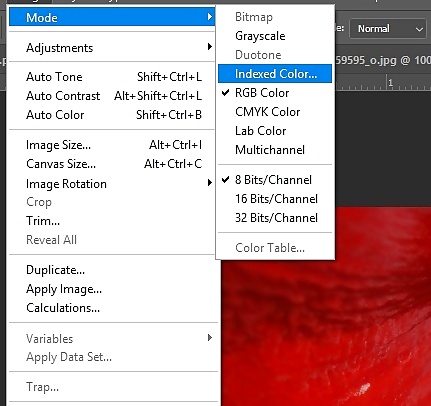
Open Photoshop. Go to Image >> Mode >> Indexed Color.
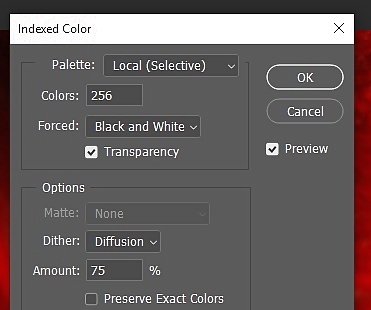
Decide on the number of colors that you want to choose from. It all depends on the final look of what you will be coloring or painting. Start out with 40 and see if that works for you.Indexed Color dialog box.jpg
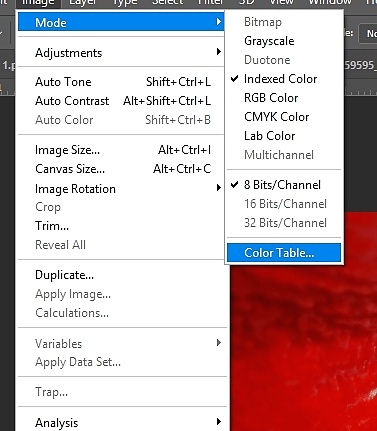
Go to Image >> Mode >> Color Table. Decide if those are the colors that you want. If it isn't, repeat the process.
Press Save and choose where you want to keep it. It will be saving it as an *.ACT file (Color Table), so be sure that you remember that when loading it. Photoshop doesn't have a default location, so you might want to put some thought into where you want to put it. It really depends on if you are thinking that you will want to use it again.
Close the image. You won't need it any longer unless you are going to change the palette. Don't save it.
Using the Palette
Open the photo that you want to color. Make sure that it is in RGB by going to Image >> Mode >> RGB Color. Otherwise, you won't be able to color it.
Be sure that your Swatches window is showing. If not, go to Window >> Swatches to get it on your screen.
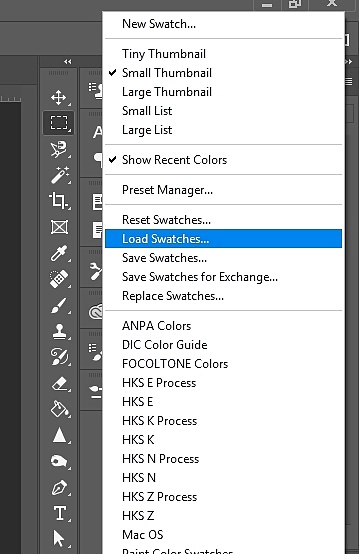
Click on the tiny icon with 4 lines and then Load Swatches.
Find and select the palette that you just created. If you don't see it, make sure that you're looking for an ACT and not an ACO file.
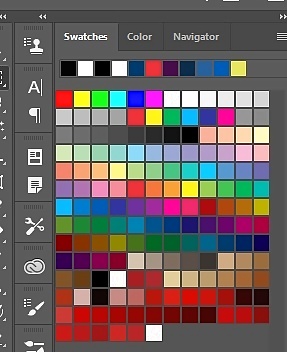
Look at your swatches. You will see your new swatches at the bottom of your old swatches.


Comments
0 comment