views
- Unlock the valve clip by reaching behind the fill valve tube until you feel a notch on the back. Push this notch counterclockwise to free the valve.
- Raising the valve increases the water level, and lowering it decreases the level. Push the valve in the corresponding direction depending on what you need to adjust the flush.
- Adjust the ball valve to match the new height of the fill valve with a screwdriver. Twist the screw clockwise to raise it and counterclockwise to lower it.
Draining the Tank
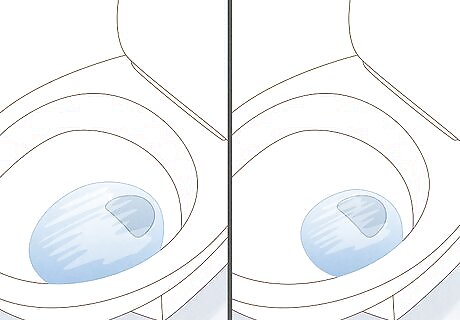
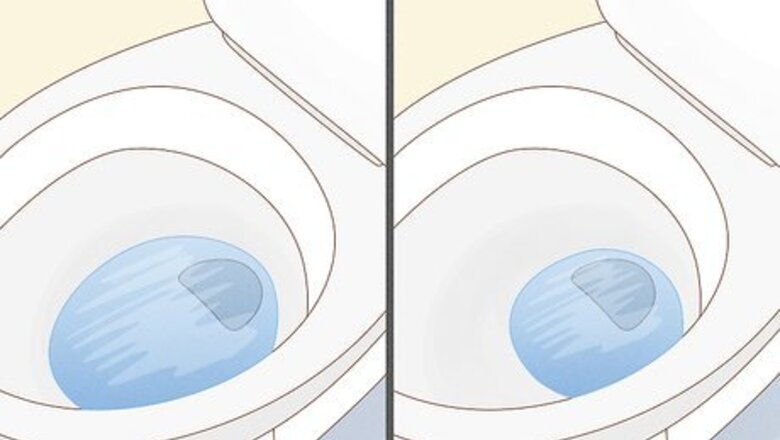
Flush the toilet to determine if you need more or less water. Start off by getting a baseline of your toilet’s flushing mechanism. Press the half flush button, and then the full flush when the tank completely refills. If the flush seems weak, then you need more water. If the flush seems too strong then dial the water level back. If you’ve had problems with your toilet clogging, then you probably need more water for a stronger flush. A telltale sign that your flush is too strong is that there is a lot of water left in the bowl when you hear the “glug” sound of the toilet flushing. The bowl should be nearly empty when you hear that sound. If the water is still above the drain hole when you hear the "glug," reduce the toilet's flush level.
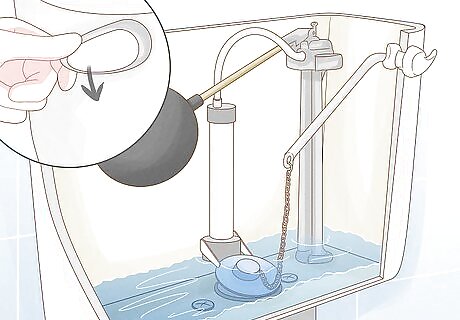
Drain the water from the toilet tank. Find the hose behind the toilet leading into the wall. Turn the valve on it clockwise until it stops to cut off the water. Then, hit the large flush button on your toilet to drain the tank. There might still be some water on the bottom of the tank. Don’t worry, the tank doesn’t have to be completely empty.
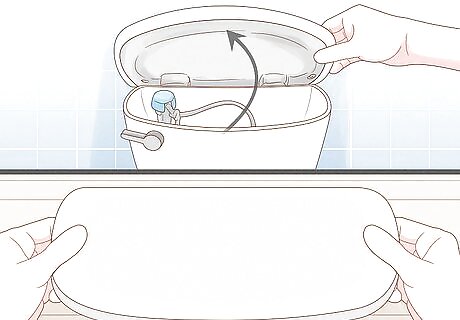
Remove the top lid of the toilet tank and place it on a flat surface. The lid isn’t connected to the tank, so simply lift it off. Place it on a flat surface so it won’t fall over, and move it somewhere safe where you won’t step or trip over it while you’re working. Some dual flush systems use sticks on the lid to press the flush mechanism. If your lid has sticks like these, then lay it on its side to avoid damaging them.
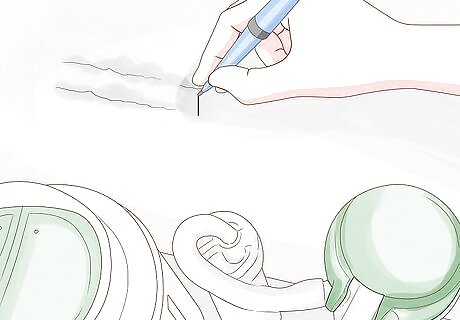
Find the fill line inscribed on the inside of the tank. All toilet tanks have a fill line. This indicates where the water should rise to after a flush. Adjusting the water level below or above that line affects the power of the flush. Raising the water level above that line gives you a more powerful flush by letting more water out. Lowering the water level weakens the flush. If your toilet was not originally a dual-flush, then you almost certainly have to readjust the mechanism to fill differently.
Adjusting the Valves
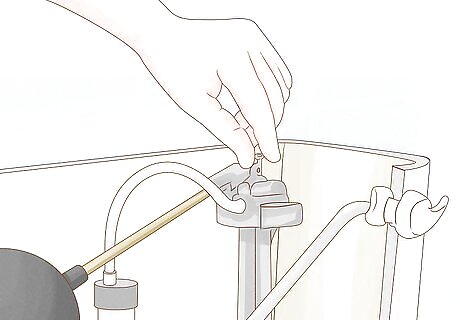
Unlock the clip on the fill valve so you can adjust it. The fill valve is the tube with an arm extending out to a cup, and it controls the water level in the tank. To unlock the valve, reach behind the tube until you feel a notch on the back. Push this notch counterclockwise to free the valve. The notch can be hard to reach. If you’re having trouble, use a long screwdriver to push the notch instead.
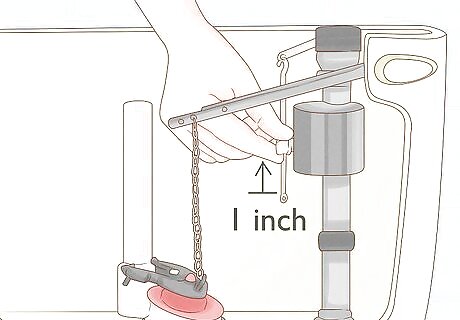
Raise the valve height to increase the water or lower it to decrease it. With the valve unlocked, you can raise or lower it by hand. Raising the valve increases the water level and lowering it decreases the level. Depending on what you need, push the valve in the corresponding direction to adjust the flush. Re-lock the notch when you’re finished. It takes a bit of trial and error to get the valve position right. Try going 1 inch (2.5 cm) in the direction you need, then making adjustments later on if you need to.
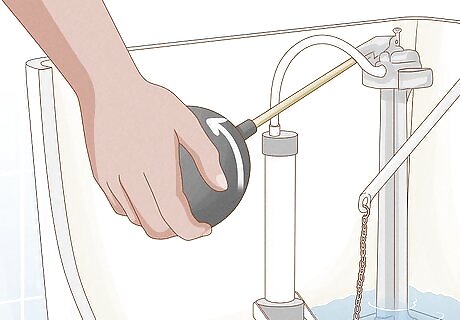
Adjust the ball valve to match the new height of the fill valve. The ball valve looks like an arm that reaches out and connects to a float, which helps the tank refill. There is a screw at the end of the arm, right before it curves downward to connect to the float. Take a Phillips head screwdriver and twist the screw clockwise to raise it and counterclockwise to lower it. Adjust it so it matches the level of the fill valve. Some mechanisms don’t require a screwdriver, and you can just turn the dial by hand. In this case, turn the dial clockwise with your fingers. If you lowered the valve a lot, the float on the ball valve may have popped out of the cup. Just realign it when you lower back in to the cup.
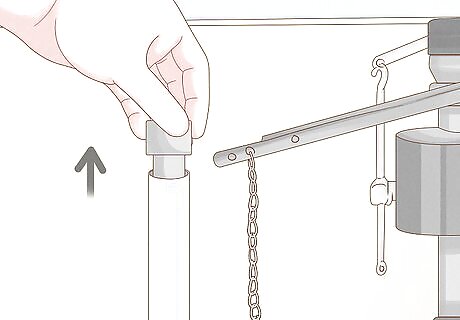
Raise the overflow valve if you increased the water level. The tank may overflow if you raise the fill valve above the overflow valve. This valve is a tube that sits between the fill and flush valves. It’s the smallest one in the tank. Bring the overflow valve up to the same level as the fill valve to prevent spills. Use a screwdriver and press down on the clip holding the overflow down and slide it out. Then, push the notch in to unlock the valve. Pull the overflow valve up until it’s even with the fill valve. Pull the notch back out and insert the clip to lock it in place. You only have to make this adjustment if the flush valve is higher than the overflow valve. If it’s not, then leave the overflow valve where it is.
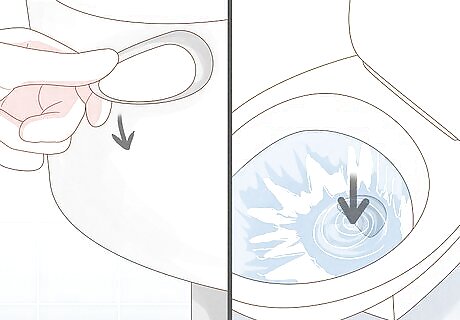
Test the toilet flush to see if it needs further adjustment. With all the valves adjusted, turn the water back on. Hit both flush buttons a few times and see if the flushes are the correct power. If not, go back and readjust the valves further. It might take 2 flushes for the water level in the tank to reach the point you adjusted it to, so try a few times to see how the new mechanism flushes. You want to make sure the height adjustment is at its proper height to be able to hit the mechanism that triggers it to flush the water. You don’t have to put the lid back on to flush the toilet. If the flush button is on the lid, just hit the buttons inside the tank to flush the toilet.


Comments
0 comment