
Preparation & Leveling the Ground
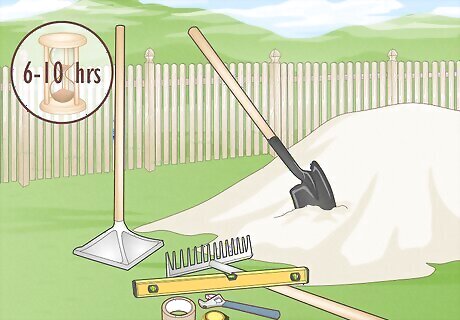
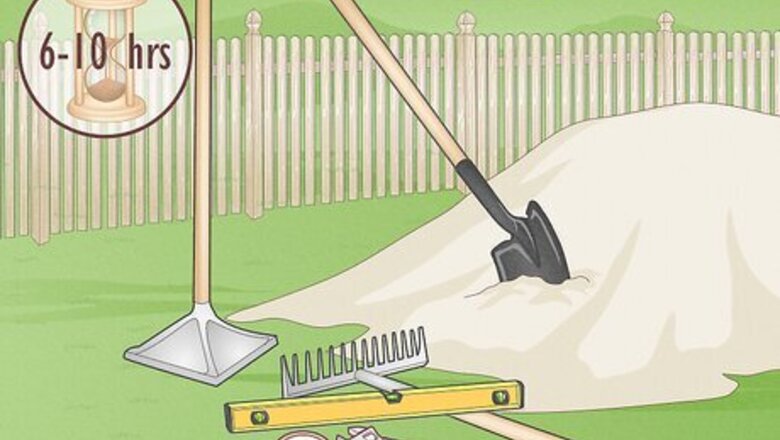
Acquire the things you need and set aside 6-10 hours. Before you start to build your pool, make sure you have all of the tools you’ll need. Many of the tools you’ll use can be rented from your local equipment rental outlet if you don’t have them. You’ll need: Shovel Tape measure Screwdriver Roller/Tamper Duct tape Sand Wrench Level Rake
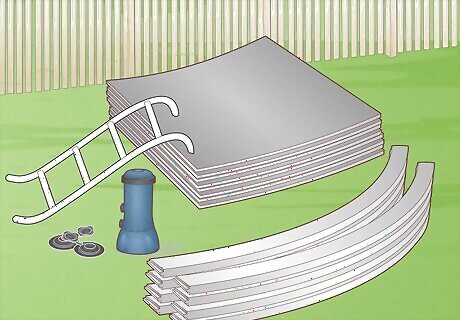
Purchase an above-ground kit that suits your needs. Instead of purchasing everything from scratch and creating a ton of guesswork, your best bet is to buy a pool installation kit. Look for a well-reviewed option that suits your needs when it comes to size, ladders, optional features, etc. If you buy a kit from a pool manufacturer or pool shop, they’ll likely include a warranty. If you don’t want to refill the water regularly, look for a kit that comes with a separate pump. Expect to spend $300-1,000 on a solid above-ground kit. You can totally purchase everything you need separately (tarp, PVC tubing, etc.) but it’ll be just as costly as buying a kit and you’re likely to run into compatibility issues. Before you buy anything: Confirm that you do not need a permit for your city, county, and state. In many regions, you must get a permit for above-ground pools bigger than a few feet in size.
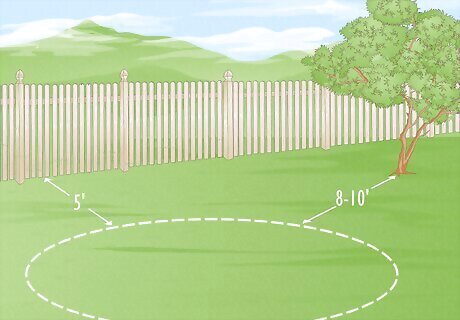
Choose the area where you’ll install the pool. Plan on setting the pool at least 5 feet (1.5 m) away from any exterior walls or fences. Also, set your pool at least 8–10 feet (2.4–3.0 m) away feet from any trees to prevent the need to constantly clean out leaves. Avoid setting the pool under wires or telephone poles, too. Choose the flattest area available if you can. You’re going to need to level the ground, so the flatter the area you start with, the easier things will be. If your yard isn’t relatively flat, choose an area where the slope isn’t dramatic but it still leads away from your home.

Mark the outline of your pool before excavating. Avoid tearing up too much of your yard by marking the dimensions of the pool with spray paint, stakes, or markers of some kind. This measurement won’t be exactly the wall of your pool, but it gives you a guideline for excavation and leveling. Give yourself at least 6 inches (15 cm) of additional breathing room. The edge of the pool will be filled in with pea gravel anyway. If the pool is circular, put a stake in the middle of the pool’s location and tie a string that’s identical in length to the radius of the pool. Pull it taut from the stake and work your way around the middle.
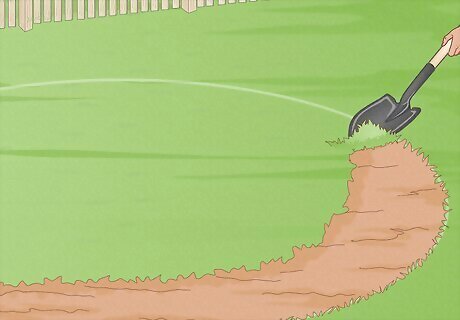
Remove the sod where you plan on installing the pool. Your pool cannot be installed on top of any grass. Use a spade, edger, or shovel to tear up the outer edge of the outline. Work your way toward the center by tearing up the sod. Remove all of the grass and plants. If the sod is healthy, you can replant it! Just roll the sod up, lay it out over dirt, and water it thoroughly. If you put a pool on grass, the bottom will be unstable and can shift or settle over time. Eventually, you’ll need to disassemble the pool to prevent tears or leaks. If you’re installing a pool with a radius bigger than 5–6 feet (1.5–1.8 m), consider renting a sod remover from your local hardware shop to make the process easier.
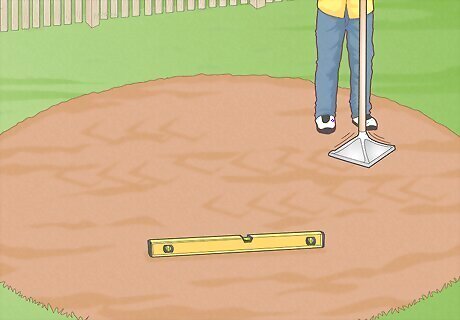
Level the ground with a tamper or roller. It is extremely important to the structure of your pool that you install it on top or level earth. If the ground is slanted, the pool won’t be safe to use (imagine the pool giving way and a swimmer getting trapped in the lining of the pool!). Use a heavy roller or tamper to compress and level the ground. If you prefer, lay a flat sheet of drywall or plywood out and use the roller on top of that to apply pressure. Use a spirit level to confirm that every portion of the ground is even and flat. If the ground stops being level as you walk on it, you must continue to compress the ground. It shouldn’t shift when you walk on it.
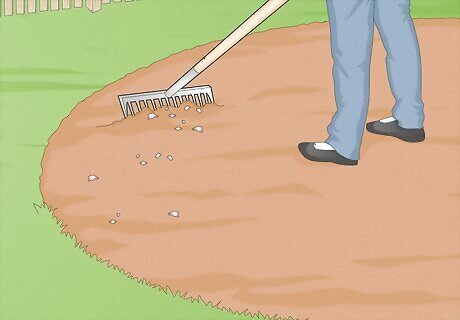
Rake the area and double-check that the ground is level. Rake over the area to clean it. Get rid of any rocks, pebbles, or random sticks that are stuck in the ground. Make sure everything is level one more time before you break out the pool kit. It’s extremely important the ground under the pool is level. If it’s not, the pool will eventually break down over the asymmetric weight from the water and the swimmers. Your entire area should be within 1 inch of being perfectly level.
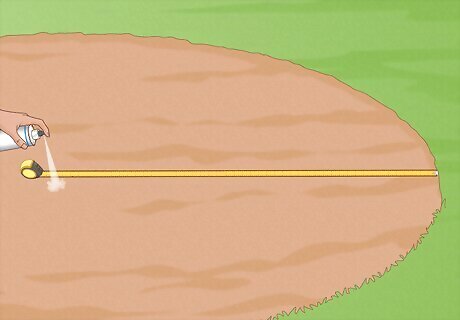
Mark the center point of the ground. This is where the middle of your pool will be. Use a measuring tape to mark it by putting a dot of spray paint or some flat object on the ground. This way, you won’t lose track of the pool’s proper location as you’re building it.
Assembling the Pool
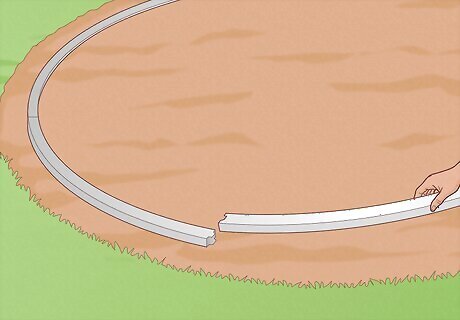
Build the bottom ring or rectangle to make the base of your pool. Use your plates, stabilizers, and rails to create your bottom frame. There are multiple types of plates, but the bottom ring is usually just a sequence of rails and plates that form the foundational circle at the base of the pool. Follow the instructions in your manual to assemble it. Measure the bottom track from one side to the other in several locations to ensure that the pool is truly round and the correct size. If the size is correct, stake the ring into position. For rectangular pools, put a stake in the middle by taking half of the length and width and check. Some pools need to be partially filled before they’re fully assembled. Refer to your manual to determine when the water needs to be added.
Support your base with the stones or clips provided. Once your base is in place, add support for the base of your pool using the stones or clips provided by your kit. This will help keep your pool stabilized and level. Follow the instructions to assemble the support weights. Make sure each of the stones or clips is either embedded in the ground, or leveled with one another above the bottom ring depending on the design of your pool.
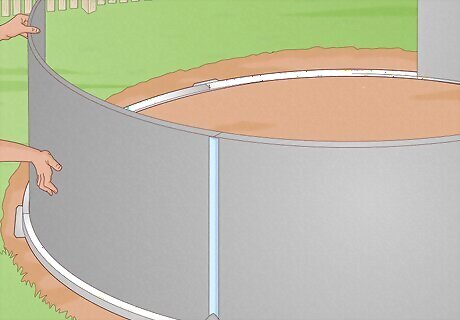
Set up the pool wall by unraveling it around the base. Now that you have a level bottom for your pool, install the wall around the area. Take the rolled-up and stiff wall lining and unravel it. Use the weights or bottom ring clips to pin the wall in place while you roll it out around the rim. Make sure the skimmer cutout and water return holes that are built into the wall are located where you need them to be if you’re installing a filter and pump. Use landscaping stakes and string to hold the wall during installation. Place the wall into the track at the center of a bottom plate, and continue around the ring. If the wall doesn’t properly line up at the end, you can adjust your bottom rails in or out of the bottom plates to ensure fit. Do this evenly around the pool.
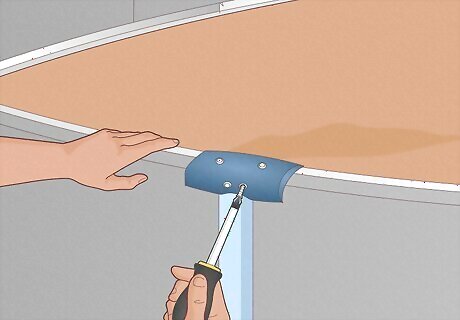
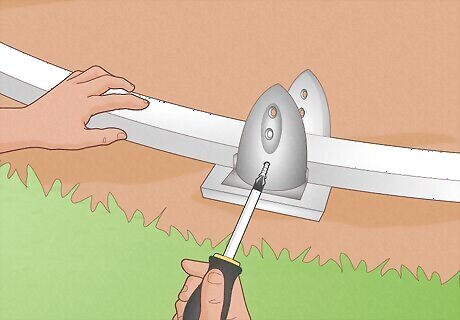
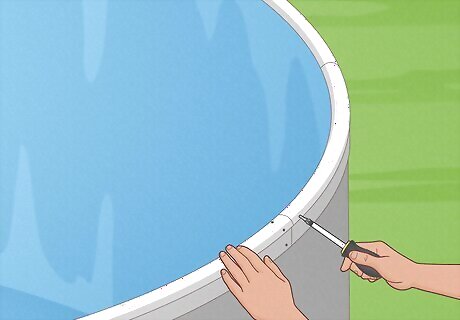
Put the wall together using the provided fasteners. After installing any provided supports, secure the pool wall. Line up the gaps at the end of the wall and install the screws and nuts. Tighten the fasteners to secure the wall together. Don’t skip any fasteners. If you don’t use a nut in every hole, your pool may break or leak. Staggered wall bar systems don’t come with pre-attached wall bars. Line up your parts and place one wall bar on the inside of the pool and one on the outside of the pool. Connect them using your nuts and bolts. Wall bars must not touch each other. Cover bolt heads with three layers of duct tape (if instructed to do so). This will protect your liner from getting holes.
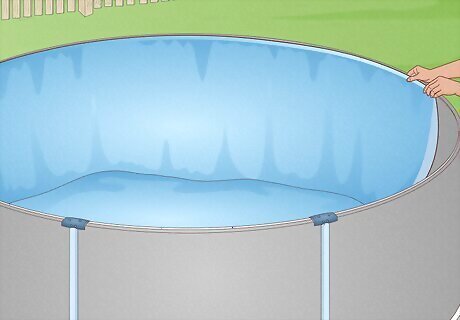
Install the interior liner provided by the kit. Be careful when doing this, since the liner can be a little sensitive and you don’t want any tears to form in your liner. Lay the liner in the sun for a few minutes. This will make it easier for you to install. Bring the liner into your pool and lay it out. Do not step on the liner with your shoes on. Install it either barefoot or in socks. Use the wall liner beads or snap bars to hold the liner in place. These beads or bars will snap into a separate track around the pool. This track is installed on top of your pool wall to hold it in place. V-bead and J-bead liners require no clips to hold them in. The railing that goes on top of the wall of the pool will hold the liner in place. Unibead liners can be used as either a snap bead or a V-bead/J-bead liner. They come as a V-bead but you can remove the top portion to make it a snap liner. Overlap liners are hung over the pool wall and go all the way to the base of the exterior wall. These are secured using plastic strips you’ll install at the end. Work all the wrinkles to the outside of the pool. Install stabilizer rails along the top of the pool wall. Once these rails are installed, you can take down the landscaping stakes—your pool should stand freely on its own.
Finish with the top plates, top rails, upright posts, and top covers. These pieces all fit easily into one another. They’re normally designed to snap in place like puzzle pieces so it should be easy to figure out what goes where. Remember to constantly check to ensure the sides and top are level. Place the upright posts last along the rim of the pool to provide the extra support you need to prevent spillage. Place the top plates onto the uprights. Make sure they are perfectly straight using a level. Tighten them with proper screws. Install the top rails. Place them around the pool and tighten the screws once all of the rails are in place.
Filling the Pool
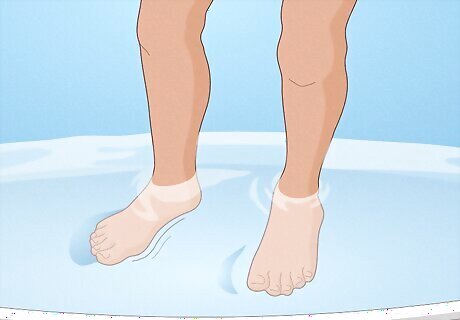
Work out the wrinkles. Add enough water to make the pool ankle-deep. Then, hop into the pool and walk around the liner. Work all of the wrinkles to the outside of the pool. This will be the last chance you have to create a straight surface for your pool floor, so double-check everything now. If you’re walking around on the liner, make sure you aren’t wearing shoes (even water shoes or flip-flops) and that you haven’t tracked any rocks into the pool with you!
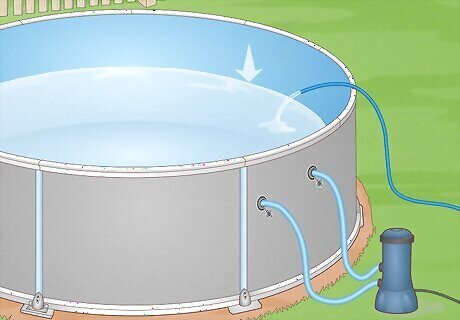
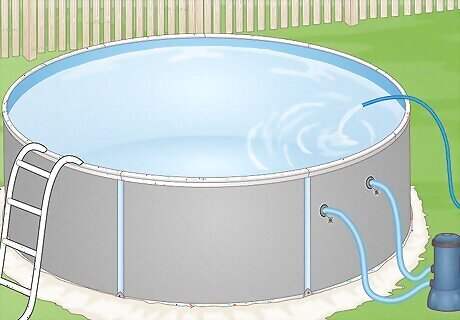
Fill the pool halfway and add the skimmer and filter. Sit back and slowly fill the pool. Once your pool is filled halfway, check your skimmer and filter instructions on how to install them. Normally, you put the skimmer filter into the opening and assemble the filter separately before hooking it up in the opening. Some above ground pools do not come with a skimmer or filter. This is especially common if your pool isn’t especially deep.
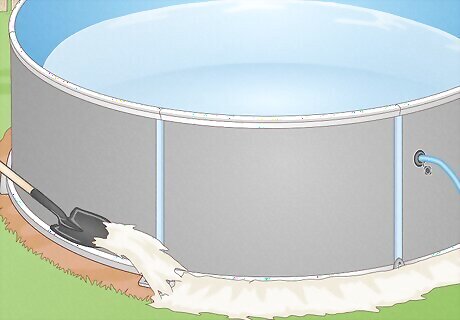
Line the exterior rim of the pool with gravel or sand. Fill in the 6–12 inches (15–30 cm) around the outside of the bottom railing with pea gravel, sand, or some other kind of ground cover. This will provide some extra structural support and prevent water spills from turning the ground around the pool into mud. This is known as the pool’s cove. Be careful not to scratch the pool wall when you’re doing this. Mud around the pool would not only be annoying, but it would actually create potential structural risk. If the ground under the pool turns to mud, the pool may slide or lose its structural integrity.
Finish filling the pool and enjoy. You’re almost done! Apply any finishing touches per your instructions, and fill the pool the rest of the way. Aim to fill the water up to halfway the skimmer. Install the safety warnings. If you don’t have them, get in touch with your manufacturer and they will provide you with new warnings for free. Your warranty may be voided if you don’t add your labels. Refer to your pool’s manual to determine if (and how) you shock or chlorinate the pool water.


Comments
0 comment