views
- Get a router and modem to create a wireless network or use cables to create a wired network.
- Install any necessary home network software.
- Install the ICS software on your main computer to share your internet access.
Setting up Your Home Network
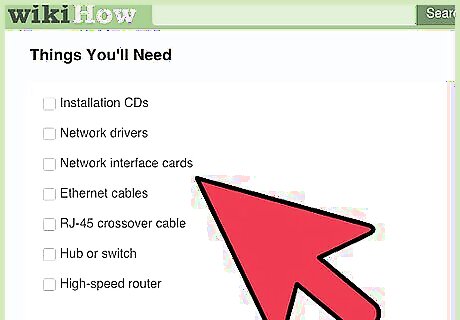
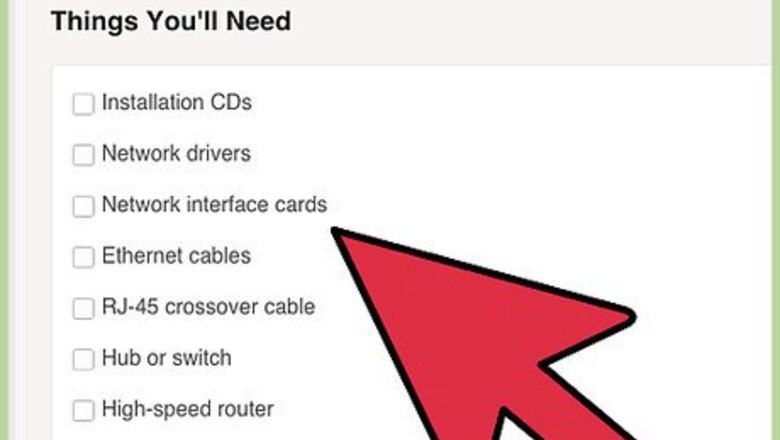
Have everything ready before you begin creating your network. Get any installation CDs you will need. Depending on your computers, you may need network drivers. Decide on a name for your home network. Most people use their family name, but anything will work. Write down unique names for each of the computers. Know what resources you would like to share. These can include printers, files or the Internet connection.
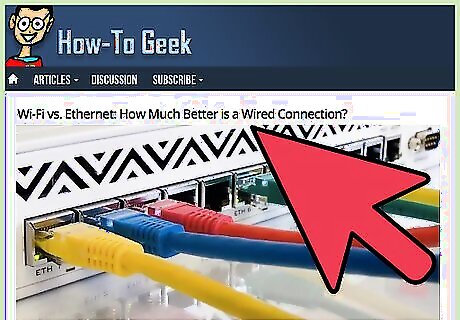
Determine which connectivity method will work best to create your home network. Most people use either an Ethernet connection or a wireless one.
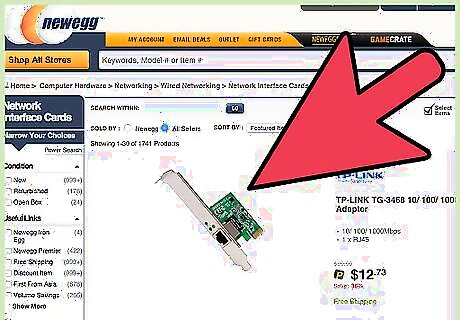
Install your network interface cards (NICs) into the appropriate slot of each computer. You will need either an Ethernet or wireless NIC for network connectivity, depending on the connectivity method you chose.
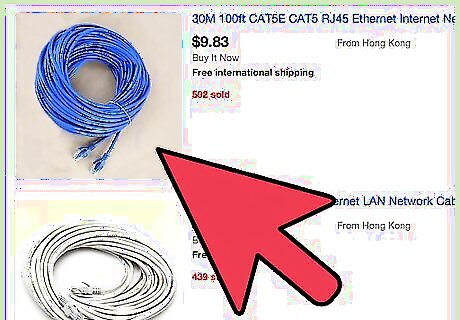
Be sure you have enough Ethernet cables available for the job, as needed. You will require 1 Ethernet cable for each computer in your home network. These cables come in a variety of lengths, so know what lengths will work best for your network and buy accordingly.
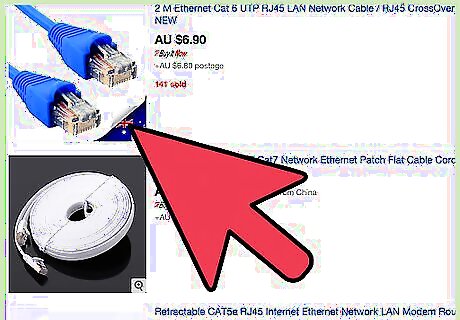
Network 2 computers together using an RJ-45 crossover cable. Connect 3 or more computers to your network with a hub or switch. Be sure your hub or switch has enough ports to handle all the networked computers.
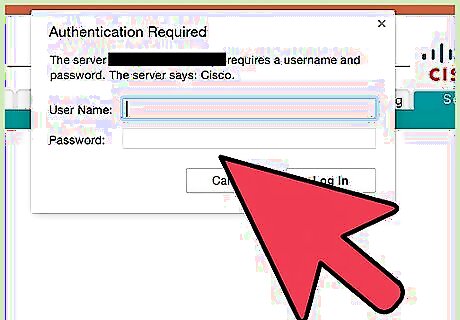
Configure your connection. You'll want to follow the manufacturer's instructions for the connection method you chose.
Connecting Your Home Network
Install network software. You will need to do this no matter what type of connection you plan to use. You should have software included with the Ethernet or wireless hardware.
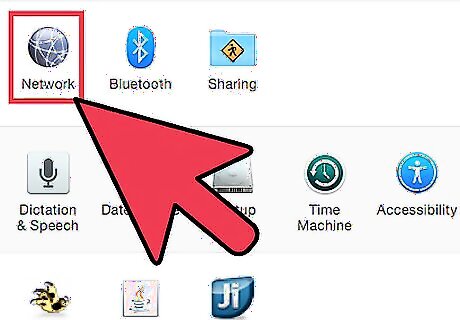
Follow the prompts to set up your computer. You will need to designate which computer will be the server and which ones will be the clients.
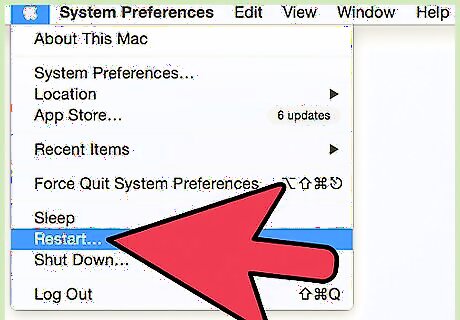
Restart the computers after you install the software.
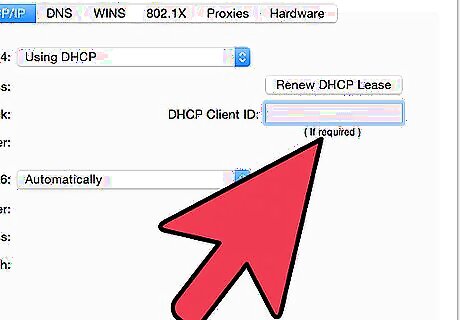
Create a profile for both Ethernet and wireless connectivity. Your profile will allow you to connect and use the home network. Run the network software configuration program and follow the prompts to create the profile.
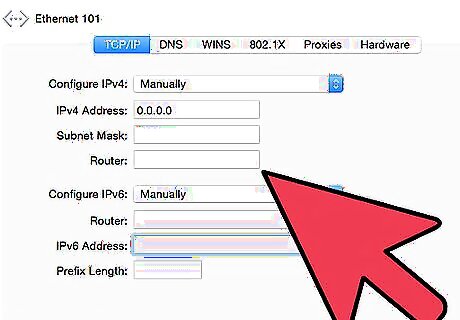
Set the mode to either ad hoc or peer-to-peer, if you're not using an access point. If you are using an access point, set it to infrastructure. Enter the name of your network. If using an ad hoc network, all adapters must use the same channel on the network. Set the channel from 1 to 11. When using an infrastructure network, the client computer automatically configures by itself and selects the channel with the best signal. To finish this installation, enter the encryption key, according to vendor instruction.
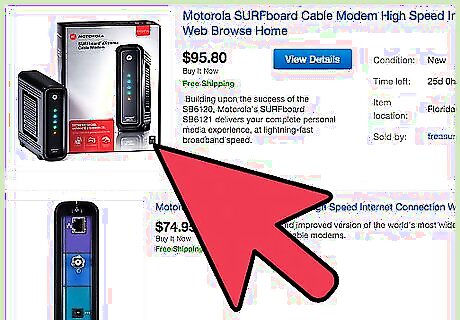
Purchase a high-speed router for your Ethernet wired or wireless solution. This is an easier way to set up a network. Plug the adapter end into your computer's USB port and put the other end into an electrical outlet.
Setting up Internet Connection Sharing
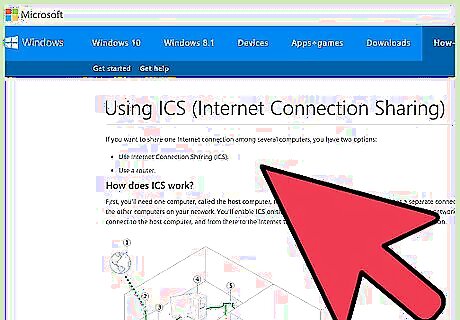
Connect your home network to the web. Internet Connection Sharing (ICS) connects all the computers on your network to the Internet using either dial-up or a high-speed connection.
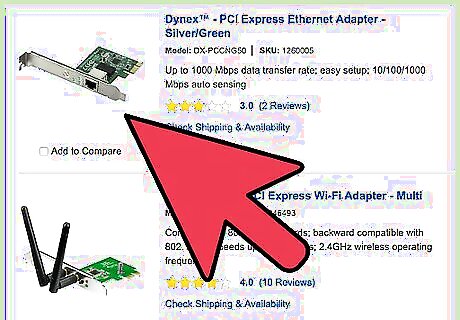
Pop a second Ethernet card into the computer that will host the ICS.
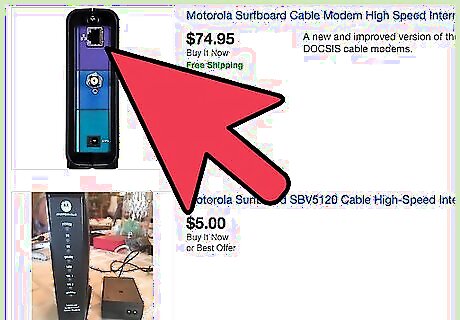
Plug the bridge cable directly into the second card, unless you have a router. If you are using a router, connect the bridge to the Ethernet port on the router and plug the bridge into a power outlet.
Install the CD software that came with your home network kit. You will need to install the ICS software on the host computer, as well.
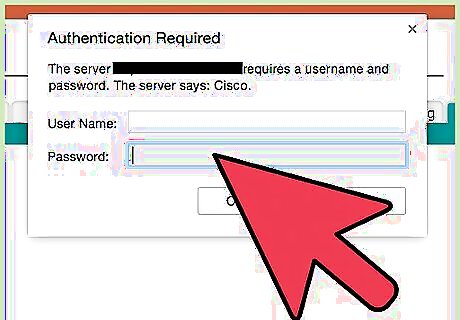
Install the network configuration software. You will need to input a network password. Enter the same one you used for the bridge.
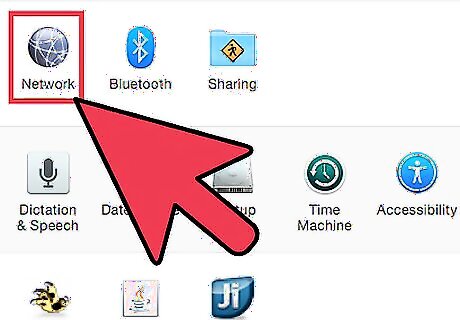
Repeat the installation process on every computer in your network. Plug the adapter into each computer's USB port. Windows detects the hardware and prompts for the installation of the driver, which should be on the installation CD. You will need to install the network configuration software, as well. When prompted for a network password, be sure to use the same one you used for the bridge.
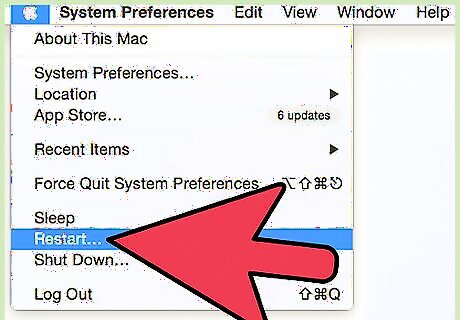
Restart your computer to complete your connection.


Comments
0 comment