views
- Tap the Share icon on the photo and choose "Print" to open a preview.
- Once you see the preview, use the reverse-pinch gesture to zoom out, then tap the Share icon again.
- This time, tap "Save to Files" and choose a save location to save the photo as a PDF.
Using Print Options
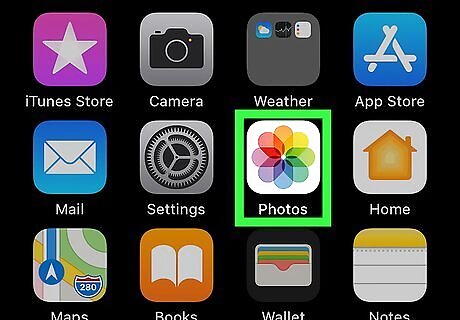
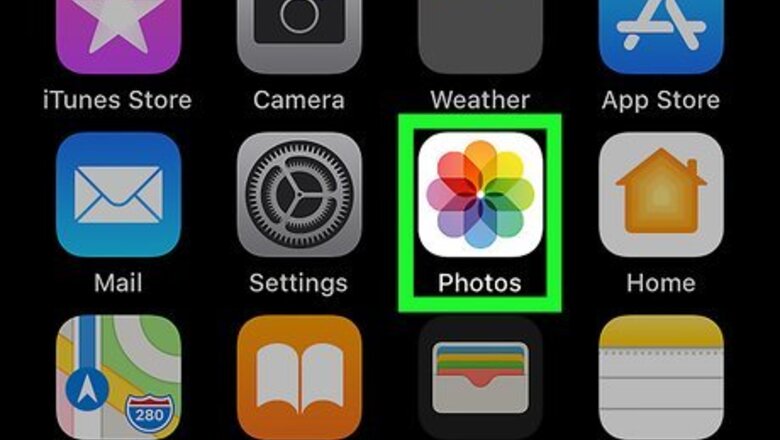
Open the iPhone Photos app. This icon looks like a multicolored flower. You can find this app on your home screen or by searching. This method also works for iPads and iPod touch. Don't worry if you don't have a printer set up for this. You're not actually printing anything!
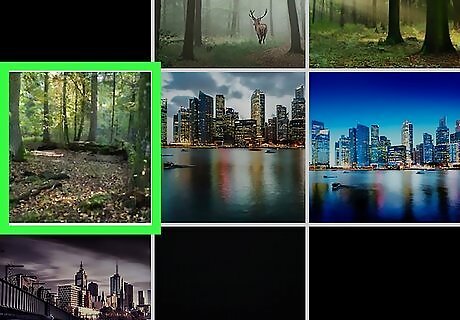
Tap a photo. If you don't see the picture you want to make a PDF, you can also narrow the pictures down by selecting an album at the bottom of your screen. If you want to select multiple pictures, tap Select in the top right corner of your screen, then tap more pictures to add them to your selection.
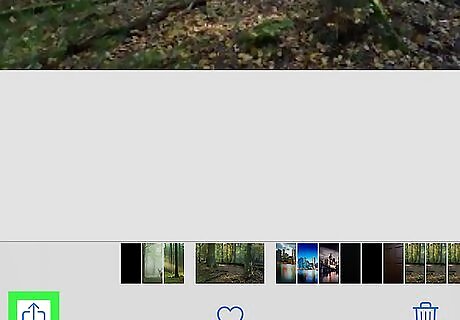
Tap the Share icon iPhone Blue Share. You'll see this in the bottom-left corner of your screen.
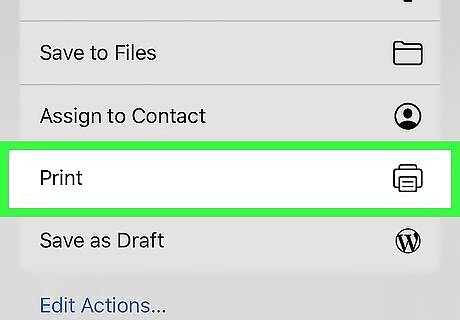
Tap Print next to the icon of a printer. This is usually in the bottom row of the "share" menu, but if you don't see this printer icon, tap More and you should find it in there.

Zoom out on the photo in the Preview. The photo(s) will be displayed at the bottom of your screen under the print options. If you "zoom out" on the photo (the reverse of the "pinch" gesture), you'll open the photo(s) in a PDF viewer. In this step, the photo(s) are PDFs.

Tap the Share icon iPhone Blue Share. You'll see this in the bottom left corner of your screen.
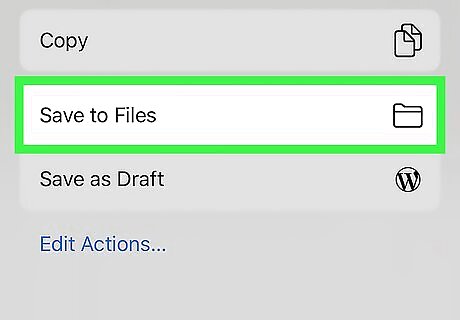
Tap Save to Files. You'll find this folder-shaped icon in the bottom menu, next to the page icons for "Copy."
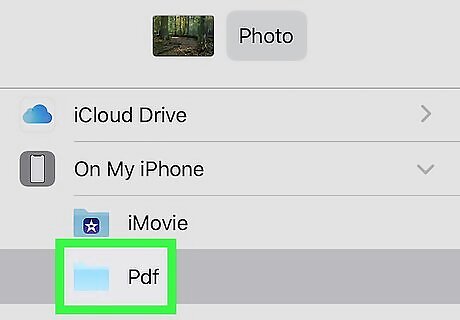
Tap to select a save location. You can choose if you want to save the PDF in a cloud service or on your iPhone directly. If you opt to save the photo to your phone, you'll most likely be able to select a folder to save it in, like Word.
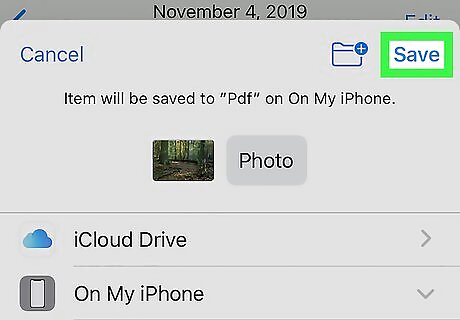
Tap Save. You'll see this in the upper right corner of your screen. The PDF of your photo will be added to the save location once you tap this. To open the PDF, go to the Files app and your converted photo(s) will be the first listing once you tap Recents. If you don't see them here, tap Browse and search around for them. Send this PDF by opening it in Files, then tap the Send icon in the bottom left corner.
Using Books
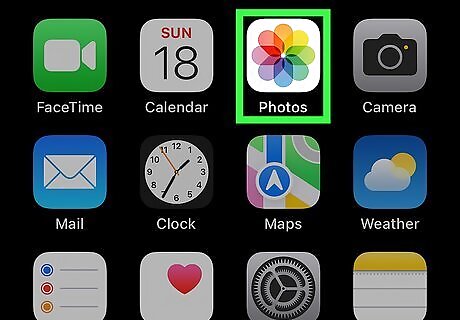
Open the iPhone Photos app. This icon looks like a multicolored flower.

Tap a photo. If you don't see the picture you want to make a PDF, you can also narrow the pictures down by selecting an album at the bottom of your screen. If you want to select multiple pictures, tap Select in the top right corner of your screen, then tap more pictures to add them to your selection.
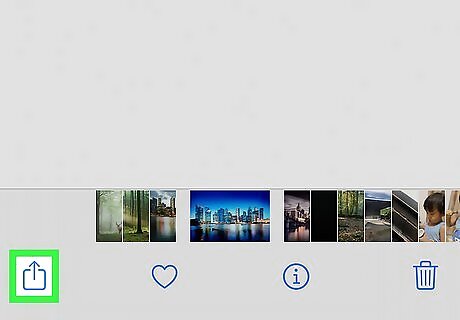
Tap the Share icon iPhone Blue Share. You'll see this in the bottom-left corner of your screen.
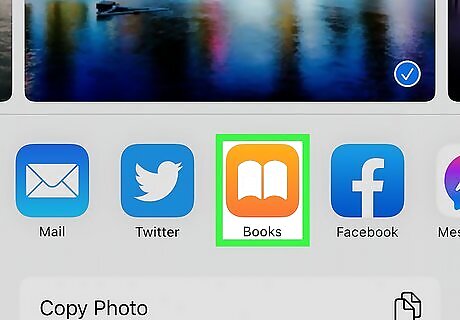
Tap Books. This icon looks like an open book on a bright orange background. The selected photo(s) will automatically convert to PDF and open in Books. You'll be able to find this PDF later in the Books app, and in the "Books" section in the Files app.
Using Files
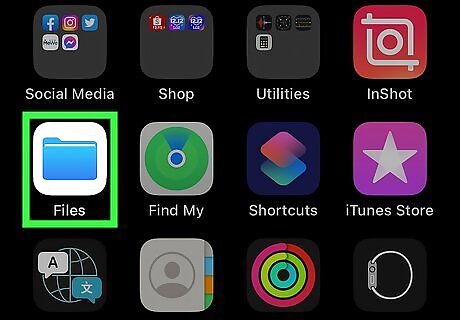
Open Files. Tap the icon that looks like a folder. If your pictures aren't in the Files app, open Photos, tap the picture you want to convert, tap the Share icon, and finally tap Save to Files.
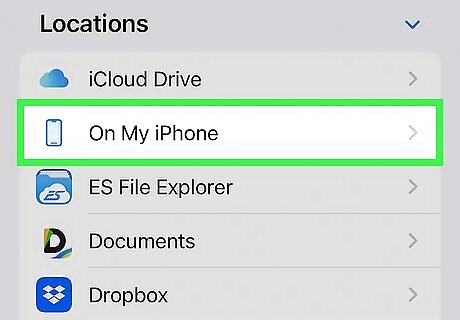
Locate the image you want to convert. You may need to tap the arrow at the top of your screen (next to Browse) to change the browsing location.
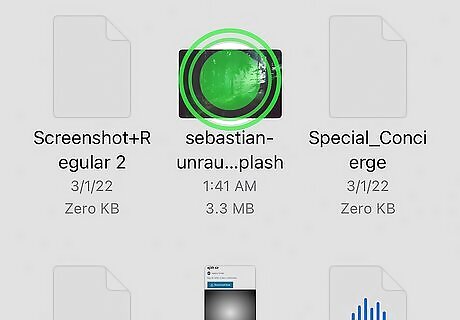
Press and hold the image. If you want to convert more than one image, tap the three-dot menu in the top right corner of your screen and tap Select instead, then tap to select your photos. Once you've selected all the photos you want to convert to PDF, tap the three-dot menu icon in the lower right corner of your screen.
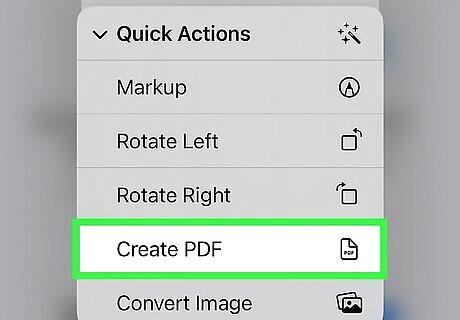
Tap Create PDF. This is next to an icon of a folded piece of paper with the letters "PDF" in it. Your photos will save as a PDF in the same location.




Comments
0 comment