
- Draw 7 touching squares: 2 1x1 squares on top of each other, a 2x2 left of them, a 3x3 below them, a 5x5 to the right, an 8x8 on top, and a 13x13 to the left.
- Place a compass in the bottom, left corner of the first 1x1 square and turn it through the opposite corner of each square, adjusting it as you go.
- Go over the spiral with ink and erase your pencil lines.
Full Method
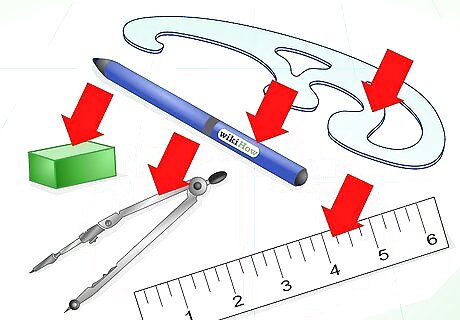
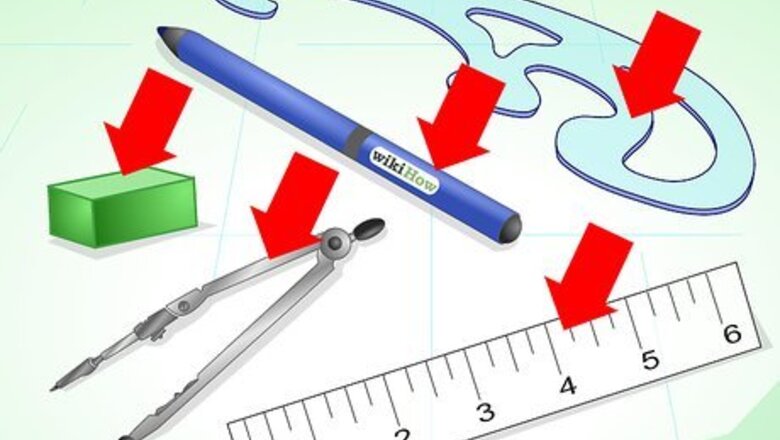
Gather your materials. You'll need to draw a system of squares that will end up "inscribing" the spiral, acting as guide lines for your drawing. Gather your materials, making sure that you have everything––the list of what is needed is found in the Things You'll Need section below all the steps.
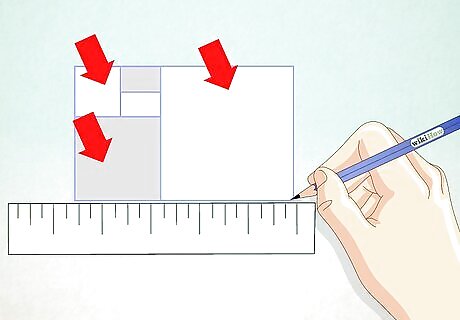
Draw squares using the Fibonacci sequence. This works by adding the two previous numbers: You get the next one starting from 0 and 1; so, it goes 0, 1, 1, 2, 3, 5, 8, 13, 21, 34, 55, etc. The length of one side of each square should equal a number in the sequence (the 0 is not needed for drawing any of the square), but the beginning point can be called (0,0), if we set it up that way. You will have a 1X1 square (use any unit of measurement you want, at any size, just be consistent) with a second 1X1 drawn next to it on the left side of the first, then down to put 2X2, and right for 3X3, then up for 5X5, and then left to fit 8X8. Below all that, put 13X13 and so on, to as large a square as your paper can fit.
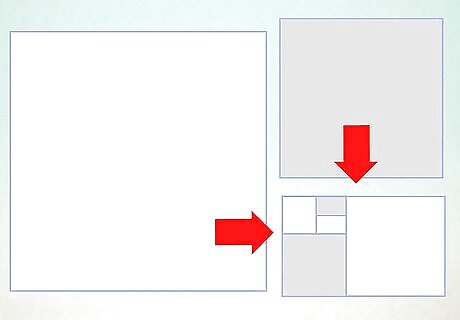
Arrange the squares. Draw each of these squares in a counter-clockwise pattern. It will finally form a spiral as you draw a curve through the squares (as instructed later).
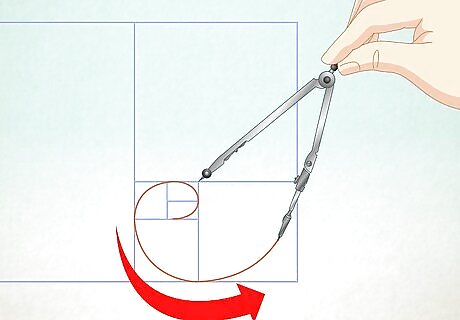
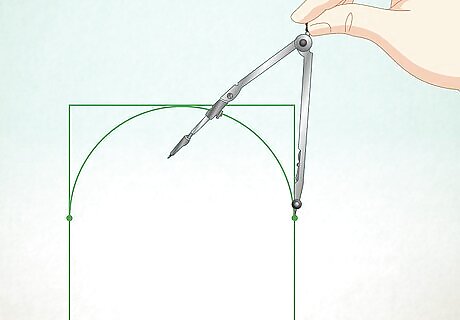
Turn the compass. Put your compass, pivot point and pencil, as shown in the picture, with its length set at one unit (side of the first square) long. Turn it 90 degrees counter-clockwise.
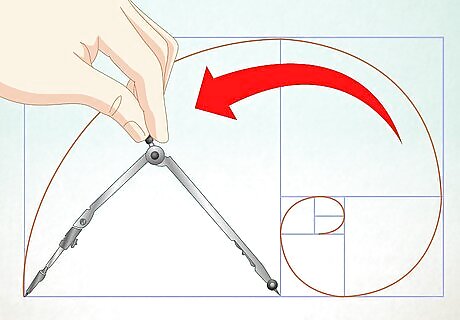
Adjust the compass. Adjust the compass so it is now two units long. Again, turn it 90 degrees counter-clockwise. Then 3, then 5, next 8 and continue this process until the squares each have the curving spiral through them.
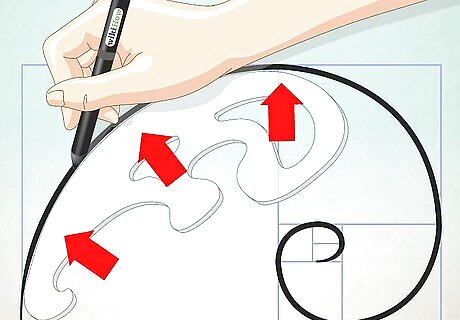
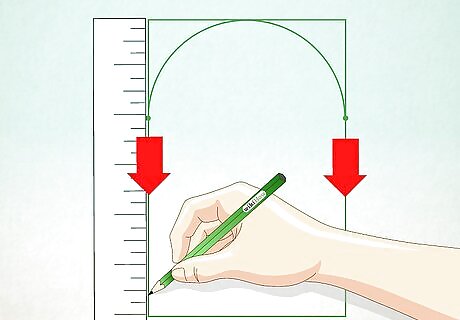
Ink your spiral. Ink your drawing with pen when you are ready, carefully tracing along the penciled curve. If you're shooting for exceptional accuracy, you can use a French curve to help you.
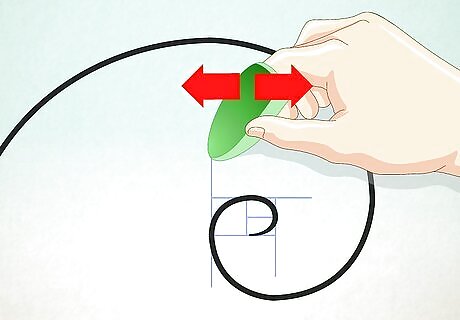
Erase your guide lines. With the spiral traced in pen, use your eraser to rub out the squares made in pencil.
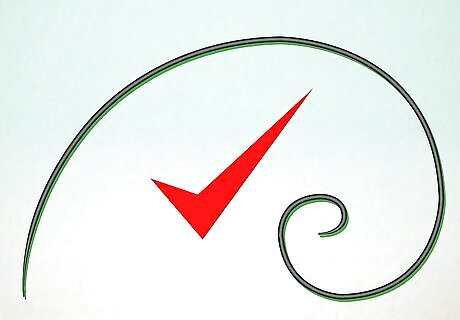
Done! Congratulations, you've just made the golden spiral!
Rectangle Method
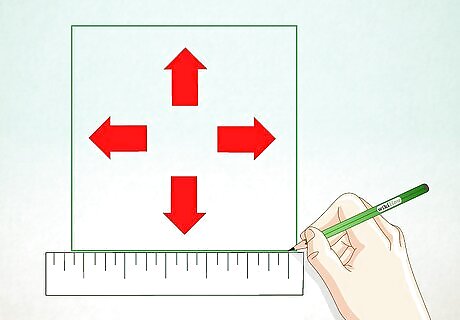
Draw a square with perfectly equal sides. Using a ruler and protractor can help.
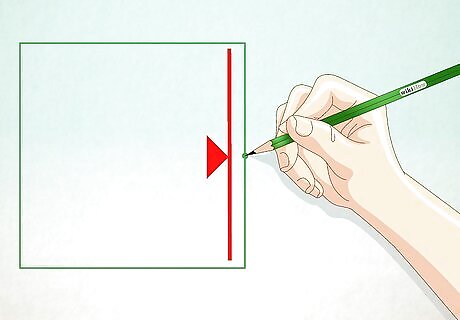
Find the halfway point. Find the halfway point on one of the sides.
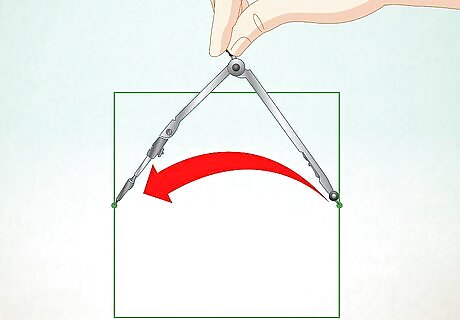
Align a compass to the opposite corner. Take a compass and find one of the corners on the opposite side from where you took the halfway point. With the needle on the halfway point, place the arm at the opposite corner.
Extend the line. Rotate the compass until the arm is in line with the side where you took the halfway point. This spot will now be the corner for the golden ratio outline rectangle.
Draw the new rectangle. Using a ruler, extend your square into a rectangle with the point you found as one of its corners. This new rectangle can be used as a basis for drawing your spiral. You can improve your artistic skills by reading about art. Making plenty of sketches. Finding a teacher who can help you to look at things from an artist's perspective.


Comments
0 comment