views
- iPhone or iPad: In Control Center, tap and hold the Wi-Fi tile, then tap "AirDrop" → "Receiving Off."
- Mac: In Control Center, click AirDrop to turn it off.
- Alternatively on a Mac, open the Finder and click "AirDrop" → "Allow me to be discovered by" → "No One".
Using an iPhone or iPad
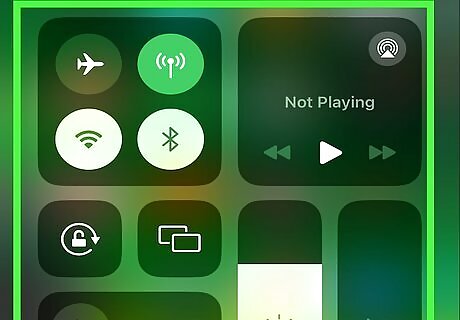
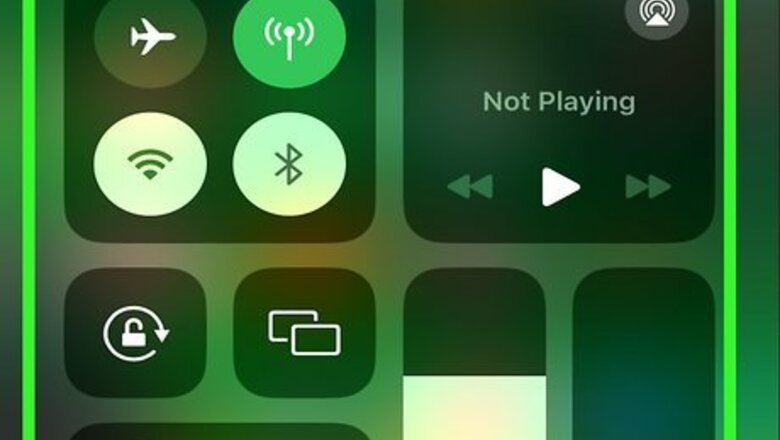
Open the Control Center. On iPhone X or later, swipe down on the top-right corner of the screen. On iPhone 8 and earlier (and iPhone SE), swipe up from the bottom of the screen. On an iPad with iOS 12 or later, swipe down from the top-right of the screen.
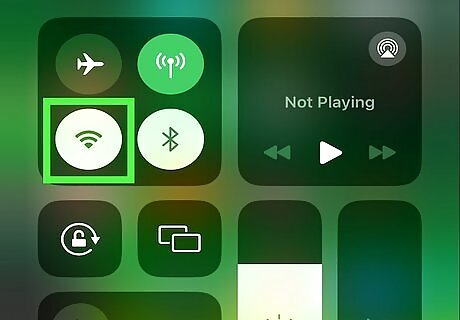
Tap and hold the network settings tile. This will be in the top-left corner. You can tap and hold any icon in the network settings tile; this will expand it.
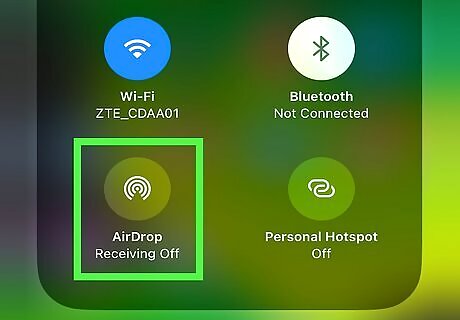
Tap and hold the AirDrop icon. You can find this below the Wi-Fi icon.
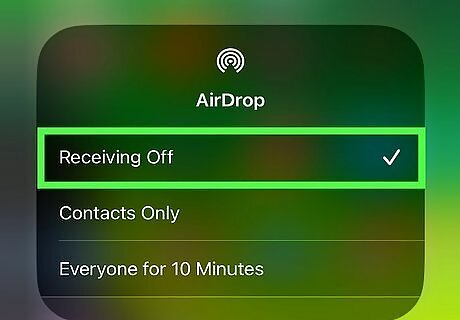
Tap Receiving Off. AirDrop will be turned off until you turn it on again. You can also do this in Settings → General → AirDrop → Receiving Off. When you want to transfer files again, you can turn AirDrop on again by tapping the icon in the Control Center.
Using a Mac
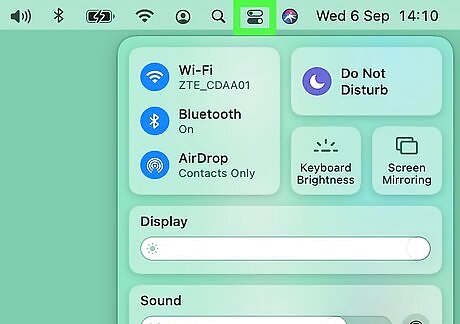
Open the Control Center. Click the toggle icon in the top-right corner of the menu bar. This will be between the search icon and date.
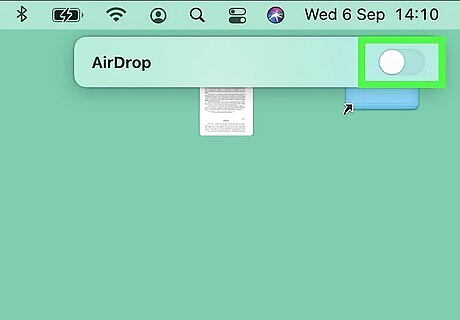
Click AirDrop. The icon will be blue if it's currently enabled. Clicking the icon again will disable AirDrop and turn the icon grey. You can also disable AirDrop in the Finder. In the Finder sidebar, click AirDrop → Allow me to be discovered by → No One.


Comments
0 comment