views
What is the bench press suicide grip?
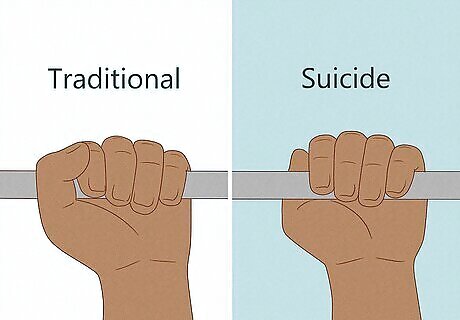
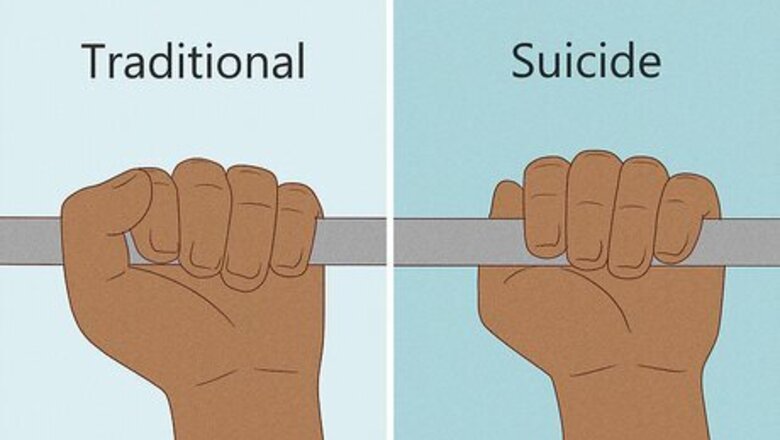
A suicide grip places your thumbs beside your forefingers during a lift. With a suicide grip, your thumb rests next to your forefinger on the same side of the bar while performing a bench press. This is in contrast to a traditional grip, where your thumb wraps under the bar, while your other 4 fingers wrap over it, making for a secure grip with at least 1 finger on either side of the bar. The grip got its name from its dubious safety. If the bar is unsecured on one side, it’s much more likely to slip or roll from your hands and cause injury during a workout.
Why do some people use the suicide grip?
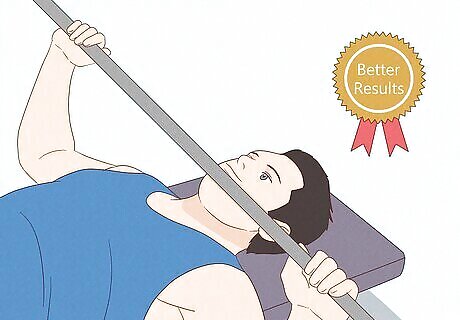
Some argue the suicide grip is more comfortable and gets better results. They say that the suicide grip is easier on your wrists and shoulders, and offers more activation in your triceps than a more traditional grip. Some also say it gives you a better angle to lift the bar, resulting in more, and more effective, lifts. It’s hard to argue with the comfort point—if it’s more comfortable for someone, it’s more comfortable—but there are other, safer ways to achieve a more effective lift and target more specific muscle groups.
Risks & Disadvantages of the Suicide Grip
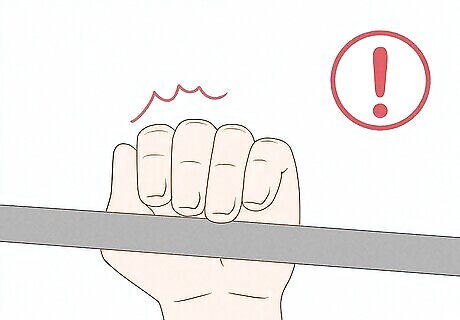
The suicide grip is much more hazardous than other grips. Without your thumb on the opposite side of the bar as your other fingers, that bar can much more easily slide or roll down out of your grip and onto your chest or neck—especially if you’re already fatigued. The main reason why experts warn against it is because it’s just plain unsafe, and more so without a spotter.
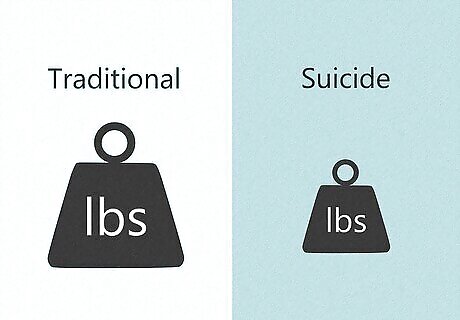
It can make the weight feel heavier, reducing gains. A traditional grip, with your thumbs around the bar and your hands a comfortable width apart, enables you to lift more weight than other grips, including a suicide grip. With a suicide grip, the weight may feel heavier, leading you to lift lighter loads and miss out on gains. Similarly, you’ll be working overtime to balance the bar with lots of micro-movements, which distract from the actual workout and may lessen your gains, not to mention increase your odds of losing control of the bar. Both these factors are due to “proprioception,” or your body’s ability to orient itself and subconsciously manage its muscles.. A suicide grip can interfere with this proprioception.
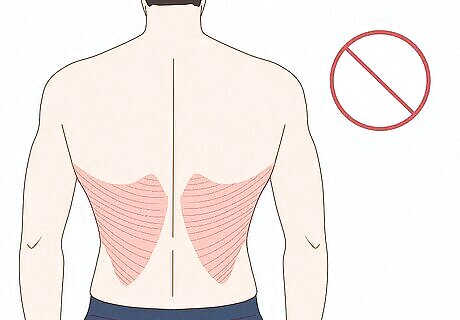
A suicide grip makes it harder to work certain muscles. To hold the bar securely with a suicide grip, you need to get your grip width just right, and same with your arm angle and the elevation of your bench. It’s a dangerous balancing act that often locks you into one lifting stance just so you can support the bar, which doesn’t help you mix things up and target a wider variety of muscles. For example, your lats, or the back muscles that come off your shoulders, are better activated at high intensities. Since the suicide grip limits your lifting power, you won’t get those precious lat reps in. Also, a suicide grip favors your triceps over your pecs and shoulders, making it harder to target those groups.
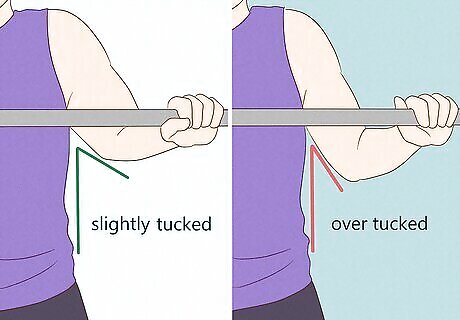
It leads to bad elbow tucking habits. During a bench press, it’s necessary to tuck your elbows in a bit to give you the needed force to lift the bar. But a suicide grip leads to overtucking your elbows, which makes your triceps work overtime and reduces the strain on your chest and shoulders, where you want the bulk of your effort to be. This can also lead to elbow and shoulder injury over time.

It won’t fly in official powerlifting competitions. Many powerlifting organizations recognize the danger of the suicide grip, and therefore have disqualified it in their official rules. Many even specify that your thumb must wrap around the bar, on the opposite side of your other fingers. If you ever plan to lift competitively, it’s best to keep your technique safe and traditional.
Proper Bench Press Grip & Form
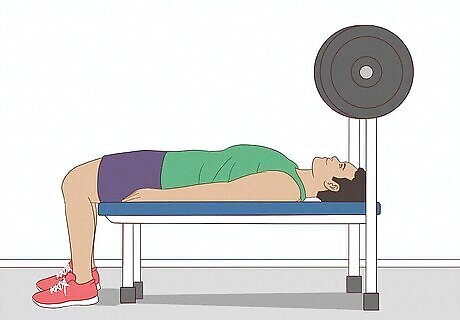
Lie with your back flat on the bench and feet flat on the floor. This is key to making sure you have the stability and power needed to get the most while you bench press. Keeping your back flat on the bench helps reduce the risk of injury and concentrate your power into the bar. Ensure your head, shoulder blades, and butt never leave the bench.
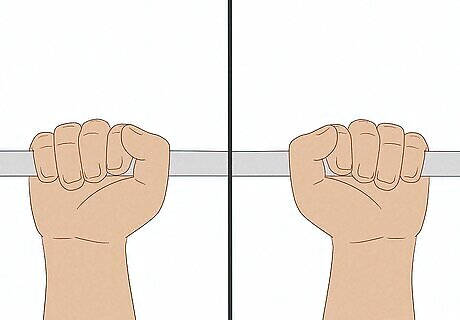
Hold the bar with your fingers on one side and your thumb on the other. Use a traditional grip, or “opposing” grip, on the bar, with your wrists directly below the bar, your shoulder blades slightly squeezed together, and your thumbs and other fingers enclosing the bar on either side. This ensures maximum stability, safety, and weight lifting power. Also, position yourself so your eyes are just below the bar.
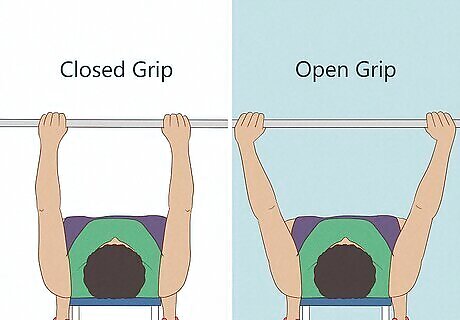
Widen or narrow your grip based on which muscles you want to target. To better target your chest, hold the bar with your hands at shoulder width or slightly wider, with your elbows held away from your torso. To better target your triceps and upper chest, hold the bar with your hands slightly narrower than your shoulders, with your elbows tucked toward your torso. Only use a wide grip if you have no history of shoulder problems, since a wide grip does place more strain on your shoulders. A wide grip is often called an “open” grip, and a narrow grip is often called a “closed” grip”
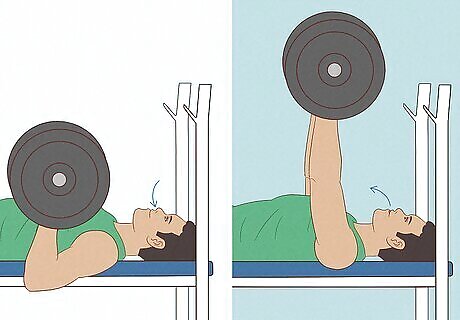
Exhale when you lift, and inhale on the way back down. Certified personal trainer Katie Prendergast says to remember the “exhale on effort” rule. To start, inhale as you take the bar off the stand and lower it to your chest. Then, exhale as you extend your arms and lift the bar, stopping just before you extend your elbows all the way. Then, exhale on the way back down. As for tempo, Prendergast says to follow a 3-1-3 timing. Lower the weight for the duration of 3 seconds, pause for 1 second, then lift it for a duration of 3 seconds, and repeat.
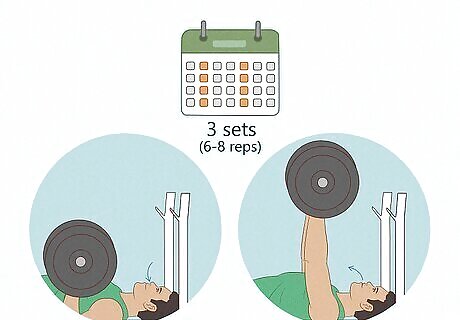
Start with 3 sets of 6-8 reps twice a week. For beginners, personal trainer Katie Prendergast suggests doing 3 sets of bench presses, and lifting the bar 6-8 times per set. Take a 5-minute break or go lift other weights between sets to let your muscles relax and prepare for the next set. Also, warm up by doing 60-70% of your normal effort. Do 3-4 reps at a lower weight before getting into your full workout. Use just the bare bar first, and when that amount feels comfortable and easy, add weights 5–10 lb (2.3–4.5 kg) at a time. Prendergast also recommends hitting the bench press about twice a week for the best gains. Some experts recommend hitting it 3 times a week, if you’re really serious about building muscle.
Suicide Grip Alternatives
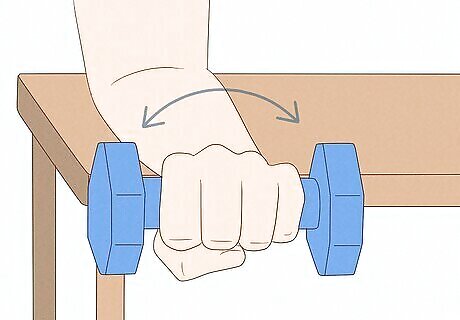
Perform wrist and forearms exercises to strengthen your grip. If you prefer the suicide grip because it’s easier to grip the bar, you may just need to improve your grip strength. A great way to do that is by doing wrist and forearm exercises. One simple exercise is to rest your arm on a table with your hand over the edge and holding a 5 lb (2.3 kg), then slowly rotate your wrist left and right. Or, sit on a chair and secure a resistance band under your foot. Hold the band in one hand, with your palm facing up, and slowly flex your wrist up and down. Do some more traditional exercises to strengthen your wrists, like bicep curls, tricep extensions, or chin ups.
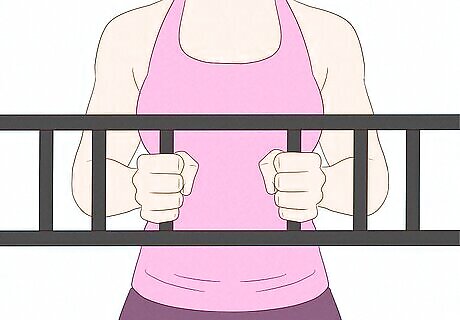
Use a closed grip or Swiss bar while doing bench presses. A closed grip, with your hands positioned just inside your shoulders and your elbows tucked slightly, helps target your triceps, and is often easier for people with shoulder or wrist pain. Or, use a Swiss bar, which has vertical grips, rather than horizontal, to offer more comfort.
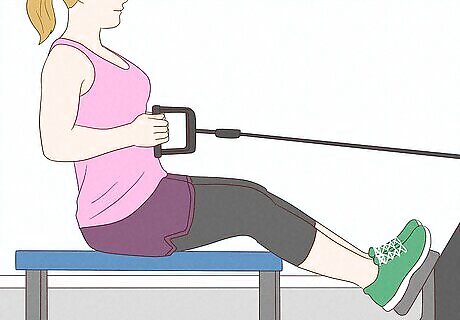
Only use the suicide grip for low-risk workouts, like rows. The suicide grip isn’t totally off the table! If it’s more comfortable for you, go ahead and use it for workouts where a heavy bar isn’t right your head, like cable rows, cable flies, pull ups, or back squats. Just be sure to practice extra caution with this grip, and to take a break if you feel fatigued.


Comments
0 comment